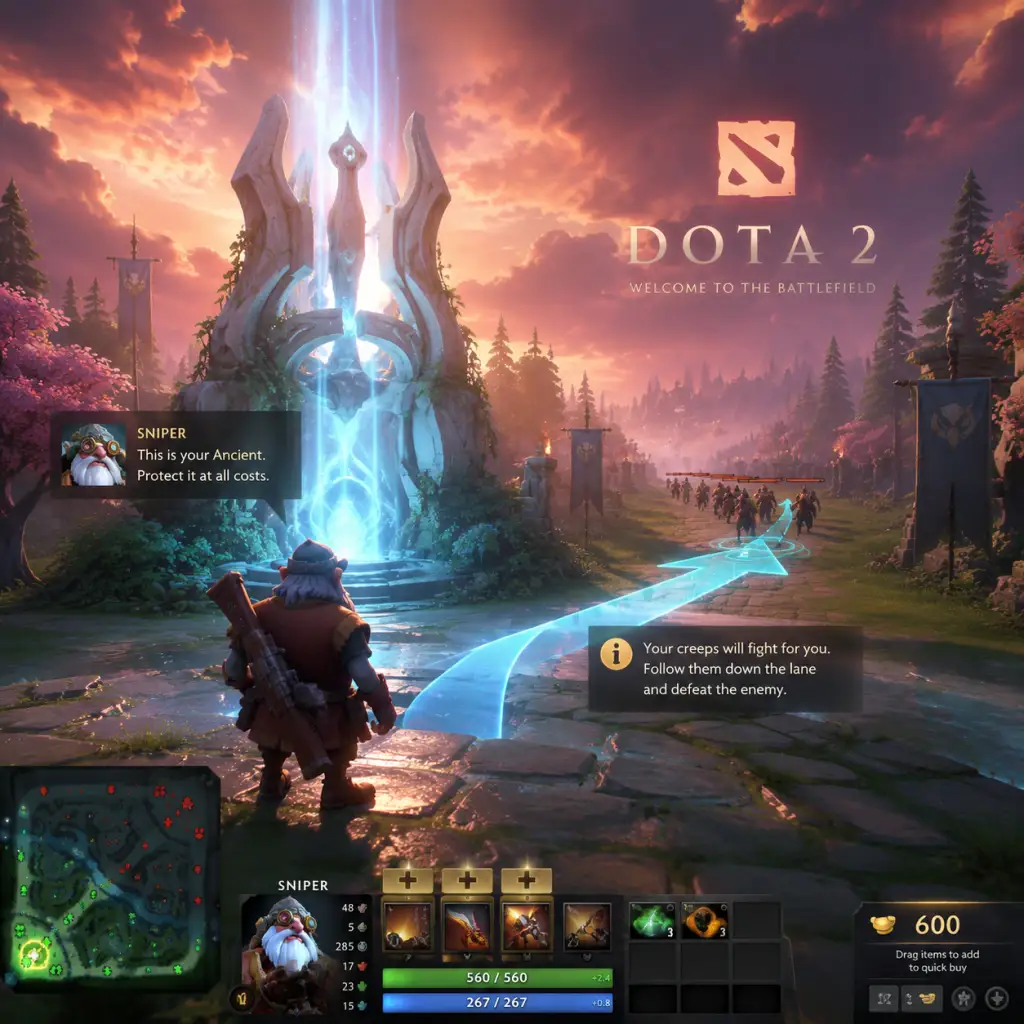
Getting Started
Getting Started with Dota 2: A Beginner's Guide
Welcome to Dota 2—one of the deepest and most rewarding strategy games ever made. This guide will walk you through your first hours, explain the essential systems, and help you avoid the most common beginner frustrations. Dota 2 is free-to-play on PC only (via Steam). There is no console or mobile version.
Your First Hour: A Walkthrough
1. Install and Launch
- After installing through Steam, launch Dota 2. You'll be greeted with the main menu. Don't panic—the UI is dense. Click "Play Dota" at the top.
- Important: Before queuing for a real match, you strongly must complete the New Player Experience (tutorial). Select it from the main menu or from the "Learn" tab. This teaches basic movement, last-hitting, and abilities.
- The tutorial takes about 15–20 minutes. Complete it fully.
2. First Real Match: Bot Game
- After the tutorial, go to "Play" → "Practice With Bots". Choose a cooperative bot match on the easiest difficulty ("Passive" bots). This is where you'll learn without pressure.
- Pick a simple hero: For your first few games, choose one of the following beginner-friendly heroes:
- Sniper (carry) – long range, easy damage
- Lich (support) – simple spells, teaches positioning
- Wraith King (carry) – tanky, two abilities, forgiving
- Avoid complex heroes like Invoker, Meepo, or Chen until you have 100+ hours.
3. Laning Phase (First 10 minutes)
- Go to the safe lane (bottom for Radiant, top for Dire) with your team's support.
- Focus on last-hitting the enemy creeps (click them when they have low HP to get gold). Do NOT attack the creeps mindlessly—only hit the final blow.
- Do not die. If an enemy hero comes close and you're low health, move back to your tower. It's better to miss last-hits than die.
- Buy a poor man's shield (if melee) or Ring of Protection (if ranged) from the side shop using the initial gold.
Character Creation / Hero Selection
Dota 2 does not have character creation. Instead, you choose a hero from a pool of 120+ at the start of each match. Hero selection is critical. Beginners should:
- Use the "New Players Welcome" filter in the hero grid (it shows recommended heroes).
- Read the hero's innate ability and four active abilities by clicking their portrait before picking.
- Tip: In bot games, you can random (click the dice icon) to try different heroes—there is no penalty in bot matches.
Controls (PC Only)
Dota 2 uses keyboard and mouse. Here are the essential controls:
| Action | Default Key | Alternative |
|---|---|---|
| Move | Right-click | Left-click + M |
| Attack | Left-click (then click target) or A + left-click (attack-move) | - |
| Stop/Hold position | S | - |
| Use ability 1 | Q | - |
| Use ability 2 | W | - |
| Use ability 3 | E | - |
| Use ability 4 | R | - |
| Use item slots (top row) | 1,2,3 | - |
| Use item slots (bottom row) | 4,5,6 | Z,X,C or alt+Q/W/E (change in settings) |
| Shop | B | F3 |
| Courier deliver | F2 | - |
| Level up ability | Ctrl + Q/W/E/R (or click) | - |
| Quick cast | Enable in settings | - |
- Use quick cast for all spells once you're comfortable. It casts instantly on mouse-over.
- Bind a separate key for "Attack Move" (default A) to avoid walking into enemies.
- You can rebind everything in Settings → Keyboard & Mouse.
- Top bar: Displays time, score, team gold, and experience graphs.
- Bottom left: Your hero portrait, health/mana bars, level, and buff/debuff icons.
- Bottom center: Active spells (Q,W,E,R) with cooldown numbers and mana cost shown on hover.
- Bottom right: Item slots (6) and neutral item slot. Also courier button.
- Minimap (bottom left corner): Shows hero positions, towers, creeps, runes. Glance at it every 5 seconds.
- Shop (press B): Has a search bar and categories (Basics, Upgrades, Consumables). Buy items quickly between waves.
- Inventory backpack (bottom): Three extra slots for items you don't need active (e.g., components waiting to combine).
- Buy two sets of Tangoes (healing consumable) and a Healing Salve at game start.
- Buy a Quelling Blade if melee (last-hitting easier) or a Wraith Band if ranged (stats).
- Place the Observer Ward (if you're support) at a river rune spot to give vision.
- Communicate with pings (alt+click on minimap) and chat wheel (default Z).
- Don't auto-attack creeps (continually hitting them). This pushes the lane and makes you vulnerable to ganks.
- Don't buy items like Divine Rapier early—it's expensive and can drop on death.
- Don't blame teammates. Focus on your own improvement.
- Don't leave your lane until you've hit level 6 (unlock ultimate) unless you're rotating for a rune.
- Gold: Spend on consumables (tangoes, clarities, salves) first to stay in lane. Then build core items (recommended in the in-game guide).
- Experience: Stay within 1200 range of dying creeps to gain XP. Stack creeps (pull neutral camps into lane) if playing a support to deny enemy XP.
- Mana: Use spells sparingly. If you're a support, buy Clarity potions. If a core, buy Bottle after first 2–3 last-hits (for courier delivery).
- [ ] Complete the New Player Experience tutorial.
- [ ] Play 3–5 bot matches on Passive difficulty with beginner heroes (Sniper, Lich, Wraith King).
- [ ] Rebind keys to quick cast (if desired) and set up a comfortable layout.
- [ ] Learn the shop layout: practice buying items quickly via the search bar.
- [ ] Watch one beginner-friendly guide video (search "Dota 2 beginner guide 2025" on YouTube).
- [ ] Play one co-op bot match against easy bots with human teammates ("New Player" mode if available).
- [ ] Finally, queue your first matchmaking game (but don't worry if you lose—everyone does).
UI Overview
The Dota 2 HUD (Heads-Up Display) may feel cluttered. Here's what's essential:
Essential Early Objectives (First 10 Minutes)
1. Get last-hits. Aim for at least 30–40 last-hits by 10 minutes. This gives you gold for items.
2. Deny your own creeps when they are low health (attack + A-click your own creep) to deny the enemy gold and experience.
3. Stay alive. Dying gives the enemy gold and experience. If you're low, go back to base (teleport scroll or walk).
4. Use your courier to deliver items (press F2 then click the item to upgrade). Don't waste time walking back to shop.
5. Watch the minimap. If you see enemy heroes missing from your lane, back off or warn teammates.
What to Do First and What to Avoid
DO:
DON'T:
Early Resource Priorities
Your resources are gold, experience, and mana.
Common Beginner Mistakes
1. Overextending: Chasing kills into enemy towers or fog. If you can't see the enemy team on minimap, assume they are missing.
2. Not buying Teleport Scrolls: Always carry a TP scroll (costs 100 gold) from the mid-game onward to respond to fights or defend towers.
3. Ignoring the Courier: Remember to upgrade your courier to flying at 3 minutes (click the courier, then the flying upgrade button).
4. Bad item builds: Stick to recommended guides (the in-game guide system). Open the guide icon (book) on the top-left of shop and select a high-rated beginner guide.
5. Forgetting to check your health and mana: Use consumables early. Don't wait until you're dead.
Day-One Checklist
Remember: Dota 2 has a steep learning curve. Focus on one aspect each game—last-hitting, map awareness, or using spells—and you'll improve steadily. Use the in-game guides and community resources. The game is free, so there's no pressure to spend money (only cosmetics). Welcome to the battlefield!