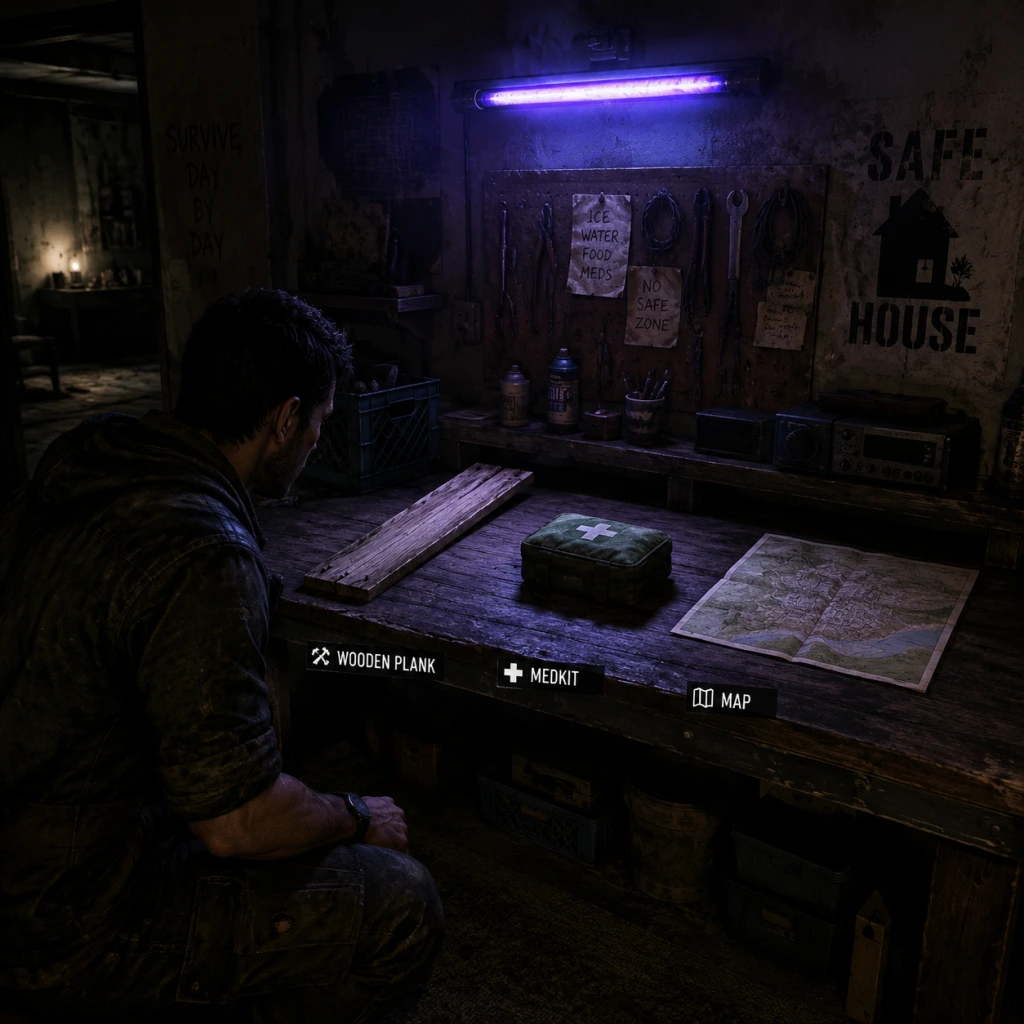
Getting Started
Getting Started Guide for Dying Light
This guide is designed for brand-new players who have just installed Dying Light and want to survive their first day in the zombie-infested city of Harran. We'll cover everything from your first hour to key priorities and common mistakes. Since there is no character creation—you play as Kyle Crane, a GRE operative dropped into the quarantine zone—you can jump straight into the action.
First Hour Walkthrough
Prologue: The Crash and the Slums
1. Game start: You're on a crashing helicopter. The opening cinematic ends with you waking up in an apartment near the Tower (the main safe house).
2. Learning the ropes: Follow the linear tutorial sequence. You'll be taught:
- Basic movement (sprint, jump, climb)
- Melee combat (light attack, heavy attack, block)
- Using the Survivor Sense (Q on PC, Right Bumper on console)
- First aid (crafting bandages from cloth)
3. First task: Find your way to the Tower. Use rooftops—avoid the streets where Volatiles lurk.
4. Meet the cast: You'll encounter Jade Aldemir and Harris (early allies). They'll guide you to the Tower and give you your first real mission: find a vial of antizin (the immunity drug) for a sick survivor.
5. First combat tutorial: You'll fight a few slow biters (shamblers) and learn how to use pipes and planks. Finishing moves are unlocked later.
6. Reaching the Tower: Once inside, you'll meet Spike, Brecken, and other survivors. The Tower becomes your hub.
First Real Mission: Awakening
- Objective: Reach the Bazaar (a market area) and get antizin.
- Key moment: You'll face your first viral (fast zombies) near the Bazaar. Use parkour to evade until you find the item.
- After returning to the Tower, you'll unlock the safe house fast travel and the crafting system.
Controls Summary (All Platforms)
PC (Keyboard & Mouse)
| Action | Key |
|---|---|
| Move | WASD |
| Look/Sprint | Mouse / Shift |
| Jump | Space |
| Crouch/Slide | C |
| Melee Attack | Left Click |
| Heavy Attack | Hold Left Click |
| Block | Right Click |
| Throw Weapon | Q |
| Survivor Sense | Q (tap) |
| Interact | E |
| Inventory | I |
| Map | M |
| Grappling Hook (later) | F |
| Use Item | 1-5 |
| Crafting | Tab > Crafting |
PlayStation 4/5
| Action | Button |
|---|---|
| Move | Left Stick |
| Look | Right Stick |
| Sprint | L3 (press left stick) |
| Jump | X |
| Crouch/Slide | Circle |
| Melee Attack | R2 |
| Heavy Attack | Hold R2 |
| Block | L2 |
| Throw Weapon | R1 |
| Survivor Sense | R1 (tap) |
| Interact | Square |
| Inventory | Touchpad left side |
| Map | Touchpad right side |
| Use Item | Directional up |
| Quick Weapon Switch | L1 + face buttons |
Xbox One/Series X|S
| Action | Button |
|---|---|
| Move | Left Stick |
| Look | Right Stick |
| Sprint | LSB (press left stick) |
| Jump | A |
| Crouch/Slide | B |
| Melee Attack | RT |
| Heavy Attack | Hold RT |
| Block | LT |
| Throw Weapon | RB |
| Survivor Sense | RB (tap) |
| Interact | X |
| Inventory | View button (two squares) |
| Map | Menu button (three lines) |
| Use Item | D-pad up |
| Quick Weapon Switch | LB + face buttons |
Nintendo Switch
| Action | Button |
|---|---|
| Move | Left Stick |
| Look | Right Stick |
| Sprint | Press left stick |
| Jump | B |
| Crouch/Slide | A |
| Melee Attack | ZR |
| Heavy Attack | Hold ZR |
| Block | ZL |
| Throw Weapon | R |
| Survivor Sense | R (tap) |
| Interact | Y |
| Inventory | Minus (-) |
| Map | Plus (+) |
| Use Item | D-pad up |
| Quick Switch | L + face buttons |
UI Overview
HUD Elements (From top left to bottom right)
- Health bar: Red bar in top-left corner. Takes damage from zombies, falls, and bites.
- Stamina bar: Green bar under health. Depletes when sprinting, climbing, or heavy attacking. Recharges when you stop.
- Quest tracker: Top-right shows current objective and distance.
- Compass: Top-center shows cardinal directions and marker symbols.
- Weapon & Inventory: Bottom-right shows currently equipped weapon, its durability, and quick item slots (1-5).
- Survivor Sense pulse: When you tap the sense button, zombies and lootables glow white/orange briefly.
- XP bars: Occasionally shown for Survival, Agility, and Power skills—leveling these unlocks abilities.
- Backpack: Tab/Button to open inventory. Categories: Weapons, Items, Crafting, Quest Items, Map.
- Crafting: Access via Tab > Crafting or from a workbench. Shows recipes you have materials for.
- Map: Overworld map with safe houses, quests (yellow diamonds), and discovered locations.
- Skills: Submenu shows three skill trees: Survivor (parkour, zipline, etc.), Agility (sprinting, climbing), and Power (combat moves).
- Explore rooftops: They are safe zones from ground-level zombies.
- Loot everything: Even if you don't need it right now, stockpile metal parts, cloth, alcohol, gauze, and duct tape.
- Complete all early side quests: They give XP and gear. The best early side quests are from Spike (weapons) and Gazi (free skill points).
- Parkour everywhere: Stamina increases with use. Practice wall runs, slides, and jumps.
- Craft and repair: Repair weapons using metal parts at workbenches. Don't throw away blue/green quality weapons—repair them.
- Don't fight groups: Early weapons break fast. Lure zombies one at a time or simply run.
- Don't stay in the streets at night: Volatiles can one-shot you. Head to a safe house or climb high.
- Don't ignore the tutorial: Button prompts and objective markers are your friend.
- Don't hoard weapons without considering durability: A broken weapon is useless. Use them before they break, or repair if you have parts.
- Don't sell crafting materials: You'll need cloth, metal, and chemicals for medkits, lockpicks, and later upgrades.
- Don't waste lockpicks on red locked chests: They require higher lockpicking skill. Only attempt white (easy) or green (medium) locks early on.
True Inventory UI
Essential Early Objectives
1. Complete the Prologue – Unlocks the Tower and basic systems.
2. Unlock the first safe house – The Tower is a safe zone; sleep to advance time.
3. Learn to craft medkits – Requires 2 bandages + 1 alcohol or antiseptic. You'll find these in medicine cabinets.
4. Craft lockpicks – You'll need 1 metal part. Lockpicks open many doors and containers early on.
5. Complete side quest “The First Assignment” (from Spike) – Gives you a blueprint for a better weapon.
6. Reach Survivor Rank 2 – Unlocks new recipes (e.g., firecrackers, molotovs).
7. Stay inside at night – Until you have decent gear and a firearm, avoid the dark.
What To Do First and What To Avoid
Do First
Avoid
Early Resource Priorities
| Resource | Use | Early Acquisition | Priority |
|---|---|---|---|
| Cloth | Medkits, bandages | Loot from medical cabinets, trash bins | High |
| Metal Parts | Weapon repair, lockpicks | From blueprints, desks, toolboxes | High |
| Alcohol / Antiseptic | Medkits | Medicine cabinets, pharmacies | High |
| Gauze | Medkits (alternate) | Same as cloth | Medium |
| Duct Tape | Weapon upgrades, repair | Hardware stores, workbenches | Medium |
| Chemicals | Firecrackers, molotovs | Chemistry labs, garages | Medium |
| Nails / Scrap | Weapon mods (e.g., shock) | From boxes, construction sites | Low early |
| Coins | Buying ammo/weapons from traders | Only purchase if you have extra | Low |
Common Beginner Mistakes
- Sprinting everywhere: Drains stamina, and you can't attack. Walk or jog until you need to escape.
- Not using Survivor Sense: Tap it every few seconds to highlight enemies and loot.
- Fighting at night: Even with a good weapon, Volatiles are tough. Sleep until morning (press sleep at safe house).
- Ignoring the parkour upgrade paths: Agility skills like “Rope Swing” and “Wall Run” change gameplay. Invest early points there.
- Using the same weapon for too long: We have durability. Switch weapons mid-fight.
- Forgetting to repair: Weapons can be repaired up to their durability value. Use a workbench (press Tab > Crafting > Repair).
- Selling rare weapon mods: Blueprint mods (like fire, electricity) should be applied to weapons, not sold.
- [ ] Complete the prologue and reach the Tower.
- [ ] Accept and complete “Awakening” main quest.
- [ ] Collect 2 cloth, 1 alcohol/antiseptic to craft first medkit.
- [ ] Collect at least 2 metal parts to craft 2 lockpicks.
- [ ] Unlock the first safe house (Tower) and sleep to set daytime.
- [ ] Complete “The First Assignment” side quest from Spike for weapon blueprint.
- [ ] Explore the immediate rooftops around the Tower to find hidden loot (white glowing objects).
- [ ] Locate a workbench (in the Tower basement) and repair your first weapon.
- [ ] Use Survivor Sense to identify threats before moving.
- [ ] Avoid entering the sewers or staying outside after sunset (check your watch—red/black colors).
- [ ] Practice parkour: climb the water tower next to the Tower, slide down, wall run.
- [ ] Save your game by sleeping in the safe house (main menu save also works).
- Dying Light is about movement. The better you parkour, the easier the game becomes.
- Side quests are not optional—they give skill points and valuable gear.
- Don't rush the main story. Take time to loot, upgrade, and learn the map.
- Switch to the following DLC later—it has a vehicle and a different map, but complete the main game first for context.
Day-One Checklist
Final Advice
Good luck, survivor. The night is long… but the rooftops are free.