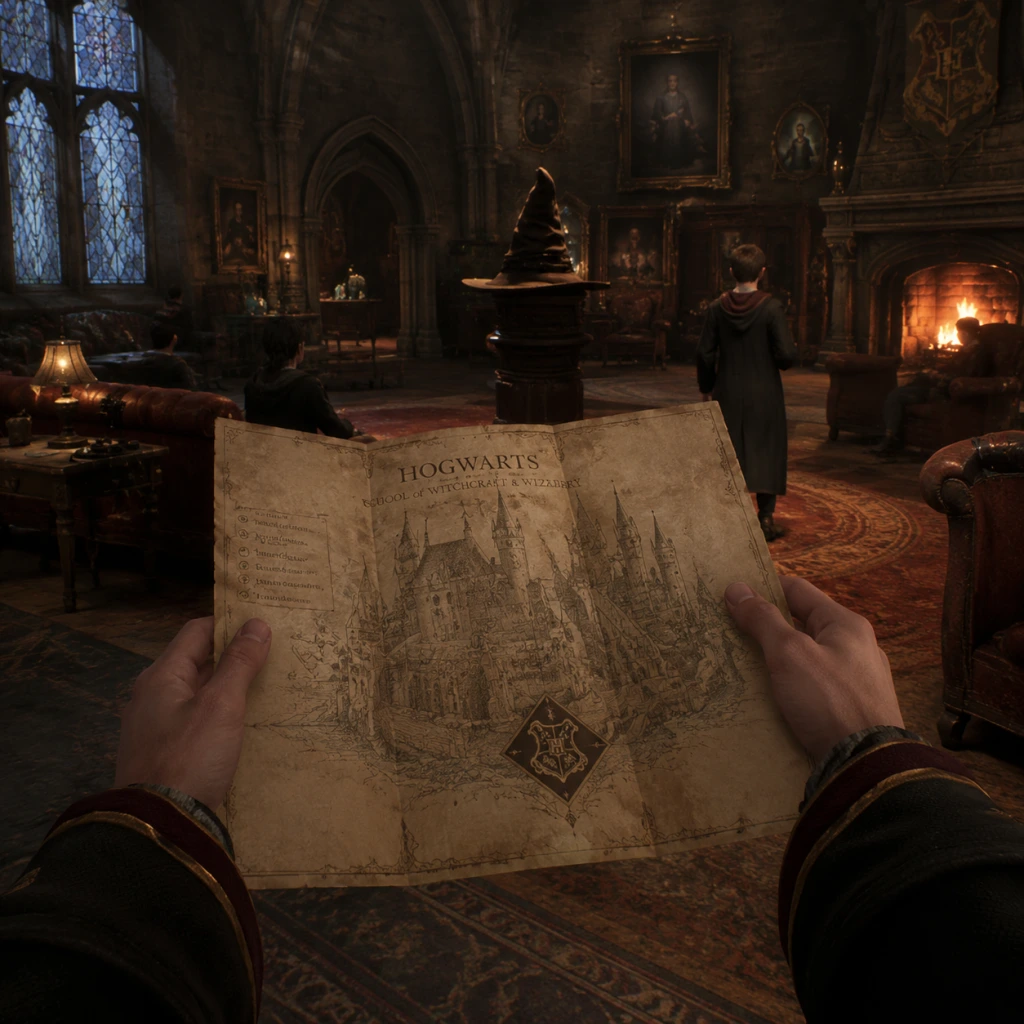
Getting Started
Getting Started with Hogwarts Legacy – First Hour & Beyond
Welcome to Hogwarts Legacy! This guide is tailored for brand-new players. We’ll walk you through the crucial first steps, explain the UI, controls, and early priorities so you can start your magical journey with confidence.
---
1. Character Creation & House Selection
You will create your character immediately after the opening cinematic. This is purely cosmetic – your choices affect nothing mechanical except appearance (and a few dialogue/reputation flags tied to your house).
Character Creator Options:
- Face presets – Choose from several head shapes and facial features.
- Hairstyle & Color – Many options for both.
- Skin tone, Eye color, Eyebrows, Scars, Freckles, etc.
- Voice – Select a pitch and style (affects game dialogue).
- Gender – Choose male, female, or non-binary. This does not lock you out of any romance or quests.
- Hogwarts House – After a short scene with the Sorting Hat (you can answer questions or just select your house directly). Important: Your house determines your common room, some side quests (e.g., Jackdaw for Hufflepuff, Sebastian for Slytherin), and enemy faction alignment. Choose wisely – you cannot change later.
> Pro Tip: If you want a specific house, look up the quiz answers for the Sorting Hat. Otherwise, pick the one that appeals to you most.
---
2. Controls – All Platforms (Defaults)
Here’s a quick reference for essential controls. You can fully remap them in Settings.
| Action | PC (Keyboard + Mouse) | PlayStation 4/5 | Xbox One/Series X | S | Nintendo Switch |
|---|---|---|---|---|---|
| Move | W/A/S/D | Left Stick | Left Stick | Left Stick | |
| Look / Aim | Mouse | Right Stick | Right Stick | Right Stick | |
| Interact / Talk | E | ▲ (Triangle) | Y | A? (Check in-game) | |
| Attack (Basic Cast) | Left Click | R2 | RT | ZR? | |
| Accio (Pull) | Q | L1 | LB | L | |
| Lumos (Light) | F | R1 | RB | R | |
| Spell Wheel (Pause) | Tab | Up on D-Pad | Up on D-Pad | Up on D-Pad | |
| Open Map | M | Touchpad | View | Map button | |
| Inventory | I | Options | Menu | + | |
| Jump | Space | X | A | B | |
| Dodge Roll | Shift | Circle | B | Right Stick Click? |
---
3. First Hour Walkthrough – Step by Step
Minute 0-10: Opening & Character Creation
- Watch the intro cinematic (you can skip after the first view).
- Create your character as described above.
- Witness the Sorting Hat ceremony. You choose your house.
- Walk through the Great Hall (follow the floating wisps).
- You’ll meet Professor Fig and be transported to Gringotts Wizarding Bank.
- Important: This is a tutorial sequence. Follow prompts to learn:
- After escaping, you’ll fly on a Thestral alongside Fig. Just enjoy the cinematic.
- You land near the castle. Follow Fig to the courtyards and corridors.
- Do not explore too much yet – stay on the critical path until you get your wand and map.
- You’ll be sorted again (visually) if you didn’t choose earlier. If you picked on creation, the Sorting Hat still does a quick scene.
- You’ll enter the Great Hall for the Sorting Ceremony (sped up if you already chose).
- Then you’re led to your common room. Take a moment to soak it in – you can return here anytime via Floo Flames.
- Your first real free-roam moment: leave common room, explore the castle.
- Essential: Open your map (M/Touchpad/View/Map button). You’ll see fast-travel points (Floo Flames). Click the “Hogwarts” icon to see the central fast travel point.
- Run to the courtyard where you’ll meet Natty (Natsai Onai) and Sebastian Sallow. This triggers the first main quest.
- You’ll attend your first Charms Class with Professor Ronen. Completing it unlocks Accio. Also unlock the Talents system (press K? On PC, or in menu).
- After class, you’re free to explore. The main quest will encourage you to visit Hogsmeade. Do this as soon as you can – it unlocks vendors, quests, and the Battle Arena.
- First Hogsmeade Visit: Buy the Wand Handle from Ollivanders (optional, cosmetic), but more importantly, visit Spintwitches Sporting Goods to buy a broom for 600 Galleons (you’ll need to complete the main quest “The High Keep” first to unlock broom flying anyway, but you can start saving).
- HUD Elements (Bottom-left): Your health bar (red), focus bar (blue for combat spells, yellow for Ancient Magic), and a mini-map.
- Spell Slots: You have four spell slots on the bottom-center. Press the spell wheel to switch sets (you can unlock up to four sets via talents).
- Quest Tracker: Top-left shows current objectives. Press J (PC) / ? to open quest log.
- Map: Press M (PC), Touchpad (PS), View (Xbox), Map button (Switch). Shows fast travel points, icons for quests, shops, and more. Click on icons to set a waypoint.
- Inventory & Gear: Press I (PC) / Options (PS) / Menu (Xbox) / + (Switch). Here you can equip robes, wands, scarves, etc. Gear has stats; always equip higher-level items.
- Field Guide: Tab (PC) / D-Pad Up (console) opens the magical compendium – lists of enemies, collectibles, and lore pages.
- Interact with everything – glowing objects often yield coins, gear, or field guide pages.
- Talk to all NPCs – many give side quests or hints.
- Plant Mallowsweet Seeds – once you have the Herbology class, plant these in the Room of Requirement after you unlock it. They are needed for combat trials.
- Use Revelio often – it highlights hidden chests, puzzle keystones, and field guide pages. It’s your best invisible tool.
- Brew Potions & Grow Plants – Edurus, Maxima, and Wiggenweld are must-haves. Start growing Fluxweed and Knotgrass when possible.
- Never sell Legendary gear – you may need it for transmog visuals. Instead, keep the highest-level gear of each slot; sell or destroy duplicates.
- Don’t skip the Tutorials – the game teaches you essential spells (Protego, Stupefy) and broom flying. Skipping will make combat harder.
- Avoid fighting trolls until level 10+ – trolls are tough. If you see one early, use Accio and dodge, but don’t engage directly.
- Do not waste gold on cosmetic gear early – save for broom (600) and potion recipes (300 each). Better gear drops from enemies and chests.
- Avoid fast traveling everywhere – walking through Hogwarts and Hogsmeade reveals hidden chests, merlin trials, and lore.
- Earn by: Selling gear you don’t need, completing quests, opening chests.
- Spend on: Broom (600), Potion Recipes (300 each), Seeds for growing (100-500). Avoid spending on random gear at vendors until you have the broom.
- Herbs & Potions: Always collect Fluxweed, Knotgrass, Shrivelfig from the wild or from your Room of Requirement.
- Beast Ingredients: For potions like Frog Legs or Moonstone – you’ll get these later. Don’t stress.
- Feathers: For upgrade materials. Collect as many as you can.
- Your gear has stats. Equip the highest-level items in each slot. Don’t worry about set bonuses early.
- Upgrade at: The Brooms & Loom shop in Hogsmeade after a side quest.
- [ ] Complete character creation and house selection.
- [ ] Finish opening tutorial (Gringotts/Thestral ride).
- [ ] Get sorted and explore common room.
- [ ] Attend Charms Class (unlocks Accio & Talents).
- [ ] Visit Hogsmeade (unlock fast travel there).
- [ ] Buy at least one potion recipe (preferably Wiggenweld).
- [ ] Complete “The High Keep” up to broom acquisition (if time allows).
- [ ] Use Revelio in Hogwarts to find at least 5 field guide pages.
- [ ] Set Talents (e.g., Spell Knowledge I).
- [ ] Equip the best gear you found.
- [ ] Save manually.
- Defeating all side quests.
- Upgrading gear.
- Finding all Merlin Trials.
- Rescuing beasts (that’s mid-game).
- Explore everywhere – Hogwarts is dense with secrets.
- Read the Field Guide pages – they give you XP and lore.
- Use the Room of Requirement for a crafting hub as soon as you unlock it (around level 10).
- Don’t be afraid to change difficulty – you can adjust anytime.
- Remember: This is a story-first game – enjoy the characters and world.
Minute 10-20: Professor Fig & the Gringotts Heist
- Basic movement and camera control.
- Interacting with objects (E/Y/▲).
- Using Lumos (F/R1/RB) in dark tunnels.
- Combat basics: You’ll learn to cast basic spells (the Protego shield and Leviosa). During the troll fight, practice dodging (Space/Circle/B) and blocking.
Minute 20-30: Arriving at Hogwarts
Minute 30-40: Free Roam Begins
Minute 40-60: Early Lessons & Hogsmeade
---
4. User Interface (UI) Overview
---
5. Essential Early Objectives (First 2-3 Hours)
1. Complete the “Welcome to Hogwarts” main quest. This unlocks the fast travel network and your first few spells.
2. Attend Charms Class. Unlocks Accio and the Talents menu. Do this immediately.
3. Visit Hogsmeade. Unlocks shops (potions, gear, ingredients). Buy a wand handle if you like, but save Galleons for broom (600) and potion recipes (300 each).
4. Unlock the Broom. Complete “The High Keep” main quest (requires level ~5 and a few side tasks). Flying is huge for exploration.
5. Start the “Tomb of the Map Room” main quest. This leads to your first ancient magic and the Room of Requirement (personal hub). Unlock it as soon as possible.
6. Spend Talent Points. You get talent points every level. Invest early in Spell Knowledge (unlocking more spell sets) and Core Talents (e.g., Incendio Mastery, Accio Mastery).
---
6. What to Do First & What to Avoid
✅ Do First:
❌ Avoid Until Later:
---
7. Early Resource Priorities
Gold (Galleons):
Crafting Ingredients:
Gear Upgrades:
---
8. Common Beginner Mistakes
1. Ignoring the Talents Menu – You can respec talent points only once (via a special potion). Use them wisely. Start with the Core tree.
2. Not Using Protego/Stupefy – Blocking is vital. Master the timing.
3. Trying to fight every enemy – You can run past many mobs. Focus on main quests early.
4. Hoarding Potions – Use them! They’re easy to craft once you have the recipe.
5. Not Doing Merlin Trials – These unlock extra gear inventory slots (you start very limited). Do them when you see them.
6. Forgetting to Brew or Grow – Set your Room of Requirement to auto-harvest once unlocked.
7. Saving too little or too often – The game auto-saves constantly, but manually save before big boss fights.
---
9. Day-One Checklist (First Play Session)
Goals:
Not Required Day One:
---
10. Final Tips
Now grab your wand, and welcome to Hogwarts!