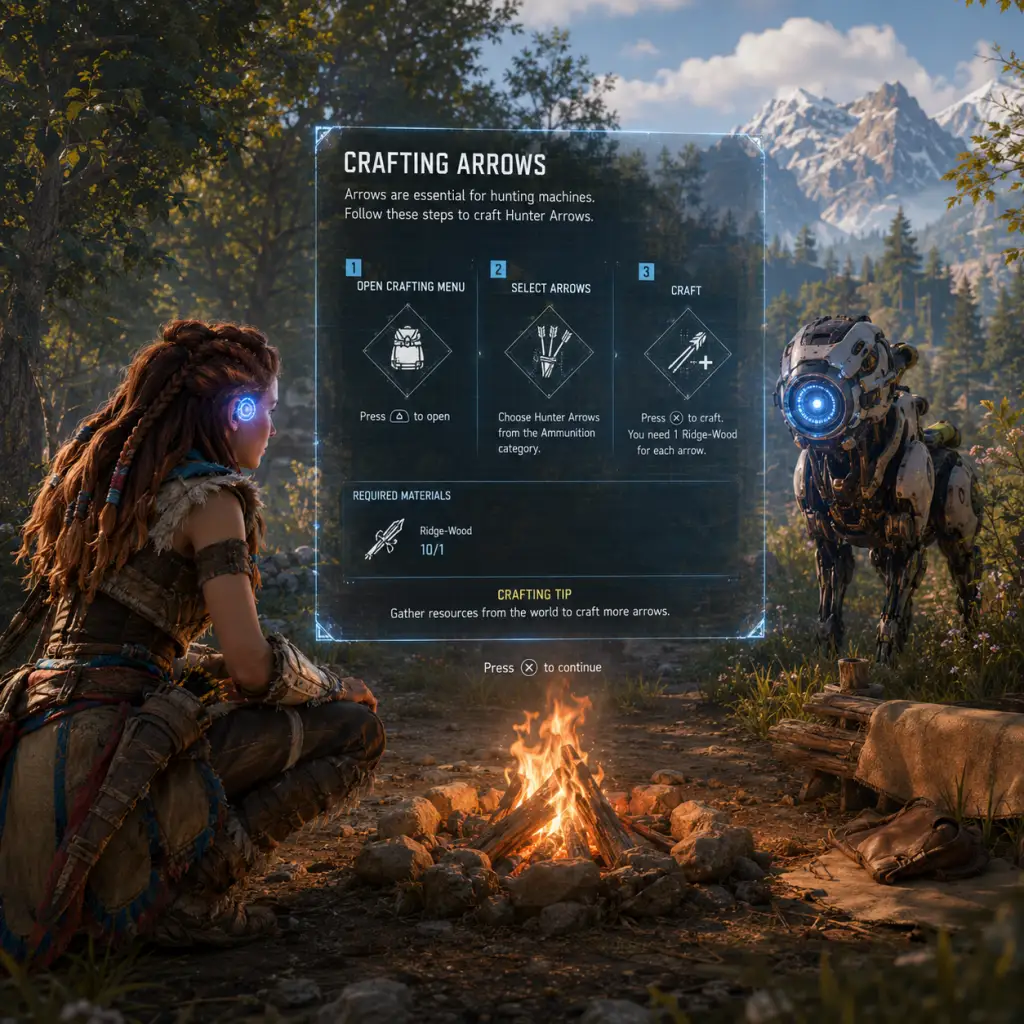
Getting Started
Getting Started with Horizon Forbidden West
Welcome to Horizon Forbidden West! This guide is tailored for brand-new players, covering the critical first hour, controls on all platforms, UI basics, early objectives, resource priorities, common mistakes, and a clear day-one checklist.
---
First Hour Walkthrough: From Opening to Chainscrape
1. Opening Cinematic & Prologue — The game begins with a brief recap of the first game. After the cutscene, you control Aloy in the frozen ruins of the Daunt. Follow the linear path, learning basic movement and camera controls. You’ll encounter a broken Focus (you get a new one) and a few easy tutorials.
2. Speak with Varl — Your first objective is to reach Varl. Along the way, you’ll practice climbing (yellow handholds) and gather simple resources (medicinal plants, wood).
3. Enter the Carja Fort — You’ll meet Captain Jaela and learn about the Tenakth and the Forbidden West. There’s no real combat yet; pay attention to dialogue.
4. Head to Barren Light — After the fort, follow the road. You’ll pass a campfire — interact to learn fast travel (initially only via campfires). You’ll also see a Tallneck in the distance (you can’t reach it yet).
5. Arrive at Barren Light — A hub area with merchants and side quests. Talk to the Merchant’s assistant for a side quest (optional). Main objective: Talk to Commander Ligan to get permission to enter the Forbidden West.
6. The Point of the Lance (Main Quest) — Ligan asks you to prove yourself by clearing a tremortusk attack. This is your first serious fight. Stick to stealth: use tall grass, silent strikes, and the rope caster (given). Dodge the machine’s charging attacks. After defeating it, you gain entry.
7. Enter the Forbidden West — You’ll cross the gate. Follow the path to Chainscrape, the first major village. This takes about 40–60 minutes depending on your pace.
---
Character Creation
There is no character creation. You play as Aloy, a fixed protagonist. You cannot change her appearance, gender, or name. However, you can customize her outfits (armor) later, which change stats and visuals.
---
Controls on All Platforms
#### PlayStation 5 (DualSense) - Default
| Action | Button |
|---|---|
| Move | Left Stick |
| Look / Aim | Right Stick |
| Sprint | L3 (click left stick) |
| Crouch / Slide | Circle |
| Jump / Climb | Cross |
| Dodge | Circle (while moving) |
| Attack (melee) | R1 |
| Heavy Attack (hold) | R2 |
| Shoot (bow) | R2 (aim with L2) |
| Focus | R3 (click right stick) |
| Weapon Wheel | L1 (hold) |
| Quick Heal | D-Pad Up |
| Use Item (e.g., trap) | D-Pad Right |
| Use Tool (e.g., whistle) | D-Pad Left |
| Call Mount | D-Pad Down |
| Interact / Pick Up | Triangle |
| Reload | Square (while weapon drawn) |
| Aim (weapon) | L2 |
| Override | Hold Triangle (when prompt appears) |
| Swim Down | Cross (while swimming) |
| Swim Up | Circle |
Same as PS5 except:
- Touchpad click = Map
- Options = Pause / Menu
- No haptic feedback differences.
#### PC (Keyboard + Mouse) - Default
| Action | Key |
|---|---|
| Move | W/A/S/D |
| Look / Aim | Mouse (move) |
| Sprint | Left Shift |
| Crouch / Slide | C |
| Jump / Climb | Space |
| Dodge | C (while moving) or Double-tap W/A/S/D? Actually default dodge is Space + direction? Let's confirm: default dodge is C while moving. |
| Attack (melee) | Left Mouse Button |
| Heavy Attack | Right Mouse Button (hold) |
| Shoot (bow) | Left Mouse (while aiming with right mouse) |
| Focus | Q |
| Weapon Wheel | Tab (hold) |
| Quick Heal | 1 |
| Use Item | 2 |
| Use Tool | 3 |
| Call Mount | 4 |
| Interact / Pick Up | E |
| Reload | R (while weapon drawn) |
| Aim (weapon) | Right Mouse Button (hold) |
| Override | Hold E |
| Map | M |
| Menu | Esc |
---
UI Overview
- Compass (top of screen) — Shows cardinal directions, quest markers (main quest: yellow diamond; side quests: green; errands: blue), and points of interest.
- Health Bar (bottom left) — Green bar; turns yellow when damaged. You can restore health with medicinal berries (collected from bushes) or potions.
- Stamina Bar (below health) — Only appears when using Valor Surges; otherwise hidden.
- Weapon / Ammo Indicator (bottom center) — Shows current weapon and ammo count.
- Ammo Wheel (hold L1/Tab) — Pause time to select weapons and ammo types. Also shows tools (trap, whistle, etc.) and a quick-heal slot.
- Notifications (center-right) — Quest updates, XP gained, skill points, etc.
- Tool / Item Slots (D-Pad) — Quick access to health, traps, potions, mount call.
- Focus Mode (R3/Q) — Highlights interactable objects, machine weak points, tracks, and enemies. Essential for finding climbable surfaces and resources.
- Mini-map — Available when you unlock the map; shows local area with markers. You can toggle it in options.
- Don’t ignore side quests completely — Some give skill points and unique gear. But don’t spend hours on them early; focus on main quest until you get the Shieldwing and Sunwing (mount).
- Avoid high-level machines — Shell-walkers, snapmaws, and especially Thunderjaws will one-shot you. Run away until you have better weapons and skills.
- Don’t waste resources on every weapon — Stick to a Hunter Bow, a Sharpshot Bow (long-range), and a Ropecaster early. Upgrade them rather than buying new ones.
- Don’t skip the tutorial logs — They explain elemental weaknesses and machine parts. Read them in the Notebook menu.
- Avoid fall damage — The early game has many cliffs. Use the Shieldwing (unlocked mid-game) to glide. Before that, climb carefully and use ledges.
- Don’t sell machine parts — Many are needed for weapon/outfit upgrades. Only sell Scrap and Unprocessed Metal (green quality resources).
- Don’t fight machines head-on — Use stealth, traps, and elemental arrows. A direct fight against a large group will drain your resources fast.
---
Essential Early Objectives (What to Do First)
1. Complete the Main Quest "The Point of the Lance" — This unlocks the Forbidden West and gives you the rope caster (crucial for later fights).
2. Reach Chainscrape — The first hub. Talk to everyone: merchants, the blacksmith (for weapon upgrades), and the stitcher (for outfits).
3. Buy a better bow — The Hunter Bow from the merchant is cheap and powerful. Also buy fire arrows (useful against machines weak to fire).
4. Upgrade your pouches — Visit the Trapper in Chainscrape to craft larger capacity for arrows, potions, and resources. Prioritize the Resource Pouch (more inventory space) and Small Pouch (more ammo).
5. Unlock the Shieldwing — This is part of the main quest "The Embassy" (second main quest). Do it as soon as possible; gliding saves time and avoids fall damage.
6. Learn to Override machines — Early quests teach you stealth overrides. Practice on grazers and striders.
7. Gather medicinal plants — Always collect them; they’re the primary healing source in the early game.
8. Complete the first Hunting Ground (optional but helpful) — The Reward from the hunting grounds near Chainscrape gives you a Warbow (good for freezing machines).
---
What to Avoid (Early Game Pitfalls)
---
Early Resource Priorities
| Resource | Use | Priority |
|---|---|---|
| Medicinal Berries | Healing | High |
| Wood | Arrows (all types) | High |
| Wire | Tie-down and shock arrows | High |
| Ridge-Wood | Long-range arrows | Medium |
| Machine Parts | Upgrades | High (don’t sell) |
| Celestial Water | Potions | Medium |
| Blaze | Fire arrows / fuel | High |
| Chillwater | Freeze arrows | Medium |
| Sparker | Shock arrows | Medium |
| Metal Shards | Currency | Low (early game) |
---
Common Beginner Mistakes
1. Not using Focus — The Focus highlights weak spots, climbable surfaces, and lootable items. Press it frequently.
2. Not crafting ammo mid-combat — You can craft arrows from the weapon wheel (R1/Tab). Don’t run out.
3. Ignoring weapon upgrades — Visit the workbench in Chainscrape to improve bow damage, handling, etc. Use machine parts.
4. Forgetting to dodge — Circle/C is your best friend. Every machine has a tell; dodge sideways or toward the machine (not away).
5. Over-encumbered inventory — Sell waste resources daily. Otherwise you can’t pick up new parts.
6. Fighting from a mount — Early mounts are fragile. Dismount before combat.
7. Not reading machine lore — Each machine has weaknesses (fire, freeze, shock, acid). Use the Notebook to learn.
8. Wasting metal shards on cosmetics — Save them for gear upgrades.
---
Day-One Checklist
- [ ] Complete the prologue and reach Barren Light.
- [ ] Finish "The Point of the Lance" main quest.
- [ ] Enter Chainscrape and talk to all NPCs.
- [ ] Buy a Hunter Bow and Fire Arrows from the merchant.
- [ ] Upgrade at least Resource Pouch and Small Pouch at the Trapper.
- [ ] Equip a Nora Tracker outfit (if available) for stealth bonus.
- [ ] Loot every machine you kill for parts.
- [ ] Collect at least 50 medicinal berries.
- [ ] Complete the First Hunting Ground (optional but recommended).
- [ ] Unlock the Shieldwing (progress main quest to "The Embassy").
- [ ] Save manually before every major battle.
- Save often — Autosave is frequent, but manual saves at campfires prevent loss.
- Toggle Aim Assist (Settings > Controls) if you struggle with aiming.
- Use photo mode — You’ll encounter stunning vistas. Pause (Options/Esc) > Photo Mode.
- Explore — This game rewards curiosity. Look for glowing yellow flowers (metal flowers), caves, and ruins.
- Difficulty — Start on Normal or Easy if you’re new to action RPGs. You can change it anytime.
---
Final Tips
Enjoy your journey through the Forbidden West, Aloy!