Character Skills
Character Skills Guide for Left 4 Dead 2
Overview
Left 4 Dead 2 does not feature traditional RPG-style character skills, classes, or talent trees. All four playable Survivors—Coach, Ellis, Rochelle, and Nick—are mechanically identical. Every Survivor has the same health, speed, weapon proficiency, item usage, and special move set. The only differences are cosmetic (appearance, voice lines, personality). Therefore, this guide covers the universal actions and abilities available to every Survivor, treating them as “skills” that players must master.
There are no cooldowns, upgrades, or unlockable moves. All skills are available from the start and are limited only by item availability and player timing. The “Director” AI dynamically adjusts the difficulty (spawn rates, item placement, tank triggers) but does not grant character-specific abilities.
---
Universal Survivor Abilities (Skills)
Each Survivor can perform the following actions. Mastery of these is the core of gameplay.
#### 1. Primary Attack (Shooting)
- Effect: Fire your currently equipped firearm. Deals damage based on weapon type (e.g., Assault Rifle, Shotgun, Sniper Rifle, SMG).
- Usage: Standard ranged combat. Aim for headshots (2x damage on Common Infected, 1.5x on Special Infected).
- Cooldown/Recovery: Ammo-based; reload time varies by weapon. No skill cooldown.
- Synergies: Use with Adrenaline to reduce reload time. Pair with explosive or bile bombs to clear clusters.
- Effect: Switch to secondary weapon – either a Pistol (infinite ammo, semi-auto) or a melee weapon (Chainsaw, Fire Axe, Katana, Machete, Cricket Bat, Frying Pan, Golf Club, Police Baton, Tonfa). Melee swings hit multiple enemies in an arc.
- Usage: Conserve ammo during hordes, kill Common Infected quickly, or deal high close-range damage to Special Infected (especially melee against Spitters, Jockeys, Hunters).
- Cooldown: None (swing speed depends on weapon). Chainsaw has limited fuel.
- Upgrades: No skill upgrades, but better melee weapons (Katana, Fire Axe) have larger arcs and higher damage.
- Recommended Build: Always carry a melee weapon on any Survivor for staying alive in tight spaces.
- Effect: Push enemies back. Creates distance, stuns Common Infected, and interrupts Special Infected attacks (e.g., Hunter pounce, Jockey ride, Smoker tongue).
- Cooldown: None, but rapid shoving has diminishing returns. Can shove repeatedly but only for a short time before the attack becomes less effective (enemies recover faster).
- Synergy: Shove then immediately use a shotgun for a headshot. Shove a Charger mid-charge to stop it.
- When to Use: Always when surrounded, when a teammate is being grabbed, or before healing/reviving.
- Effect: Revive a downed teammate. Takes 3 seconds normally, 1.5 seconds with Adrenaline.
- Cooldown: None, but you cannot revive if incapacitated yourself. One survivor at a time per downed player.
- Important: While reviving, you are vulnerable. Use shove or have a teammate cover you.
- Synergy: Use Adrenaline before reviving to speed it up. Follow with a defibrillator for instant revival if the teammate is dead (not just black-and-white).
- Effect: Use medkits on yourself or a teammate. Heals 50 health (normal) or 80 health (with Offensive/Medic upgrades from mods – not in vanilla). Cannot exceed 100 HP.
- Time: 2.5 seconds to apply; longer if interrupted.
- Cooldown: None, but limited by medkit availability.
- Synergy: Use on a teammate with less than 30 HP to prevent incapped. Use after a tank fight.
- Effect: Equip and throw Pipe Bomb, Molotov, Bile Jar, or Grenade Launcher (special weapon). Each has unique effect:
- Cooldown: No cooldown but limited supply per campaign (usually 1-2 of each per level).
- Synergy: Pair Bile Jar with a Pipe Bomb to group enemies before explosion. Molotovs block choke points.
- Effect: Temporarily increases movement speed, removes screen shake, reduces reload and healing times. Lasts about 10 seconds.
- Cooldown: None, but only one active at a time.
- When to Use: Before a long sprint, while healing/reviving, during Tank fight (to dodge rocks).
- Effect: Switch between primary and secondary weapons. No delay beyond animation.
- Tactical Use: Keep melee weapon ready when hearing a Witch or when entering tight corridors.
- Effect: Reduces profile, improves accuracy, allows moving through low passages.
- When to Use: To hide behind short cover, or to steady aim down a long corridor.
- Effect: Provides light in dark areas. Attracts minimal attention from Infected (some mods affect visibility).
- When to Use: Always in dark maps (e.g., “The Parish” at night). Turn off if trying to ambush or hide (rarely needed).
#### 2. Secondary Attack (Melee / Pistol)
#### 3. Shove
#### 4. Revive
#### 5. Heal (First Aid Kit)
#### 6. Use Item (Throwables / Explosives)
- Pipe Bomb: Attracts Common Infected with sound, then explodes after 3 seconds – kills most nearby Common Infected, damages Specials.
- Molotov: Creates a fire wall that burns Common Infected continuously. Specials take damage but may pass through.
- Bile Jar: Covers enemies in bile, causing Common Infected to attack the covered target. Useful for distraction.
- Grenade Launcher (if available): Fires explosive rounds. High area damage but limited ammo.
#### 7. Adrenaline
#### 8. Weapon Swap
#### 9. Crouch
#### 10. Flashlight (Toggle)
---
Special Infected Abilities (Enemy Skills – Player Knowledge)
While not player skills, knowing how to counter Special Infected is essential. The following are the enemy “moves” you must react to:
| Special Infected | Ability | Counter |
|---|---|---|
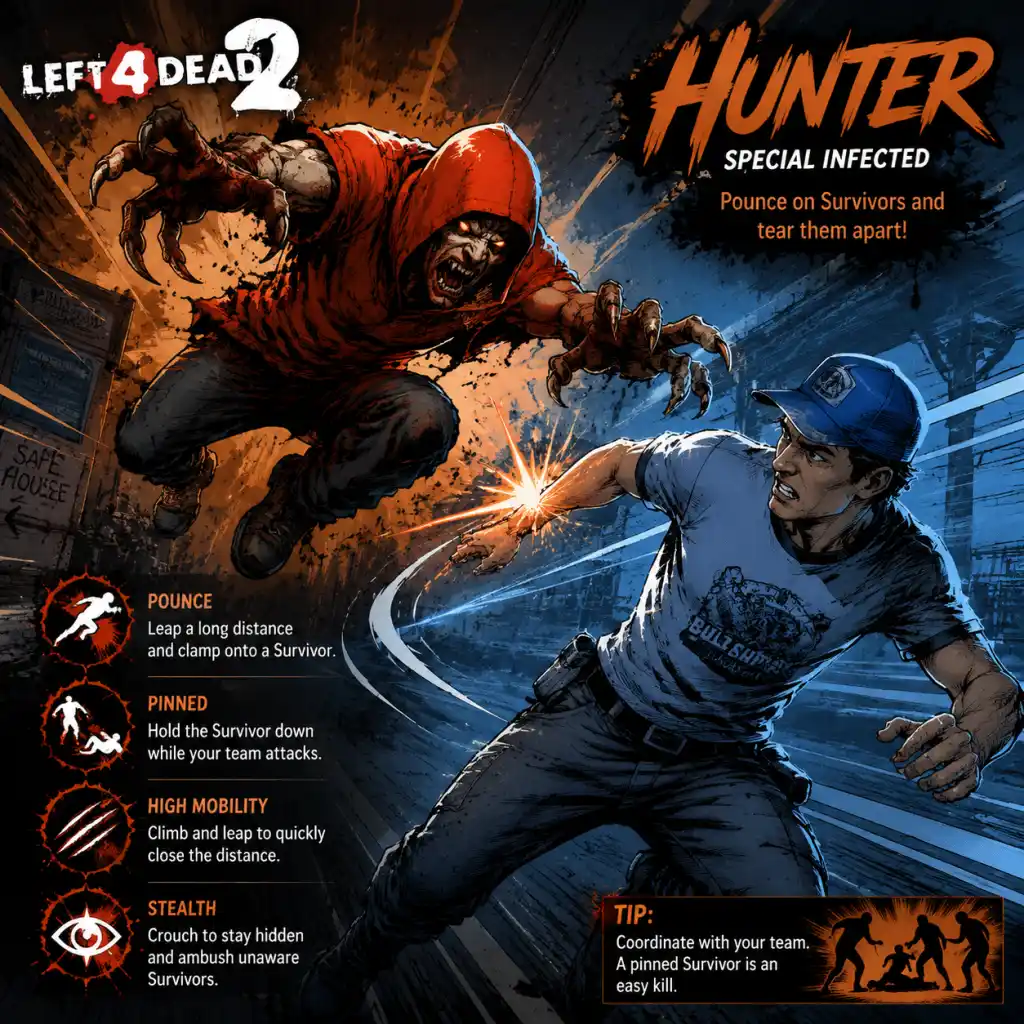
| Hunter | Pounce: pins a Survivor to the ground, deals damage over time. | Shove before pounce connects; melee or shoot while pinned (teammate shoves Hunter off). |
| Smoker | Tongue: grabs a Survivor from distance and drags them. | Shove the tongue or shoot it; melee the Smoker if close. |
| Boomer | Vomit: blinds a Survivor and attracts a horde. | Avoid line of sight; shove away if vomited; clear bile with water or wait. |
| Spitter | Acid: spits a pool of acid that deals damage over time. | Move out of acid; shoot the Spitter quickly. |
| Jockey | Ride: jumps on a Survivor’s head and controls movement toward danger. | Shove or melee the Jockey off; teammate must shoot it. |
| Charger | Charge: runs straight, grabs a Survivor and slams them. | Shove the Charger before it connects; side-step; shoot while being slammed (teammate saves). |
| Tank | Punch/Throw: massive damage. | Kite, stay out of melee range, use fire or explosives, coordinate with team. |
| Witch | Cry then attack: one-hit down on Survivor. | Avoid or use flashlight to scare; kill while crying (headshots with sniper). |
| Common Infected | Swarm: slow down and damage. | Shove, melee, area damage weapons. |
Recommended Builds (Loadout Strategies)
Since all characters are identical, “builds” refer to weapon and item choices, not skills. Here are three effective loadout roles you can adopt regardless of which Survivor you play:
#### 1. The Crowd Controller
- Primary: Auto Shotgun (e.g., Tactical Shotgun) or Grenade Launcher.
- Secondary: Katana or Machete.
- Items: Pipe Bomb, Bile Jar, Adrenaline.
- Strategy: Stay near teammates, use shotgun to push back hordes, melee when reloading. Pipe bombs clear tight groups. Bile Jar for chaotic situations.
- Primary: Hunting Rifle or Sniper Rifle.
- Secondary: Pistol (for horde clean-up) or melee.
- Items: Molotov, First Aid Kit, Adrenaline.
- Strategy: Hang back, prioritize Special Infected headshots. Use Molotov to block paths. Heal teammates as needed.
- Primary: Assault Rifle (e.g., M16) or Combat Shotgun.
- Secondary: Fire Axe or Chainsaw.
- Items: Pipe Bomb, Adrenaline, Molotov.
- Strategy: Move forward quickly, clear rooms with assault rifle, switch to melee for short range. Use Adrenaline for speed bursts during hordes.
#### 2. The Precision Support
#### 3. The Aggressive Pusher
---
When to Use Each Skill (Situational Guide)
| Situation | Skill to Use | Reasoning |
|---|---|---|
| Surrounded by Common Infected | Shove + Melee or Shotgun | Create space and kill quickly. |
| Teammate pinned by Hunter/Jockey | Shove the enemy off (if close) or shoot it | Quickest rescue. |
| Large horde approaching | Pipe Bomb or Molotov | Area denial or explosion. |
| Tank spawn | Molotov (set on fire) + kite with primary | Fire slows Tank; keep distance. |
| Low health (below 30) and no medkit | Adrenaline + run to saferoom | Speed boost to reach safe zone. |
| Witch encountered (must kill) | Sniper headshots while teammate lures | One-shot if crouched and precise. |
| Long corridor with Spitter acid | Adrenaline + sprint through | Minimize damage from acid. |
| Reviving teammate under fire | Shove enemies first, then revive | Avoid interruption. |
Combos and Synergies
While no official combos exist, these player coordination tactics are effective:
- Bile Jar + Pipe Bomb: Throw bile jar at a group, then pipe bomb. The attracted horde clusters, then explodes. Clears huge waves.
- Molotov + Adrenaline: Use adrenaline after throwing molotov to reposition faster.
- Shove + Shotgun: Shove a Hunter mid-pounce, then blast it with shotgun before it recovers.
- Defibrillator + Adrenaline: Use adrenaline before paddling to revive instantly (1 second instead of 3).
- Team Firing: When a Charger grabs a teammate, everyone shoot its head simultaneously to kill it before the slam.
- There is no skill tree or leveling system in Left 4 Dead 2. All characters are equal.
- The only progression is unlocking achievements (which grant no in-game advantages) and completing campaigns on higher difficulties (Easy, Normal, Advanced, Expert).
- Mutations (game modes) may modify abilities (e.g., “Realism” removes outlines, “Versus” allows players to play as Special Infected).
- Community mods on PC can add custom skills or character differences, but this guide covers the official vanilla game.
---
Important Notes
Master these universal skills, and any Survivor will be as effective as any other. The true skill lies in teamwork, communication, and situational awareness.