Getting Started
Getting Started Guide for Overwatch 2
Welcome to Overwatch 2! This guide is designed to get you from zero to hero in your first few sessions. We'll cover your first hour, controls on all platforms, the user interface, what to do (and avoid), common mistakes, and a day-one checklist.
First Hour Walkthrough
1. Launch the game – After installing, select "Play" from the Battle.net launcher (PC) or console home screen. The game will set up automatically.
2. Account & first screen – You'll be asked to agree to the terms of service and set your display name. Overwatch 2 is free-to-play, but you can link a phone number for competitive mode later.
3. Tutorial – The game automatically starts the tutorial ("First Mission") as the hero Soldier: 76. Follow the on-screen prompts: move, shoot, use abilities (Sprint, Biotic Field, Helix Rockets), and complete objectives. This takes about 10–15 minutes.
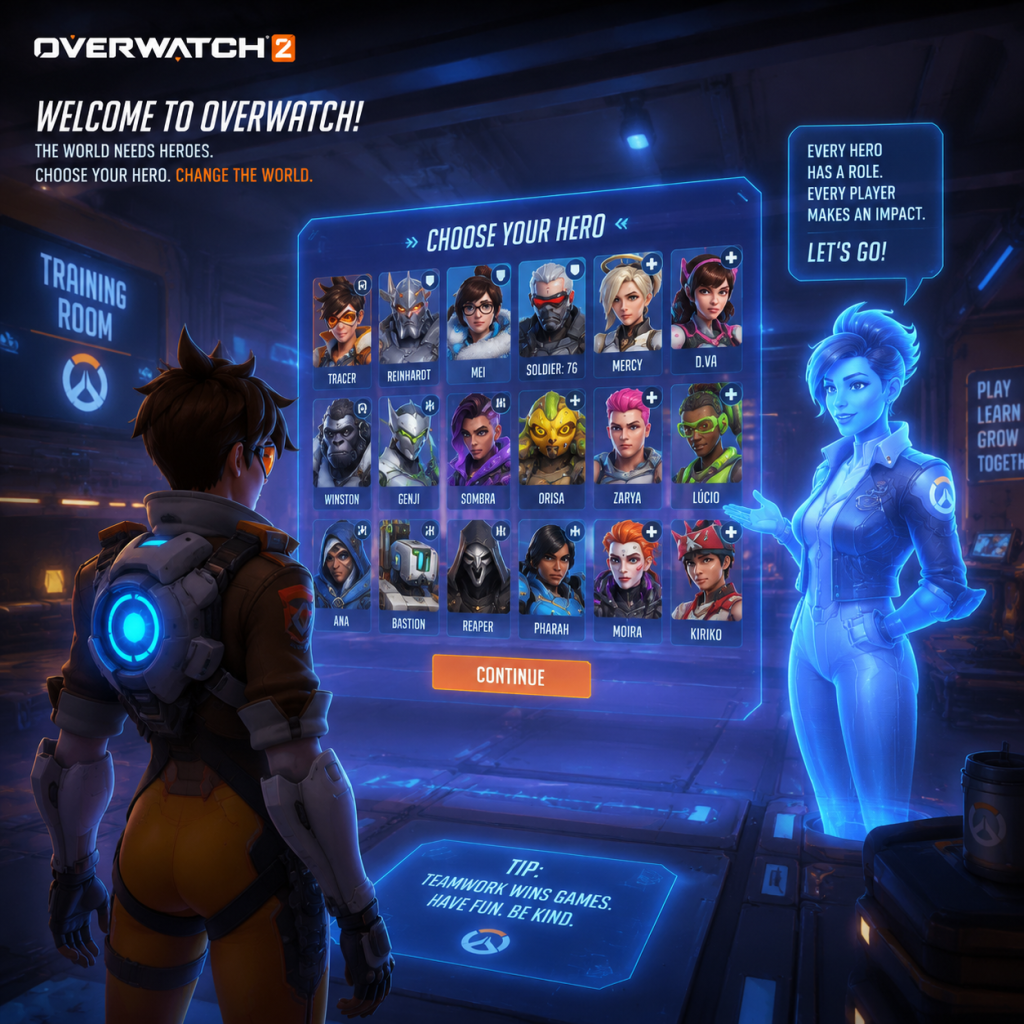
4. Hero selection – After the tutorial, you'll see the Hero Gallery. Overwatch 2 has no character creation; instead, you choose from over 35 heroes, each with unique weapons and abilities. Heroes are divided into three roles: Tank, Damage, and Support. All heroes are unlocked (except Kiriko, who requires a bit of playtime or battle pass progression).
5. Practice Range – Upon finishing the tutorial, the game encourages you to visit the Practice Range. Do that! Press F1 (PC) or your platform's menu button to access it from the main menu. Try out a few heroes from each role to see what feels good.
6. First match – After the Practice Range, jump into a quick play match (unranked). Select the "Quick Play" option from the Play menu. The game will match you with other players of similar skill. Expect to lose most of your first few games – that's normal. Focus on learning maps and abilities.
7. After first match – You'll earn experience points (XP) and possibly unlock challenges. Complete the "Daily" and "Weekly" challenges from the main menu for extra XP. Also, check your Battle Pass progress.
Controls on All Platforms
Below are the default controls for each platform. You can customize them in Settings → Controls. Key actions include movement, abilities, ultimate, communication, and interact.
#### PC (Keyboard & Mouse)
| Action | Default Key |
|---|---|
| Move | W, A, S, D |
| Aim | Mouse movement |
| Primary Fire | Left Mouse Button |
| Secondary Fire | Right Mouse Button (if available) |
| Ability 1 | Shift |
| Ability 2 | E |
| Ultimate Ability | Q |
| Reload | R |
| Interact / Use | F |
| Melee | V |
| Crouch | Left Ctrl |
| Jump | Space |
| Push to Talk (Voice) | ` (backtick) or T (team chat) |
| Ping System | Middle Mouse Button or G |
| Ult Status | Tab |
| Communication Wheel | C |
| Action | Default Button |
|---|---|
| Move | Left Stick |
| Aim | Right Stick |
| Primary Fire | R2 |
| Secondary Fire | L2 (if available) |
| Ability 1 | L1 |
| Ability 2 | R1 |
| Ultimate Ability | Triangle |
| Reload | Square |
| Interact / Use | Cross (X) |
| Melee | R3 (press right stick) |
| Crouch | Circle |
| Jump | Cross (X) (by default, but can be swapped) |
| Push to Talk (Voice) | D-Pad Up (hold) – also enables mic |
| Ping System | D-Pad Down |
| Ult Status | Touchpad swipe up |
| Communication Wheel | D-Pad Left |
| Action | Default Button |
|---|---|
| Move | Left Stick |
| Aim | Right Stick |
| Primary Fire | RT |
| Secondary Fire | LT (if available) |
| Ability 1 | LB |
| Ability 2 | RB |
| Ultimate Ability | Y |
| Reload | X |
| Interact / Use | A |
| Melee | R Stick click |
| Crouch | B |
| Jump | A (by default) |
| Push to Talk (Voice) | D-Pad Up (hold) |
| Ping System | D-Pad Down |
| Ult Status | View button (back) |
| Communication Wheel | D-Pad Left |
| Action | Default Button |
|---|---|
| Move | Left Stick |
| Aim | Right Stick |
| Primary Fire | ZR |
| Secondary Fire | ZL |
| Ability 1 | L |
| Ability 2 | R |
| Ultimate Ability | X |
| Reload | Y |
| Interact / Use | A |
| Melee | R Stick click |
| Crouch | B |
| Jump | A (by default) |
| Push to Talk (Voice) | D-Pad Up (hold) – requires mic |
| Ping System | D-Pad Down |
| Ult Status | – (use touchpad or map B to a custom button) |
| Communication Wheel | D-Pad Left |
UI Overview (Heads-Up Display)
When playing, you'll see several elements on screen. Here's a breakdown:
- Health Bar (bottom center) – Your hero's health (white) and armor/shields (other colors). Below it are ability icons with cooldown timers. Your ultimate meter is a glowing icon; when fully charged (100%), it pulses and you can press your ultimate key.
- Crosshair (center) – Your weapon’s aim point. Customizable in settings.
- Kill Feed (top right) – Shows kills, assists, and ultimate usage by both teams. Blue text = your team, red = enemies.
- Objective / Status (top center) – Shows match time, round score, and objective markers (e.g., payload, capture point).
- Team UI (top bar) – Shows your teammates' hero icons, health bars, and ultimate status (checkmark if ready).
- Enemy UI – When you hit an enemy, their health bar appears above them briefly.
- Communication Wheel – Activated by a button (default C on PC, D-Pad left on consoles). Use it to call out "Group Up," "Ultimate Status," or "Need Healing."
- Ping System – Middle mouse button (PC) or D-Pad down (console) to ping locations, enemies, or objectives. Very useful for non-verbal communication.
- Use the Practice Range for 10–15 minutes each day to warm up aim and try new heroes.
- Stick with your team – Overwatch is a team game; never go alone. Use the "Group Up" ping.
- Play the objective – Capture the point, push the payload, or defend. Kills alone don't win matches.
- Communicate positively – Use pings and voice chat (if comfortable). Say "gg" at the end.
- Watch kill cams – When you die, pay attention to what the enemy did. Learn from mistakes.
- Focus on one role initially – Mastering one role (e.g., Support) will help you understand game flow faster.
- Playing Competitive mode until you have at least 20–30 hours and know 3 heroes well. It requires an even higher skill level.
- Trickling – Dying one by one to the enemy team. Wait for your teammates to respawn (use the respawn timer).
- Ignoring your role – If you pick Support, heal your team; if Tank, create space; if Damage, focus key targets (enemy supports or damage dealers).
- Holding your ultimate forever – Use it! If you have your ultimate ready and the team is engaging, pop it. The longer you hold, the less value.
- Solo flanking as a beginner – You'll likely die without impact. Stay with your team.
- Spending currency on cosmetics early – Save your credits (earned from loot boxes or challenges) until you understand which skins you really want.
- Battle Pass XP – Earned from matches and challenges. The free pass gives some cosmetics. If you enjoy the game, consider the premium pass after leveling up a bit.
- Credits – In-game currency to purchase cosmetic items (skins, emotes, etc.). You earn a small amount from the Battle Pass and some challenges. Don't spend them early; save for a hero skin you love.
- Older Cosmetic Items (from Overwatch 1) – You may randomly obtain them from free loot boxes (available through Battle Pass progression). They are purely cosmetic.
- Hero Mastery – Not a resource, but focus on learning hero mechanics, not collecting skins.
- Not grouping up – Running in alone repeatedly. Use the respawn timer to wait for your team.
- Overextending – Chasing kills deep into enemy territory and dying. Stay near cover.
- Ignoring sound – Footsteps and ability sounds are crucial. Use headphones to hear flankers.
- Bad ultimate usage – Pressing Q as soon as you get it, or holding it forever. Learn when to combo with teammates (e.g., Zarya Graviton Surge + Hanzo Dragonstrike).
- Not using abilities – Some new players forget to use cooldowns. Check your ability cooldowns regularly.
- Tunnel vision – Focusing only on one enemy while ignoring threats from the side.
- Not switching heroes – If a hero isn't working, swap! The game allows hero changes during a match (as long as you're not dead).
- Playing all roles at once – Stick to one role per session until you're comfortable.
- [ ] Complete the tutorial (First Mission).
- [ ] Visit the Practice Range and try 3 heroes (one from each role).
- [ ] Play one Practice vs. AI match to get comfortable with controls.
- [ ] Adjust sensitivity and controls in Settings to your liking.
- [ ] Complete at least one Daily Challenge (from main menu).
- [ ] Play two Quick Play matches – focus on staying with the team and using abilities.
- [ ] After each match, spend 2 minutes reviewing a kill cam to learn from your death.
- [ ] Watch one beginner tips video (official Overwatch tutorial or popular creator).
- [ ] Add a friend (optional) – party up for better teamwork.
- [ ] End your session by checking the Battle Pass and claiming any unlocked rewards.
Essential Early Objectives
As a brand-new player, your primary goals in the first few days should be:
1. Complete the Tutorial – It teaches basic mechanics and gives you a small XP bonus.
2. Play vs. AI – After the tutorial, queue for "Practice vs. AI" (found in the Play menu). This lets you learn heroes without pressure. Play at least 3–5 AI matches.
3. Learn Three Heroes – One per Role – Pick one Tank, one Damage, and one Support you enjoy. For beginners, recommended heroes:
- Tank: Reinhardt (simple shield and melee), Orisa (good survivability), or Winston (mobile and disruptive).
- Damage: Soldier: 76 (classic FPS feel), Reaper (shotgun flanker), or Pharah (rockets, easy to learn).
- Support: Mercy (heal beam and resurrection), Lucio (passive healing aura), or Moira (high healing and damage).
4. Unlock Competitive Mode – To play ranked, you need to win 50 Quick Play matches. Don't rush this; focus on learning first.
5. Complete Daily & Weekly Challenges – From the main menu, Challenges tab. They award Battle Pass XP, which unlocks cosmetics and sometimes heroes (Kiriko requires some progress).
6. Customize Your Controls – Go to Settings → Controls. Adjust sensitivity (start around 5-7 on PC, 30-45 on console), invert Y if needed, and remap abilities if uncomfortable.
What to Do First and What to Avoid
#### Do:
#### Avoid:
Early Resource Priorities
Overwatch 2 has no pay-to-win mechanics. Resources include:
Priority order for new players:
1. Learn the game mechanics and maps.
2. Experiment with heroes.
3. Complete challenges for XP (to unlock Battle Pass tiers).
4. Use credits only when you have a surplus (after several weeks).
Common Beginner Mistakes
Clear Day-One Checklist
By following this checklist, you'll have a solid foundation for your first day in Overwatch 2. Good luck, and have fun!