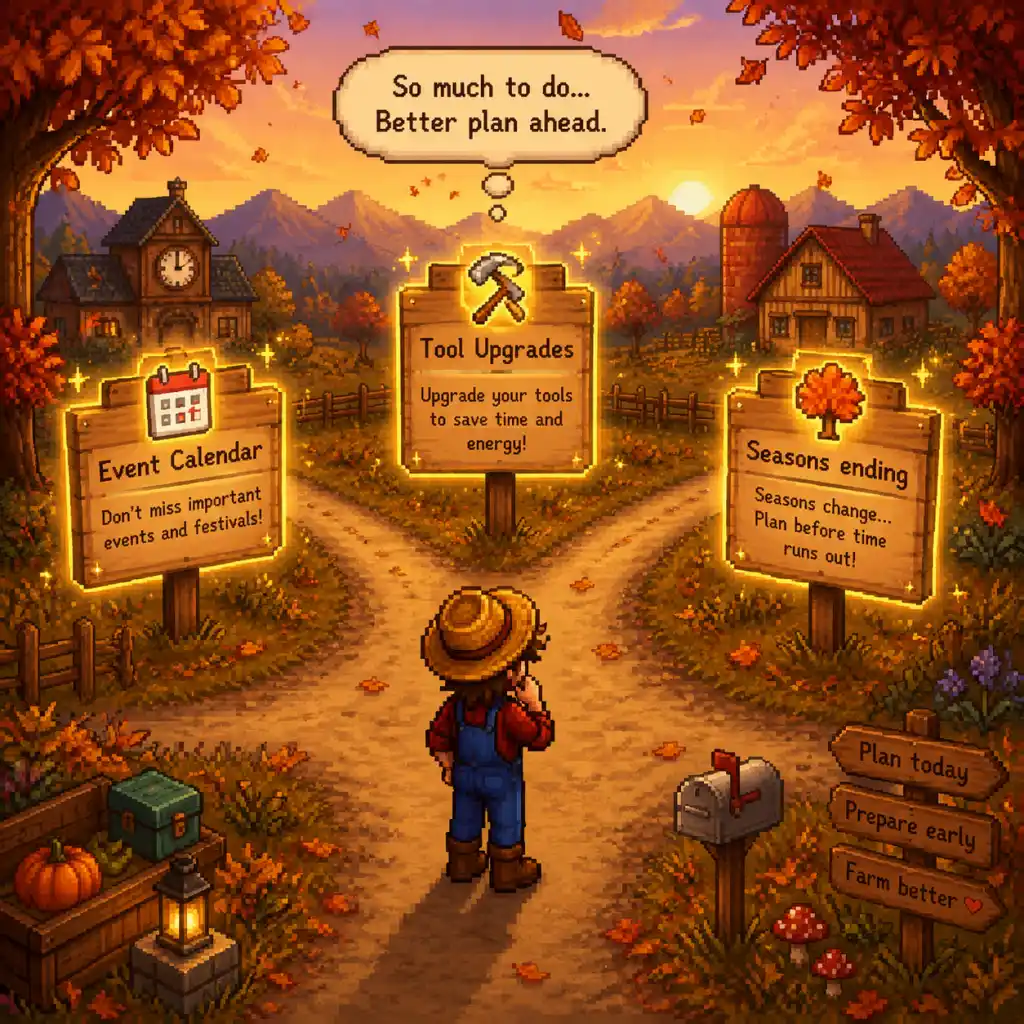
Important Notes
Important Notes for Stardew Valley
This section covers crucial information that can save you frustration, prevent irreversible mistakes, and help you avoid common pitfalls. Read through before diving deep into the game.
---
⚠️ Irreversible Choices
- Farm Map Selection: At character creation, you choose one of seven farm maps (Standard, Riverland, Forest, Hill-top, Wilderness, Four Corners, Beach). This is permanent. Each map affects layout, available space, and resources. Research before choosing.
- Community Center vs JojaMart: After the first day, you can choose to complete the Community Center bundles or purchase a JojaMart membership. Choosing JojaMart locks out certain rewards (like the theater) and changes the game's narrative. You cannot switch back without starting a new save.
- Pet Selection: At the beginning of Spring 2 (if you have 1000g), Marnie offers a cat or dog. This is cosmetic only, but irreversible per save (unless you edit save files).
- Marriage: Marrying a villager is reversible via divorce (costs 50,000g at Mayor Lewis's house), but divorced villagers will ignore you and you lose all hearts. Ex-spouse will have negative dialogue.
- Children: You can have up to two children. They are permanent; you cannot remove them without mods or editing save files. If you divorce with children, the ex-spouse takes them.
- Choosing to Upgrade House or Farm Buildings: Once you upgrade a building (e.g., Coop to Deluxe Coop), you can't downgrade. Plan your layout carefully.
- Setting Farm Name or Character Name: Your name and farm name are displayed throughout the game and cannot be changed without editing save files.
- Seasonal Events: Most festivals (Egg Festival, Luau, Dance of the Moonlight Jellies, etc.) occur on fixed days each year. If you miss them, you must wait a full in-game year. The Night Market (Winter 15-17) is especially easy to miss.
- Seasonal Forage & Crops: Certain foraged items and crops only appear in specific seasons. Miss one season and you wait a year. Example: Spring Onion (Spring), Sweet Gem Berry (Fall), Winter Root (Winter).
- Rare Items & Seeds:
- Quests & Cutscenes: Some heart events are only triggered if you meet the villager on a specific day/time/weather. If you skip them, you may need to wait for the next opportunity. Example: Sam's 3-heart event (must be on a sunny day, Sam not at work).
- Community Center Bundles: Some bundles require items from specific seasons. If you miss, you must wait a year. The Winter Foraging Bundle is a classic trap.
- The Secret Woods & Other Hidden Areas: Access to the Secret Woods requires a Steel Axe. Upgrading takes time; delay too long and you miss early hardwood.
- The Desert & Skull Cavern: Unlocked after completing the Boiler Room bundle or paying 42,500g to Joja. You lose a year if you sell the bus repair items before completing the bundle.
- The Theater: Unlocked after completing all Community Center bundles or paying 500,000g to Joja. It shows one movie per week; many unique items and cutscenes are tied to it.
- First Spring: Extremely tight energy and money. Fishing is difficult but profitable. Mining requires careful management of health and stamina. Overextending leads to passing out (lose gold).
- Floor 80-120 of the Mines: Enemies become tougher (Ghosts, Lava Bats). Without good weapons (preferably a Steel or Gold weapon), you'll struggle.
- Skull Cavern: Accessible after finishing the Mines (floor 120). Enemies deal massive damage, and the fall hazard (ladders) can kill instantly. Bring lots of food, bombs, and a good weapon. Consider waiting until you have the Galaxy Sword.
- The Volcano Dungeon (Ginger Island): Unlocked in Year 2+. Difficulty ramps with fire-based enemies and narrow corridors. Requires Space Boots or similar fire protection.
- Fishing Minigame: The minigame is notoriously hard for beginners. The Iridium Rod and bait help. Difficulty varies by fish name and season.
- Overfocusing on Animals Too Early: Animals (chickens, cows) require daily feeding, petting, and they produce only after maturity. They tie up cash and time that could go into crops, which generate faster income early on. Wait until you have a steady supply of hay (grass starter or purchased).
- Selling All Your Resources Too Soon: Keep at least some wood, stone, fiber, ore, and coal for crafting and upgrades. Especially coal, which is needed for many recipes and smelting.
- Ignoring the Traveling Cart: The cart appears every Friday and Sunday in the Cindersap Forest. It sells rare items (like Ancient Seed, rare seeds, and items for bundles). Checking it weekly can save you months.
- Buying Everything from Pierre's Instead of JojaMart: Pierre's is closed on Wednesdays (except after Community Center completion). JojaMart is always open but charges higher prices. Learn the schedules.
- Spending All Gold on Seeds Without Saving for Upgrades: Tool upgrades (copper/iron/gold/iridium) and house upgrades are critical for efficiency. Running out of money for seeds in the next season is a common regret.
- Over-planting in the Last Week of a Season: Crops die on the 1st of the new season unless they are multi-season (like corn or wheat). Plan harvest times.
- Not Using Fertilizer: Fertilizer boosts crop quality and speed. Basic Fertilizer is cheap and effective. Quality Fertilizer increases gold-star chance, crucial for the Quality Crops Bundle.
- Fishing Too Much Early On: Fishing is a great skill, but spending all day fishing can delay your tool upgrades and farm expansion. Balance activities.
- Selling Gems & Minerals: Some gems (like Diamonds) are needed for crafting recipes (e.g., the Crystalarium). Keep at least one of each. The Museum only requires one of each artifact/mineral.
---
⚠️ Missable Content & Events
- Ancient Seed: The first one you find must be donated to the Museum to receive an Ancient Seed artifact (which grows into Ancient Fruit). If you plant or sell the first one, you lose the artifact and must find another.
- Stardrop: Some stardrops are only obtainable from specific conditions: e.g., from the Stardew Valley Fair (Pumpkin stardrop), from the Traveling Cart (rare stardrop), from marriage (spouse gives one after 12 days). Missing the fair means waiting a year.
---
Difficulty Spikes
---
❌ Grinding Traps & Efficiency Pitfalls
---
###