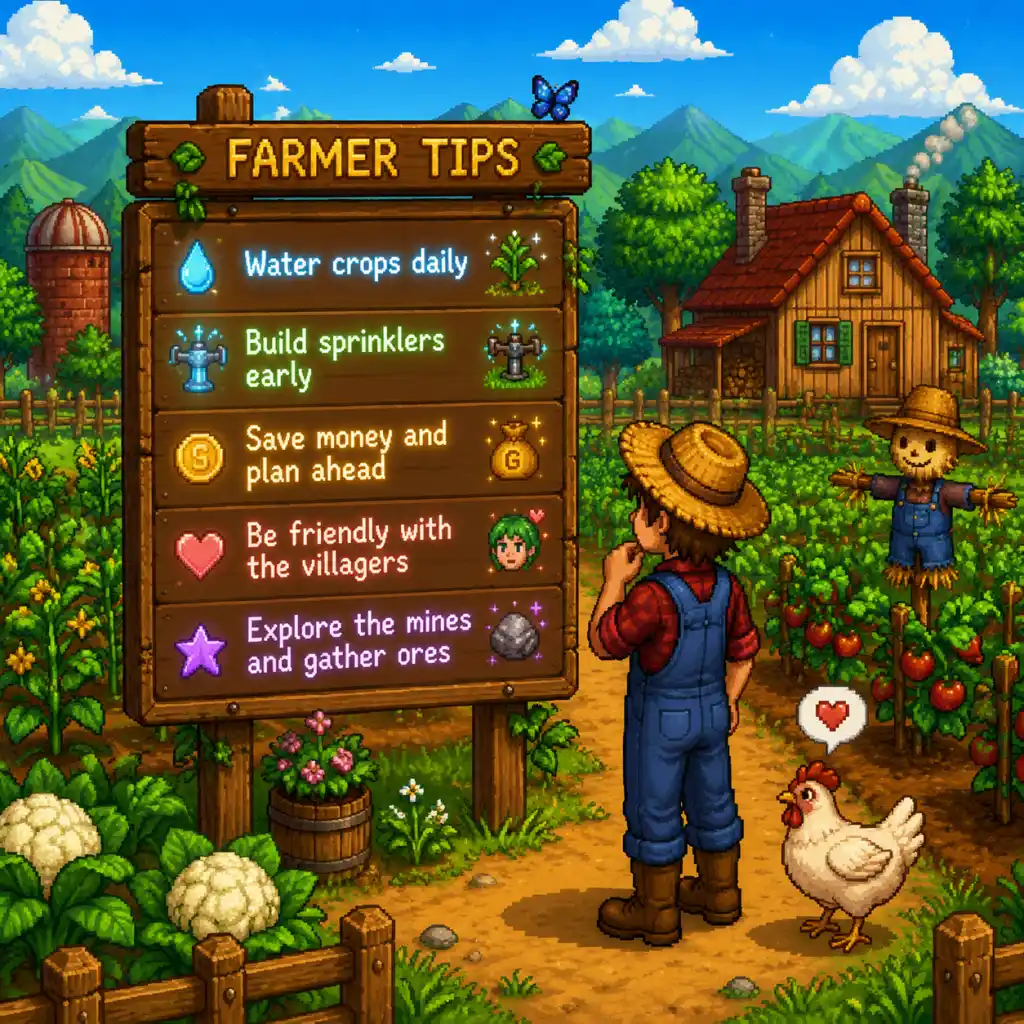
Game Tips
Game Tips: Stardew Valley
This guide covers essential tips for every stage of your Stardew Valley journey, from the first spring to late-game perfection. Tips are grouped by category with explanations of why each works and when to use them.
---
Beginner Basics
#### 1. Focus on the Community Center
- What: Complete the bundles in the Community Center (or choose JojaMart route) to unlock critical areas like the minecarts, greenhouse, and bus stop.
- Why: The greenhouse allows year-round crops; minecarts save travel time; the bus unlocks the desert. Prioritize bundles from day one by checking what you need each season.
- When: As soon as you can, check the bundle list and stash needed items. Try to finish by end of Year 1.
- What: Use copper, iron, and gold to upgrade your watering can, hoe, axe, pickaxe, and trash can at the blacksmith.
- Why: Upgraded tools use less energy and cover more area (e.g., copper watering can waters 3 tiles). This improves efficiency dramatically.
- When: Upgrade your axe to copper ASAP to chop hardwood stumps in the Secret Woods. Upgrade watering can before Winter (when you can wait for rain).
- What: Purchase parsnip seeds (20g each) from Pierre and plant them immediately.
- Why: Parsnips grow in 4 days, give decent profit (35g base), and can be used in the Spring Crops Bundle. Early cash flow is critical.
- When: Day 1, after clearing a small patch of farm. Harvest before the 5th to reinvest.
- What: Keep at least one of each crop, forageable, fish, and monster drop.
- Why: Many items are needed for bundles, quests (especially later), recipes, and gifts. Selling early may save money but can lock you out of completion.
- When: Always check the Community Center bundles and favorite gifts before selling.
- What: Your energy bar depletes as you work. Eat field snacks (acorns + maple seeds + pine cones) or purchased food to restore.
- Why: Running out of energy halts all activity. Early game, eating foraged leeks or salmonberries saves money.
- When: Always carry a stack of cheap food (salmonberries in spring, blackberries in fall). Eat when below half energy.
- What: Calculate crop profit by (sell price - seed cost) / growth days. Ignore fertilizer for simplicity.
- Why: Some crops appear profitable but aren't per day. For example:
- When: Use this metric to choose high-profit crops: Strawberries (Spring 13+), Blueberries, Cranberries, Ancient Fruit (greenhouse).
- What: Quality Sprinklers water 8 surrounding tiles every morning, requiring no energy.
- Why: Frees up time for mining, fishing, or socializing. One Quality Sprinkler covers 24 tiles (3x3 area minus sprinkler).
- When: Reach Farming level 6 to craft. Gather iron, gold, and quartz. Build at least 12 for a 48-plot field (2 rows of 3 sprinklers).
- What: Basic Fertilizer (sap) boosts quality chance; Quality Fertilizer (fish) gives gold star crops; Speed-Gro accelerates growth.
- Why: Higher quality crops sell for more and are loved by villagers as gifts (e.g., Gold Star Parsnip for Pam). Speed-Gro allows extra harvests in a season.
- When: Use Speed-Gro on multi-harvest crops like Blueberries to get an extra harvest. Use Quality Fertilizer on gifts or crops for community bundles.
- What: Kegs produce artisan goods (wine, juice, pale ale, etc.) in days; Preserves Jars make jelly/pickles much faster but lower value per item.
- Why: Kegs are best for high-value crops (ancient fruit, starfruit) because they multiply value by 3x. Preserves Jars are better for low-value crops (hops, wheat) due to faster turnover.
- When: Early game build preserves jars for blueberries/cranberries. Late game build hundreds of kegs for ancient fruit wine.
- What: Ancient Fruit grows in 28 days then produces every 7 days indefinitely (in greenhouse or Ginger Island). Base sell price 550g; wine 2310g.
- Why: Once established, it requires minimal replanting and yields massive consistent profit. Best paired with kegs.
- When: Obtain from Ancient Seed artifact (donate to museum) or traveling cart. Plant in greenhouse as soon as possible. Speed-Gro helps initially.
- What: The lake in the mountain (near Robin’s house) contains valuable fish like Largemouth Bass, Bullhead, and during certain seasons, the rare Sturgeon.
- Why: Sturgeon roe is used for caviar (artisan good) and some bundles. Largemouth Bass is used in quality fertilizer recipe. The lake also has the highest average fish price early on.
- When: Fish there in spring and summer for best variety. Bring a Training Rod if you’re new (easier to catch).
- What: Place crab pots in water (ocean or freshwater) to catch crabs, lobsters, and other shellfish every day.
- Why: Requires no energy, just bait. Recycled trash gives coal, iron, and cloth. Profitable when you have many pots.
- When: Reach Fishing level 3 to craft. Place 10-20 near your farm dock. Collect daily. Use for Community Center bundles.
- What: A perfect catch (fish never leaves the green bar) gives a bonus skill XP and sometimes better quality.
- Why: Faster leveling increases tackle size and unlocks better rods. Perfect catches also have higher quality, which sells for more.
- When: Practice with the Training Rod until you are comfortable. Use trap bobber (+2 fish escape resistance) on difficult fish.
- What: Reach the bottom of the mine (floor 120) by end of spring/early summer. Bring pickaxe, weapon, food, and ladders.
- Why: Unlocks access to gold ore, gems, and valuable loot. Floor 40+ has gold; 80+ has iridium (rare). Also, slimes drop useful items.
- When: Go mining on rainy days (no watering). Skip floors with few resources. Use staircase if necessary.
- What: Cooked meals (Sashimi, Field Snack, Glazed Yams) restore health and energy. Avoid using low-energy food in combat.
- Why: Mines can drain health quickly from bats, slimes, and ghosts. Eating during combat prevents death (lose items and gold).
- When: Always carry a stack of 10-20 field snacks or sashimi. Upgrade to cheese or salads mid-game.
- What: Bombs (crafted from coal and iron ore) explode in a 3x3 area, destroying rocks and ores instantly.
- Why: Saves time clearing large clusters and reveals ladders quickly. Also yields more ore per explosion than pickaxe.
- When: Once you have excess iron (floor 40+), craft Megabombs (recipe from Dwarf). Use in Skull Cavern for speed.
- What: Skull Cavern in the desert has infinite floors, high-quality gems, and iridium. Use ladders/staircases to descend quickly.
- Why: Iridium is the rarest ore and needed for tool upgrades and Sprinklers. Deeper floors yield more.
- When: Bring at least 50+ stairs, 100+ bombs, food, and a Galaxy Sword (from three Prismatic Shards). Go on a high luck day (TV fortune teller).
- What: Gather wild spring onions, leeks, salmonberries, blackberries, and coconuts depending on season and location.
- Why: Free food/energy, gifts (leeks for George), and ingredients for recipes. Salmonberries (Spring 15-18) and Blackberries (Fall 8-11) can be gathered in bulk.
- When: Spend early morning foraging before farm work. Save berries for energy through the season.
- What: Place tappers on maple, oak, and pine trees to produce maple syrup, oak resin, and pine tar.
- Why: Oak resin is needed for kegs; pine tar for rain totems; maple syrup for bee houses. Set up a tapper grove early.
- When: Craft tappers as soon as you reach Foraging level 3. Tap at least 10 oak trees for keg production.
- What: Access the Secret Woods (northwest of Marnie’s ranch) after upgrading axe to steel. Contains hardwood, fiddlehead ferns, and mushrooms.
- Why: Hardwood is essential for house upgrades and some crafting (e.g., Keg). Fiddlehead fern is needed for the Chef’s Bundle.
- When: Chop every day for hardwood (respawns daily). Bring a copper/steel axe.
- What: Plant potatoes (cost 50g, sell 80g). They have a chance to drop extra potatoes when harvested.
- Why: Best early profit on a per-day basis (avg 1.5 potatoes per plant = ~120g per harvest over 6 days → 20g/day).
- When: Spring Year 1 after parsnips. Use earnings to buy more seeds.
- What: Buy strawberry seeds from Egg Festival for 100g each. Plant them immediately; they produce every 4 days until end of season (3 harvests).
- Why: Very high profit if you plant enough (recommend 50+). With Speed-Gro, get 4 harvests.
- When: Save gold before the festival. Plant next day (Spring 14).
- What: Blueberry seeds 80g, harvest every 4 days, base 50g per berry (3 berries per plant = 150g per harvest). Up to 5 harvests per season.
- Why: Massive profit with minimal effort. Use Quality Sprinklers and speed-gro to maximize.
- When: Plant on Summer 1. Invest heavily (100+ plants).
- What: Starfruit seeds 400g from Oasis (desert). Grow 13 days. Sell for 750g base or 2250g as wine.
- Why: Single highest profit per plant if kegged. However, long growth time means few harvests per season.
- When: Best in greenhouse or Ginger Island. Or as Summer crop with Deluxe Speed-Gro (8 days growth).
- What: Process crops through kegs (wine 3x), preserves jars (jelly 2x), bee houses (honey 2x with flowers).
- Why: Artisan skill adds 40% value. This is the foundation of late-game economy. Always process high-value crops.
- When: Build kegs as soon as you have oak resin. Fill cellar with casks for ancient fruit wine (aged to iridium quality = 4x base).
- What: Give a loved gift (or hated) on a villager’s birthday to get 8x (or 4x) relationship effect.
- Why: Fastest way to earn hearts. Check wiki for loved gifts. For example, Leah loves salad (easy from Gus).
- When: Mark birthdays on calendar. Always give a loved gift on their special day.
- What: Speak with each villager once per day (+20 friendship), or twice if you talk while they’re walking (+20 each encounter).
- Why: Friendship increases heart events and unlocks recipes, cutscenes, and marriage. Also, higher friendship means better gifts received.
- When: After completing farm chores, walk through town and Pelican Town. Use the map to find everyone.
- What: Each spouse gives a different benefit: Penny helps with crops, Abigail gives bombs, Emily gives cloth, etc.
- Why: Marrying a character provides daily gifts and sometimes farm help. Choose based on your playstyle (e.g., Abigail for combat players).
- When: Once you have a house upgrade (kitchen and bed). Give loved gifts regularly.
- What: At level 5 and 10 of each skill, you pick a specialization that permanently boosts certain activities.
- Why: Some professions are far better for certain playstyles.
- When: For maximum profit:
- What: Corn grows in summer and fall, provides two seasons of harvest. Low profit but high XP due to multiple harvests.
- Why: For artificially boosting farming skill quickly before switching to higher-profit crops.
- When: Plant a small plot of corn early summer to level up fast.
- What: After fixing the boat in the backwoods (cost: 200 hardwood, 5 batteries, 5 iridium bars), unlock Ginger Island with a large farm plot, volcano dungeon, and more.
- Why: Allows year-round crops, unlimited ancient fruit, and extra resources. The volcano has iridium and gems.
- When: As soon as possible in Year 2 or after completing Community Center. Plant ancient fruit there.
- What: Donate artifacts and minerals to Gunther to unlock rewards like Rusty Key (sewers) and Dwarf Scroll (translation). Each donation also gives items.
- Why: Some rewards are critical: Rusty Key opens sewer (access to mutant bugs for loot), Dwarf Scroll lets you buy bombs cheaply.
- When: Donate duplicates first, then complete sets. Prioritize scrolls and prismatic shard (shard gives galaxy sword).
- What: Craft rain totems (hardwood, truffle oil, pine tar) to force rain next day.
- Why: Rain means no watering, allowing time for mining, fishing, or socializing. Also, rain triggers certain events (e.g., green rain).
- When: Use on days you need to go to mines or Skull Cavern. Keep a stack.
- What: Trade 3 Quartz for 1 Deluxe Speed-Gro or 5 Battery Packs for a Warp Totem: Desert.
- Why: D. Speed-Gro cuts growth time by 25% (stackable with agriculturalist profession). Warp totems save time.
- When: Buy D. Speed-Gro for starfruit or ancient fruit in summer. Use warp totems to reach desert quickly for Skull Cavern runs.
- What: Craft a farm computer (from high-tier farming materials) that shows daily info: how many crops ready, what’s in machines, etc.
- Why: Saves time checking each patch. Especially useful with large fields.
- When: After reaching Farming level 8. Place near your house.
- What: Watch the weather forecast, fortune teller, and Queen of Sauce (new recipes every Sunday/Wednesday reruns).
- Why: Luck affects mining drops, farming yields, and rare events. Queen of Sauce teaches recipes you can’t miss.
- When: Every morning before leaving for the day.
- What: Place chests near frequently used locations: outside farmhouse, near mines, in town (not on path).
- Why: Store excess tools, ores, food, and gifts. Avoid cluttering inventory.
- When: Craft a chest (50 wood) on day 1. Expand to 2-3 chests for different item categories.
- What: Plant crops that carry over seasons (e.g., corn summer→fall, ancient fruit any season).
- Why: Maximizes yield without replanting. Also, some fish only appear in certain seasons.
- When: Check the calendar for last planting days. Use seed maker on high-value crops.
- What: Place a crop into a seed maker to get 1-3 seeds of that crop (average 2).
- Why: Allows self-sufficiency without buying seeds. Great for ancient fruit, starfruit, and other expensive seeds.
- When: After reaching Farming level 9 (recipe from inside the farming skill). Process all your high-value produce before selling.
- What: Many processes (crops, kegs, machines) advance even when you’re not playing, based on in-game days.
- Why: You can take real-world breaks and still progress. Just save and quit at night.
- When: Use this to plan long-term projects (e.g., set kegs before going to bed).
#### 2. Upgrade Your Tools Early
#### 3. Plant Parsnips in Spring 1
#### 4. Save One of Everything
#### 5. Manage Energy Wisely
---
Farming & Crops
#### 6. Profit Per Day Analysis
- Blueberries (Summer): 80g seed, harvest multiple times. 3 harvests per plant ~ 150g profit over 13 days → ~11.5g/day
- Cranberries (Fall): 240g seed, 5 harvests → ~130g profit per plant over 24 days → ~5.4g/day
#### 7. Invest in Quality Sprinklers
#### 8. Use Fertilizer Strategically
#### 9. Kegs vs Preserves Jars
#### 10. Ancient Fruit – The Endgame Crop
---
Fishing
#### 11. Fish at the Mountain Lake
#### 12. Use Crab Pots for Passive Income
#### 13. Master the Perfect Catch
---
Mining & Combat
#### 14. Prioritize the Mine in Spring
#### 15. Bring Food for Healing
#### 16. Use Bombs for Mining Efficiency
#### 17. Skull Cavern Strategy
---
Foraging & Resources
#### 18. Forage Every Day
#### 19. Tap Trees for Syrup
#### 20. The Secret Woods
---
Economy & Money-Making
#### 21. Early Spring – Focus on Potatoes
#### 22. Strawberries – Spring 13
#### 23. Blueberries – Summer Workhorse
#### 24. Starfruit – High Risk, High Reward
#### 25. Artisan Goods Multiplier
---
Relationships & Social
#### 26. Gift on Birthdays for Maximum Hearts
#### 27. Talk to Everyone Daily
#### 28. Marry for Perks
---
Skill Progression
#### 29. Choose Professions Wisely
- Farming: Tiller (10% crop value) → Artisan (40% artisan goods value)
- Mining: Geologist (double gems) → Excavator (double geode geodes)
- Foraging: Gatherer (double forage) → Botanist (iridium quality forage)
- Fishing: Fisher (25% fish value) → Angler (50% fish value)
- Combat: Fighter (10% damage) → Defender (25 HP) or Scout (crit chance → Desperado (crit damage) for damage builds.
#### 30. Experience Farming with Corn
---
Advanced Optimization
#### 31. Ginger Island – The Ultimate Farm
#### 32. Donate to Museum Strategically
#### 33. Use Rain Totems
#### 34. Desert Trader for Speed-Gro
#### 35. The Farm Computer
---
Miscellaneous Tips
#### 36. Always Check the TV
#### 37. Use Chests Strategically
#### 38. Exploit Seasonality
#### 39. The Seed Maker
#### 40. Offline Progression
---
These tips will help you thrive in Stardew Valley from your first season to the endgame. Remember to play at your own pace and enjoy the journey!