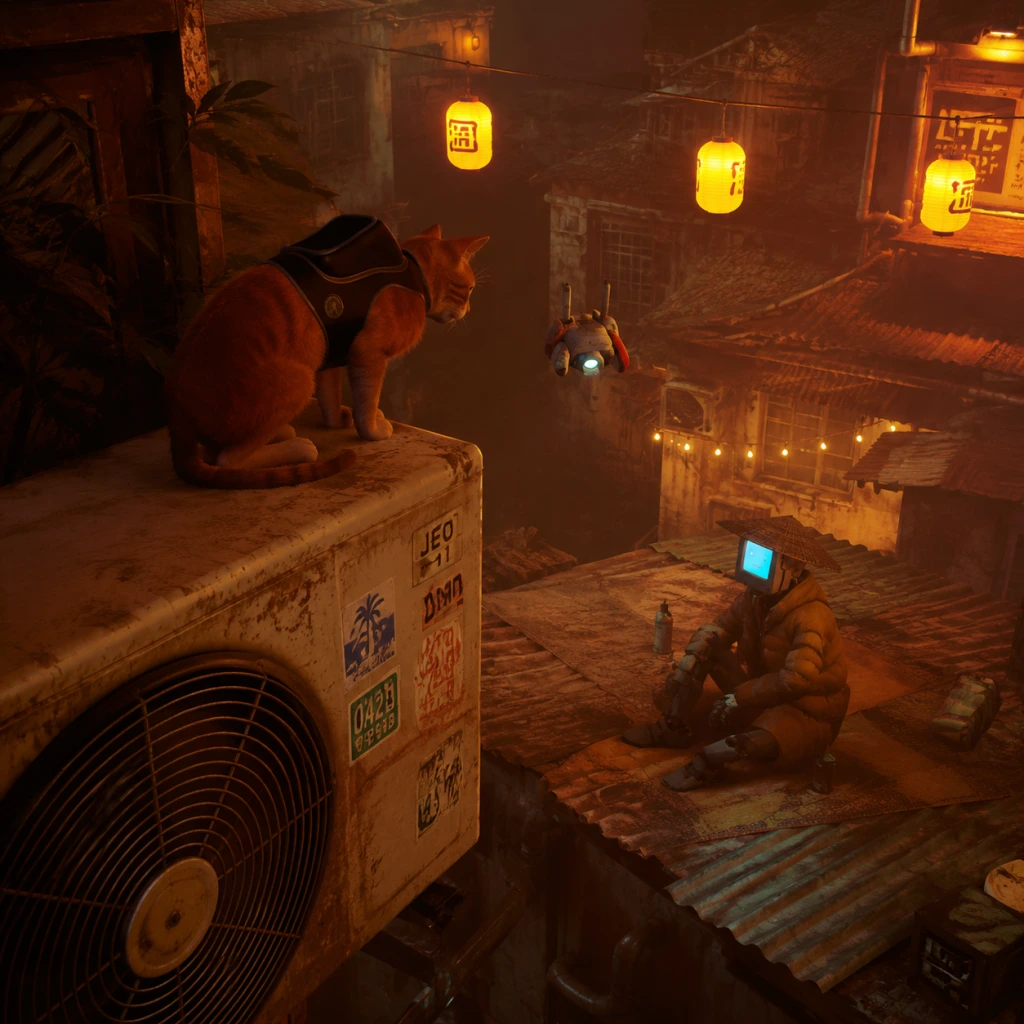
Getting Started
Getting Started
Welcome to Stray. This guide will help you navigate your first hour, avoid pitfalls, and set you up for a smooth journey through the neon-lit alleys of the Walled City.
No Character Creation
Unlike many RPGs, Stray does not have character creation. You play as a specific orange tabby cat with a defined appearance and personality. Embrace the role – your actions are limited to what a real cat can do: jump, scratch, meow, and interact with the environment.
First Hour Walkthrough (Spoiler-Free)
Your journey begins in an abandoned facility. Here's what to expect:
1. The Opening Sequence: The cat and its family are exploring a forgotten structure. A catastrophic event separates you from your friends. You fall deep into the city.
2. Learn the Basics (0–10 min): You’ll be prompted to move, look around, and use basic actions. Follow the linear path – jump on pipes, squeeze through gaps, and climb ledges. Your first objective is to find a way out of the lower levels.
3. Meet B-12 (10–20 min): After navigating some narrow corridors and avoiding a few creatures, you’ll encounter a small flying robot named B-12. This will become your companion. It can translate signs, hold your inventory (up to 3 items), and interact with some electronics.
4. First Large Area: The Slums (20–40 min): B-12 escorts you through a tunnel into the Slums, a sprawling residential district. Your immediate goal is to find Morusque, a musician who can teach you songs. Explore freely – this is your hub for side quests and collectibles.
5. Early Objects & Puzzles (40–60 min): Learn to knock over buckets, scratch carpets, and carry small items. You’ll need to retrieve a notebook for a resident named Doc. This teaches basic item fetch mechanics.
Controls on All Platforms
Stray uses intuitive controls that mimic cat movements. Below are the default bindings.
#### PlayStation 4 / PlayStation 5
| Action | PS4/5 Button |
|---|---|
| Move | Left Stick |
| Camera | Right Stick |
| Jump | Cross (X) |
| Meow | Circle (O) |
| Scratch / Interact | Square |
| Run / Sprint | Hold R2 |
| Look Around (fixed) | R1 (press once) |
| B-12 Actions | L2 (when available) |
| Inventory | Touchpad (left) |
| Map | Touchpad (right) |
| Pause | Options |
#### PC (Keyboard + Mouse)
| Action | Keybind |
|---|---|
| Move | W, A, S, D |
| Camera | Mouse (move) |
| Jump | Spacebar |
| Meow | Q |
| Scratch / Interact | E |
| Run / Sprint | Left Shift (hold) |
| Look Around | Middle Mouse Button hold (or press to toggle) |
| B-12 Actions | F (when available) |
| Inventory | Tab |
| Map | M |
| Pause | Escape |
#### PC (Controller)
If using an Xbox or generic controller, the layout mirrors PlayStation: Left stick move, right stick camera, A=Jump, B=Meow, X=Interact/Scratch, Y=Look Around, RT=RUN, LT=B-12, D-pad up=Inventory, D-pad right=Map, Start=Pause.
UI Overview
Your screen has a minimalist HUD. Key elements:
- Top Left: Health bar (hearts) – you have 3 lives. Losing all resets you to the last checkpoint.
- Top Right: Current objective or hint (can be dismissed).
- Bottom Left (contextual): Action prompt when near interactable objects (e.g., "Touch," "Jump," "Scratch").
- Bottom Center: When carrying an item, a small icon appears.
- Inventory (Press Tab/Left Touchpad): Shows items B-12 carries (max 3).
- Map (Press M/Right Touchpad): Highlights your location, important NPCs, and story objectives. You unlock map fragments as you explore.
- Explore every nook and cranny. Hidden items include energy drinks (health), sheets of music, and memories.
- Meow often. It can attract attention of certain characters or trigger unique dialogue.
- Claw at rugs and carpets. Some yield clues or items.
- Interact with everything – newspapers, bottles, trash. Some are just for atmosphere, but some initiate quests.
- Take time to rest (lie down on rugs or at designated spots). There is a trophy for napping in specific places, and it heals you if you have missing health.
- Running heedlessly into Zurks (the small insect-like enemies). They swarm and drain health. Instead, use light to scare them or sprint past.
- Jumping into pits or water. Unprotected falls can kill instantly. Look before you leap.
- Ignoring the companion B-12. He provides hints, and his flashlight is essential for dark areas.
- Hoarding useless items. Your inventory is limited to 3. You can drop items by pressing the interact button again. Don't carry more than you need.
- Energy Drinks: Found around the Slums. They restore one heart. Always grab them if you see them.
- Sheets of Music: Collect all 8 in the Slums to give to Morusque. Not essential for story, but gives a trophy and a nice cutscene.
- Memories: Glowing orbs that reveal backstory. Found in hidden spots. Collect for lore and a trophy.
- Light Source Upgrades: In the Antvillage, you can upgrade B-12’s light. This is crucial for later areas against Zurks. Prioritize this once available.
- [ ] Complete the opening escape sequence.
- [ ] Find B-12 and power him up.
- [ ] Enter the Slums.
- [ ] Talk to Morusque (start music quest).
- [ ] Retrieve the notebook for Doc.
- [ ] Flip the transformer switches (power objective).
- [ ] Collect at least 4 music sheets (you can get all 8).
- [ ] Find and use the first napping spot (inside the apartment with the sleeping cat).
- [ ] Buy an upgrade for B-12’s light (available after reaching Antvillage).
- [ ] Save manually at any safe bench (checkpoint).
- [ ] Explore every alley in Slums – there are hidden passages behind cardboard.
Essential Early Objectives
After meeting B-12, your primary goals are:
1. Find the Slums entrance. Follow B-12 through the tunnel.
2. Reach Morusque. Talk to him; he’ll give you a task to retrieve musical notes (8 total in Slums). This is optional but rewards a trophy.
3. Retrieve the Notebook for Doc. Found in the apartment above the bar. Requires climbing pipes and squeezing through a broken window.
4. Fix the Transformer. To power the elevator out of the Slums, you need to restore power. This involves flipping switches in the rooftops and basements. Follow your objective marker.
5. Enter the Antvillage. After the elevator, you reach a new area. Continue following B-12.
What to Do First and What to Avoid
Do This First:
What to Avoid:
Early Resource Priorities
Common Beginner Mistakes
1. Not using the Meow button enough. It serves no mechanical constraint, so use it liberally. It can distract enemies or alert you to hidden paths.
2. Trying to fight every Zurk. You cannot defeat them without an upgrade. Avoid and outrun.
3. Jumping without looking down. You can fall from great heights. Check the landing spot.
4. Missing the golden Triangle collectibles in the first area. These are later used for a trophy. Go back after you leave Slums? It’s possible on chapter select, but easier to grab early.
5. Not checking the map often. The city is a maze; use your map to navigate. Failing to look can send you in circles.
6. Skipping dialogue. NPCs give quest clues. Pay attention.
Day-One Checklist
Use this list to ensure you don’t miss anything vital in your first session:
Remember: Stray is meant to be savored. Take your time, enjoy the atmosphere, and don’t be afraid to get lost. The game’s design rewards curiosity.