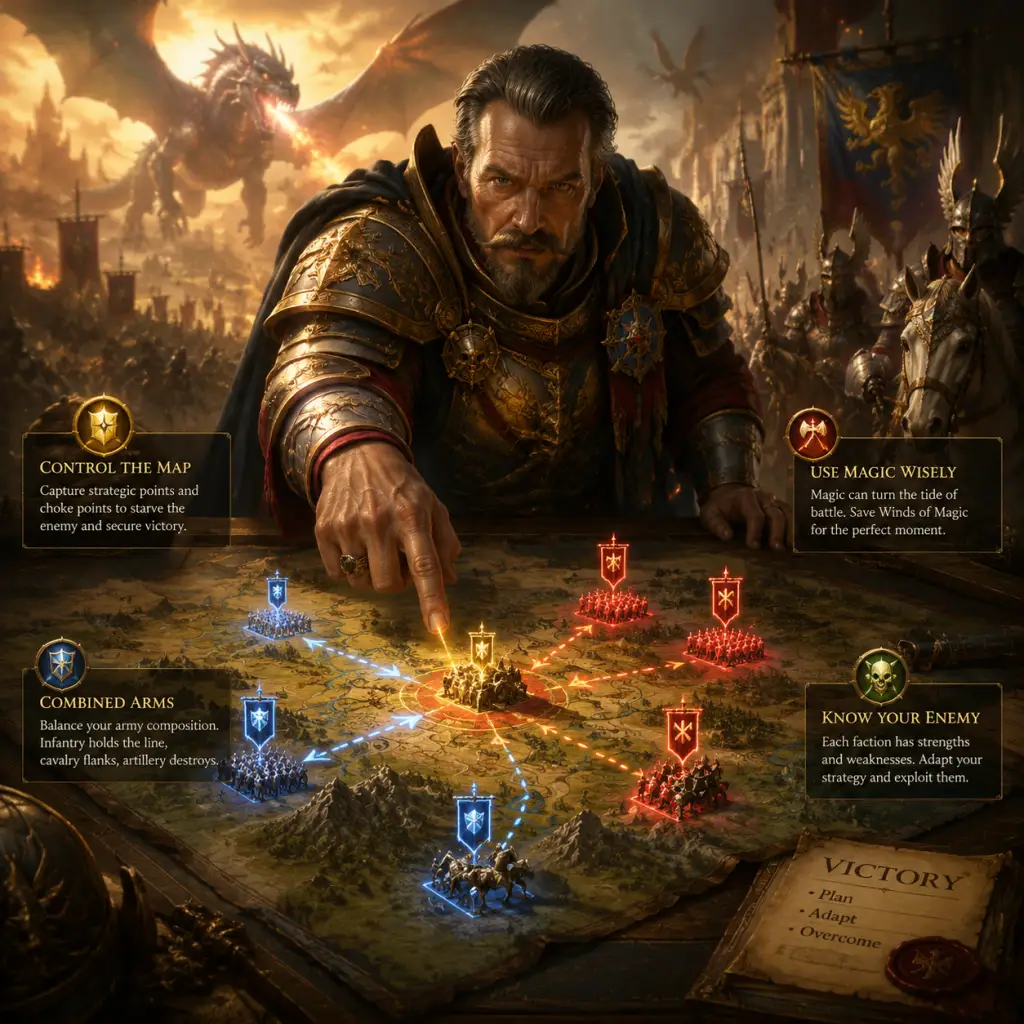
Game Tips
Total War: Warhammer III – Comprehensive Game Tips Guide
This guide covers a wide array of tips for Total War: Warhammer III, organized by category. Each tip includes an explanation and deep analysis to help you master the game, from beginner to advanced levels.
Beginner Tips
1. Complete the Prologue Campaign First
- Explanation: The prologue serves as an extensive tutorial, introducing basic mechanics like movement, battles, building, and diplomacy in a controlled environment.
- Why it works: Skipping the prologue can lead to confusion with core systems. Completing it ensures you understand the fundamentals before facing the complexity of the main campaign.
2. Use the Quick Deal Button
- Explanation: In diplomacy, click the “Quick Deal” button to automatically find the best trade, alliance, or non-aggression pact deals with all factions.
- Why it works: This saves time and often reveals favorable trades you might have missed, such as exchanging a spare resource for gold or a military alliance.
3. Focus on Growth First
- Explanation: In your first province, prioritize buildings that increase population growth (e.g., Farms, resource buildings that boost growth).
- Why it works: Faster growth leads to larger settlement tiers, which unlock advanced buildings, more recruitment slots, and higher income. Delaying growth stunts your entire campaign.
4. Never Overextend Your Armies
- Explanation: Avoid sending your main army deep into enemy territory without support. Always maintain a second army nearby or use armies in Garrison stance to protect your core regions.
- Why it works: Overextended armies are easily ambushed or caught by multiple enemy stacks. Losing a strong army early can cripple your expansion. Use “Encamp” or “Fortify” stances when vulnerable.
5. Use March Stance Only When Safe
- Explanation: The “March” stance increases movement range but disables the ability to fight off attacks for one turn. Use it only when you are certain the path is clear.
- Why it works: Marching into a hidden enemy army leads to an automatic defeat (the army is forced to retreat or fight with a penalty). In friendly territory or after scouting, March is safe.
Combat Tips
1. Leverage Terrain and Elevation
- Explanation: Place missile units on high ground to extend range and increase damage. Melee units on uphill combat suffer penalties; keep them on flat ground.
- Why it works: In Warhammer III, elevation provides a significant combat advantage. Archers on a hill can outrange and out-damage enemies below, while infantry charging uphill loses vigor and attack speed.
2. Flank with Cavalry for Battering Ram Effect
- Explanation: Use cavalry to hit enemy units from the side or rear, especially after the front line is engaged. Cycle charge by pulling back and charging again.
- Why it works: Cavalry deals bonus damage on the charge and ignores armor when hitting from the rear. Flank attacks also cause massive morale damage, often breaking units instantly.
3. Combine Magic with Unit Engagements
- Explanation: Cast spells like Wind of Death, Fireball, or Comet of Casandora while your units are locked in combat to maximize damage without friendly fire (use spells that target enemies exclusively).
- Why it works: Enemies clumped in melee are vulnerable to area-effect spells. By casting after engagement, you avoid hitting your own troops (especially with direct damage spells that ignore friendly fire).
4. Use Guard Mode to Prevent Pursuit
- Explanation: Enable “Guard Mode” on units (especially missile troops) to stop them from chasing routing enemies. This keeps them in position and prevents overextension.
- Why it works: Chasing routing units can drag your troops out of formation, expose them to enemy reinforcements, and waste time. Guard mode lets you maintain a solid battle line.
5. Master Cycle Charging with Cavalry
- Explanation: Charge an enemy unit, let the cavalry fight for 5-10 seconds, then pull them back and charge again. Repeat until the enemy brakes.
- Why it works: Cavalry deals maximum damage on the initial charge (bonus charge damage). Prolonged melee gets them killed because they are not durable. Cycle charging rejuvenates charge bonus and keeps them safe.
6. Single Entities as Distractions
- Explanation: Use lords, heroes, or monsters (like a Mammoth or a Bloodthirster) to engage multiple enemy units at once, drawing fire and attention away from your valuable infantry.
- Why it works: Single entities have high health and can absorb damage while your infantry attacks from behind. They also disrupt enemy formations, causing chaos.
Campaign Strategy Tips
1. Secure Your Home Province First
- Explanation: Before expanding aggressively, conquer and fully control your starting province. Build its main settlement to tier 3 at least, and establish a defensive army.
- Why it works: A secure home province provides stable income, recruitment, and a fallback point. Rushing outward invites rebellions and attacks from all sides. Most successful campaigns are built on a solid foundation.
2. Use Heroes to Scout and Assassinate
- Explanation: Send heroes (especially Wizards, Assassins, or Spies) ahead of your army to spot enemy movements, sabotage armies (wound), or assassinate enemy heroes.
- Why it works: Knowledge is power. Scouting prevents ambushes and reveals weak points. Wounding enemy lords and heroes cripples their army’s effectiveness without fighting.
3. Control Key Chokepoints
- Explanation: Identify strategically vital provinces (e.g., the Black/Gates of the Bastion for Kislev, the Mountain passes for Dwarfs, the straits for High Elves). Fortify them with garrisons and walls.
- Why it works: Chokepoints funnel enemy armies into predictable paths, allowing you to defend with fewer forces. Holding these can block entire invasions and protect your heartland.
4. Manage Corruption Aggressively
- Explanation: Use heroes, buildings, commandments, and edicts to reduce corruption (Vampiric, Chaos, or Skaven) in your provinces. If playing a corruption-spreading faction, focus on increasing it.
- Why it works: High corruption lowers public order, spawns rebellions, and reduces income. In corrupt provinces, you risk losing control and facing stacks of rebels. Manage it early to avoid internal threats.
5. Use Raid Stance to Fund War
- Explanation: While in enemy territory, set your army to “Raid” stance. This generates gold and food (for Skaven) each turn, at the cost of public order in that region.
- Why it works: Raid stance allows your army to partially sustain itself without needing a home base. It also damages the enemy’s economy and can trigger rebellions, which further distract them.
Economy & Resource Tips
1. Build Trade Resources Early
- Explanation: Every province has trade resources (wood, stone, gold, furs, etc.). Construct the resource buildings as early as possible and sign trade agreements with friendly factions.
- Why it works: Trade resources generate passive income. The more trade partners you have, the more gold flows in. Even a single trade deal can double your early income.
2. Utilize Commandment Buildings
- Explanation: In each province, build commandment buildings (e.g., Court of the Everlasting Summer for High Elves, or similar for other factions) that boost growth, income, or public order.
- Why it works: Commandment buildings provide scalable bonuses that affect the entire province. They are cost-effective and should be a priority in every region.
3. Sack or Loot for Quick Cash
- Explanation: When you capture a settlement, choose “Sack” (loot the settlement for gold) or “Raze” (for Chaos factions) instead of occupying, if you don’t need the territory.
- Why it works: Sacking gives an immediate cash injection, often enough to fund a new army or upgrade important buildings. This is especially useful for horde factions (Beastmen, Chaos) or when expanding into enemy lands you won’t keep.
4. Balance Military and Economic Buildings
- Explanation: Avoid building all military structures in one city. Spread them out: have one province focused on recruitment (military buildings), others on economy (ports, markets, farms).
- Why it works: Economic provinces generate the gold to support your military provinces. If every province builds barracks, you’ll lack income to field those armies. Specialisation maximizes efficiency.
5. Use Raiding Stance for Sustained Campaigns
- Explanation: When your army is far from home and low on funds, switch to Raid stance in enemy territory. It provides a trickle of resources and can keep your army operational.
- Why it works: Raid stance reduces reliance on your home economy. Combined with looting after battles, you can run a self-sufficient war machine deep in hostile lands.
Magic & Heroes Tips
1. Learn Spell Types and Lodestone
- Explanation: Spells are categorized as direct damage, buffs/debuffs, summoning, or hexes. Know which spells are best for your army composition. For example, “Wind of Death” (Vampire Counts) murders tight infantry lines.
- Why it works: Using the right spell at the right moment can turn a battle. Buffs like “+60 armor” or “+40 attack” can make an average unit elite. Debuffs like “-40 leadership” break units quickly.
2. Stack Hero Skills for Campaign Map
- Explanation: When leveling heroes, prioritize skills that grant campaign map bonuses: increased movement range, reduced enemy movement, improved assassination, or block army actions.
- Why it works: Heroes are your “spies” and “saboteurs.” A hero with +20% campaign movement range can allow your main army to outrun enemies, catch fleeing armies, or reach reinforcements faster.
3. Embed Heroes in Armies for Stat Boosts
- Explanation: Place heroes within armies (as part of the army) to provide passive bonuses (e.g., +10 armor, +5 leadership, replenishment rate).
- Why it works: Embedded heroes don’t cost extra upkeep (only the hero’s own) and can significantly improve your army’s performance. A fresh hero with unit buffs can make a cheap army punch above its weight.
4. Use Active Abilities Wisely
- Explanation: Many heroes have active skills used in battle, like buffs or damage spells. Activate them when your lines meet the enemy, not before.
- Why it works: Timing is crucial. A well-timed “Regrowth” spell on a damaged unit can keep it fighting. A “Flames of the Phoenix” dropped on a clump of enemies just as they attack can decimate them.
5. Wound Enemy Heroes to Weaken Armies
- Explanation: Use your own heroes to “wound” enemy heroes on the campaign map. Wounded heroes cannot fight or provide bonuses for several turns.
- Why it works: Removing a powerful enemy wizard or combat lord from the field reduces their army’s effectiveness. It also gives you a strategic edge in battles.
Siege Battle Tips
1. Use Artillery to Destroy Walls and Towers
- Explanation: Before sending in infantry, focus cannon, mortar, or catapult fire on sections of the wall to create breaches. Also target enemy towers to reduce defensive fire.
- Why it works: Breaching walls allows your infantry to enter without climbing ladders, which is dangerous. Destroying towers minimizes casualties from garrison fire.
2. Deploy Siege Towers and Rams - But Not Always
- Explanation: Build siege towers to protect troops while advancing to the walls. Rams are essential for gates. However, if the enemy has a small garrison, consider using ladders (faster but riskier).
- Why it works: Towers and rams provide mobile cover and allow safe approach. But they take turns to build. Against a weak garrison, ladders or flying units quickly capture the walls before defenders react.
3. Use Flying Units to Capture Towers
- Explanation: Have flying units (e.g., Harpies, Eagles, Gargoyles) land on top of enemy towers and capture them. This disables the tower’s fire and gives you control.
- Why it works: Captured towers shoot at the enemy, and you can use them as a staging point. Flying units bypass wall defenses and can quickly turn the tide.
4. Exploit Siege Attrition
- Explanation: If you lay siege to a settlement with a strong garrison, wait several turns to suffer attrition (loss of supplies) which reduces their numbers.
- Why it works: Attrition can kill off a large portion of the garrison, making the assault much easier. It also destroys some buildings, weakening the settlement’s economy after capture.
5. Send Infantry Through Multiple Breaches
- Explanation: Create at least two breaches in the walls and send multiple units simultaneously. This spreads out the enemy’s defenders and prevents them from focusing on one point.
- Why it works: Defenders can only cover one flank. Attacking from two sides forces them to split forces, making each breach easier to hold and exploit.
Advanced Optimizations
1. Abuse Lightning Strike
- Explanation: The “Lightning Strike” skill (available to lords at high rank) allows you to fight a single enemy army when multiple stacks are present, preventing reinforcements.
- Why it works: This turns a 2v1 into a 1v1, letting you defeat superior numbers piecemeal. Equip it on your main lord as soon as possible for key battles.
2. Use Ambush Stance to Bait Enemies
- Explanation: Have one army in Ambush stance while another sits in visible range. The enemy will move to attack the exposed army, triggering the ambush and giving you a decisive first strike.
- Why it works: Ambushing can catch enemy stacks off-guard, nullifying their advantage and forcing a battle on your terms. High ambush success chance factions (Skaven, Beastmen) excel at this.
3. Stack Buffs from Skills and Items
- Explanation: Combine lord and hero skills with banner items and magic items that buff the same stat (e.g., charge bonus, melee attack). A single unit can become monstrously powerful.
- Why it works: The game calculates additive bonuses. For example, a +25 speed banner + +10% speed skill from a hero can make cavalry extremely fast. Stacking ward saves or physical resistance creates unkillable units.
4. Use Underway/Worldroots for Quick Travel
- Explanation: Many factions (Dwarfs, Greenskins, Wood Elves) can use underground or worldroot stances to bypass obstacles and ambush enemies.
- Why it works: These stances ignore terrain penalties, rivers, and mountain ranges. They allow rapid redeployment across the map, catching enemies off guard. Always be in one of these stances when moving through difficult terrain.
5. Min-Max Diplomacy with Gifts
- Explanation: If you need a trade agreement or alliance but the enemy is unfriendly, gift them a small amount of gold (100-500) to improve relations. Often this is cheaper than fighting.
- Why it works: Diplomacy in WH3 is heavily influenced by relations. A small gift can turn a “-20” to “+10”, making a deal possible. Use this to secure trade routes or defensive pacts without bloodshed.
6. Reinforce from Multiple Directions
- Explanation: When you have multiple armies near a battle, position them so they arrive from different sides of the map. In battle, this forces the enemy to split attention.
- Why it works: The enemy AI often struggles to react to attacks from behind. Reinforcing from the flank or rear can trap their forces and lead to a decisive victory.
Final Thoughts
Mastering Total War: Warhammer III requires practice, but applying these tips will accelerate your progress. Remember that each faction has unique mechanics (e.g., Kislev’s Ice Court, Cathay’s Yin-Yang harmony), so adapt these strategies to your chosen race. Constantly experiment, save before major battles, and learn from each defeat. Good luck, and may your empire stand eternal!