Getting Started
Getting Started Guide for Until Dawn
First Hour Walkthrough (Chapters 1–2)
The game opens with a prologue set on Blackwood Mountain one year before the main story. You play as two unnamed characters (the twin sisters Hannah and Beth) fleeing from an unknown threat. This section establishes the tone and introduces movement and interaction controls (walk, run, examine objects). Important: Follow the linear path – there are no choices here. The prologue ends with a scripted event that triggers the main plot.
After the prologue, the story jumps to the present day. You control Matt first (Chapter 1), then Mike and Jess (Chapter 2). During this first hour you will:
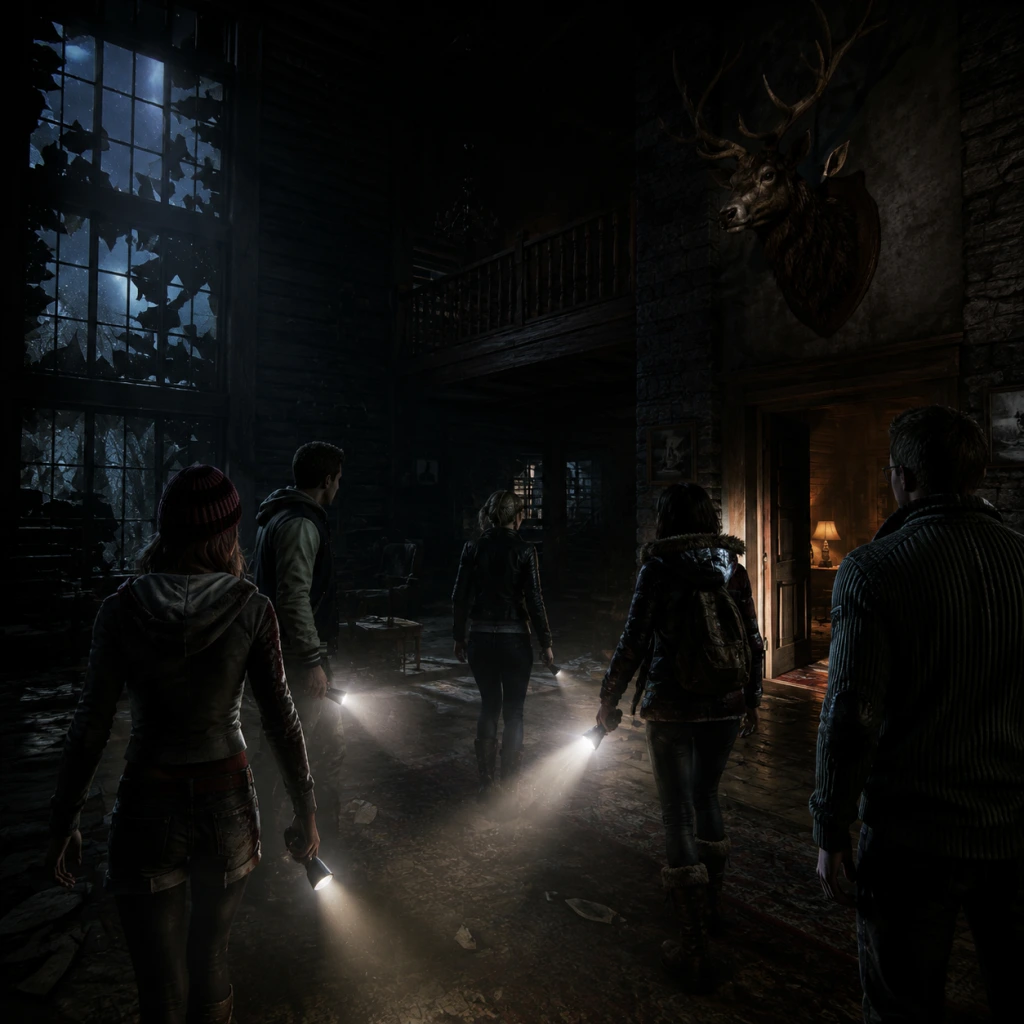
- Chapter 1: Explore the lodge as Matt and Emily. Focus on picking up clues (glowing items) and totems (see next section). Key area: the main hall, kitchen, and upstairs bedrooms. A mandatory quick-time event (QTE) occurs when you try to open a stuck door – tap the button rapidly.
- Chapter 2: Play as Mike and Jessica walking along a snowy trail. This introduces stealth sections (avoiding being seen by a figure in the forest). You must stay quiet: move slowly by tilting the left stick gently, and don’t let Jess trigger loud actions. At the cabin, a series of QTEs determine immediate safety – failures can lead to early character death.
Character Creation
There is no character creation in Until Dawn. The eight playable characters (Sam, Mike, Chris, Ashley, Emily, Matt, Jess, Josh) are fully predefined with fixed appearances, personalities, and backgrounds. Your choices shape their relationships and survival, but you cannot change their looks or stats. This is a story-driven experience, not a role-playing game with stat building.
Controls on All Platforms
#### PlayStation 4 / PlayStation 5
| Action | Button |
|---|---|
| Move character | Left stick |
| Camera control | Right stick |
| Interact / Examine | Triangle |
| Run (hold) | L2 |
| Hide / Stay still | R2 (press/hold) |
| QTE prompts | On-screen button (e.g., Circle, Square) |
| Motion control (torch, balance) | Tilt controller – keep it steady to avoid swaying |
| Pause menu | Options button |
#### PC (Keyboard & Mouse)
| Action | Key |
|---|---|
| Move | W/A/S/D |
| Look around | Mouse movement |
| Interact | E |
| Run | Shift (hold) |
| Hide / Stay still | Ctrl (hold) |
| QTE | Prompted letter/number (e.g., press F, then E quickly) |
| Pause | Escape |
UI Overview
- Health / Status indicators: Each character has a head icon at the top of the screen. When they’re healthy it’s white; after an injury it turns yellow or red. A skull icon means death (permanent).
- Totem visions: When you find a totem, you can view a brief premonition from the pause menu (Touchpad on PS, Tab on PC). These visions hint at future events.
- Butterfly Effect: After major choices, a butterfly icon appears with text like “____ will remember that.” These choices affect dialogue and outcomes later.
- Clue tracker: In the pause menu, under “Evidence,” you can see which clues you’ve collected per chapter. Aim for 100% to unlock extra endings.
- QTE timer: When a QTE appears, a circular timer or shrinking bar shows the time limit. Failure can harm or kill the character immediately.
- Don’t rush through exploration. Skipping dialogue or running past interactable objects means missing clues that explain the plot and affect later events.
- Never shake the controller during “Don’t Move” segments. Even a slight tremor counts as movement. Rest the controller on a flat surface or your lap to stay perfectly still.
- Avoid choosing obviously reckless dialogue options early on (e.g., making cruel comments to other characters). These affect relationships and can lead to characters refusing to help you later.
- Do not ignore the totems. While optional, they are the only source of future hints. Without them, you walk in blind.
- Clues: Collect as many as possible. They unlock chapter summary information and affect ending scenes.
- Totems: Prioritize picking up all totems. They directly impact your ability to make informed decisions.
- Character relationships: Treat every character decently. Being kind (or at least neutral) builds trust. Don’t antagonize anyone unless you have a good reason.
- [ ] Play through the prologue fully (no missable content).
- [ ] In Chapter 1, explore every room in the lodge – collect all 3 clues (two in the main hall, one in the kitchen) and 2 totems (one in the main hall, one in the upstairs bedroom).
- [ ] Learn the totem colors by viewing them in the pause menu.
- [ ] Practice “Don’t Move” during the prologue’s first hiding section. Rest the controller on a table.
- [ ] Complete Chapter 1’s ending QTE (the stuck door) successfully.
- [ ] In Chapter 2, move slowly on the trail – never run until you are chased. Hide behind rocks when prompted.
- [ ] Pass all QTEs during the cabin sequence to ensure Jessica remains unharmed.
- [ ] After Chapter 2, save the game (autosave occurs) and either continue or take a break.
- [ ] Optional but recommended: Write down the totem visions you see – they come in handy later.
Essential Early Objectives (What to Do First)
1. Find all collectibles in the prologue and Chapter 1. There are 3 clues and 2 totems to find before the lodge scene. Clues help with story comprehension; totems give life-saving hints.
2. Learn the totem colors:
- Black totem: Shows a death (bad outcome to avoid).
- White totem: Shows a survival outcome (good path).
- Yellow totem: Shows a danger warning.
- Red totem: Shows a fate that someone will remember.
- Collecting and interpreting totems early gives you strategic information.
3. Practice QTEs. The first two chapters have several “Don’t Move” segments (hold the controller very still) and button-mashing sections. Train yourself to stay calm – a sudden flinch can fail the “Don’t Move” prompt.
4. Save the first characters. During the opening of Chapter 2 (Mike & Jess), if you fail any QTE on the trail, Jessica may get injured or die. Always run when chased, hide when required, and never make loud noises.
What to Avoid
Early Resource Priorities
There are no traditional resources (health, ammo, money) in Until Dawn. The only “resources” are:
Common Beginner Mistakes
1. Moving during “Don’t Move” prompts. This is the #1 cause of early death. Many beginners instinctively react to a jump scare by flinching. Solution: set the controller down or hold it as still as a statue.
2. Mashing buttons too early. Some QTEs require you to wait for a specific cue before pressing (e.g., hold still then press a button). Rushing leads to failure.
3. Thinking choices don’t matter. Every dialogue choice and action has consequences – sometimes hours later. Treat each decision seriously.
4. Forgetting to look around. The camera auto-follows, but you can control it. Use the right stick to scan corners, behind furniture, and ceilings for clues and totems.
5. Not saving often enough. The game autosaves frequently, but if you quit mid-chapter you’ll lose progress. Wait for the autosave icon (a spinning disk) before closing the game.
Day-One Checklist
This first hour sets the foundation for the entire game. Master these basics, and you’ll be well-prepared for the horrors ahead.