Important Notes
Important Notes
Irreversible Choices & Missable Content
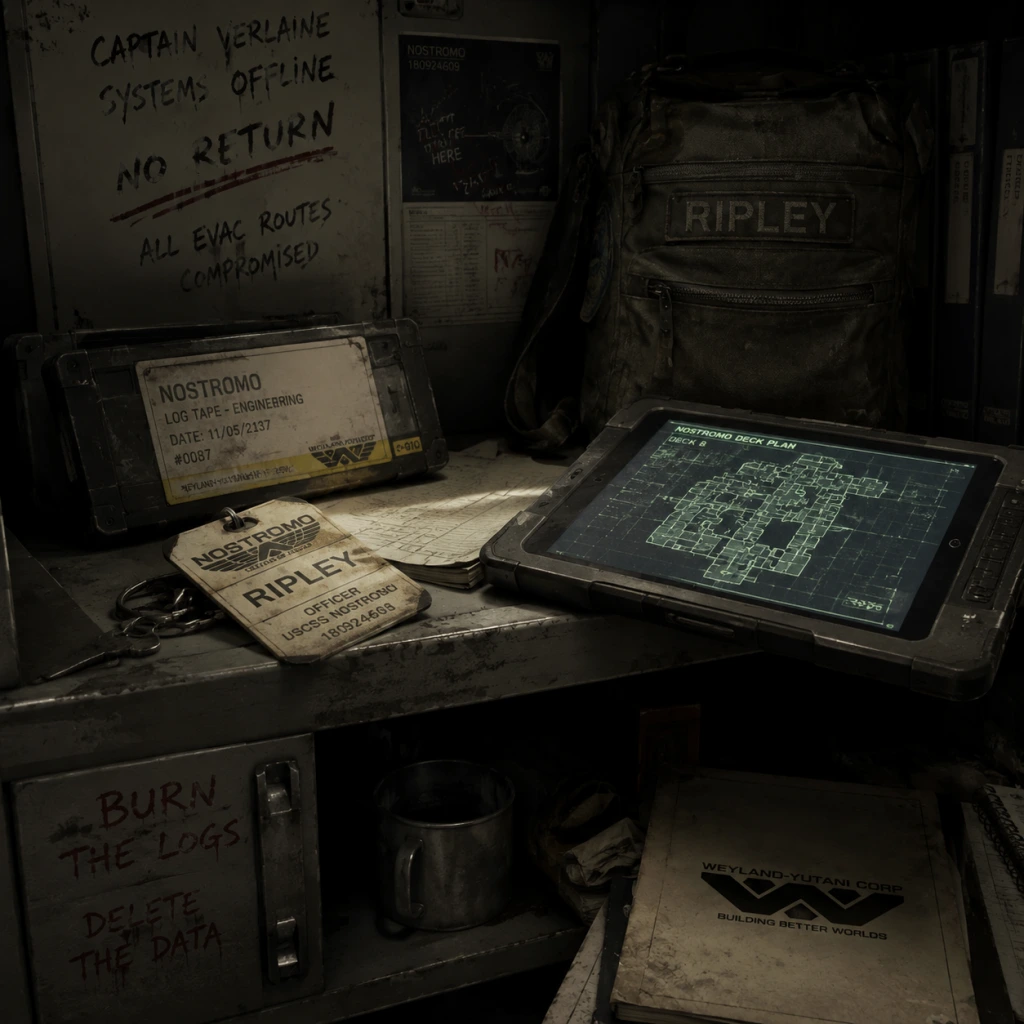
- Nostromo Logs & ID Tags: These collectibles are tied to achievements/trophies and are missable if you progress past certain story points. For example, the Nostromo Log in Mission 3 ("The Trap") is only accessible before you open the door to the transit station. Always search thoroughly before leaving a major area.
- Mission 5 – "The Quarantine": The medical bay contains several key items that become inaccessible once you enter the morgue and the Alien triggers the lockdown. Loot all cabinets and desks before proceeding.
- Mission 10 – "The Hive" (Synthetic Disassembly): The working joe encounters are scripted; destroying them early can prevent later ambushes, but you may miss lore collectibles if you skip areas (like the e-mails in the lobby of the KG348 terminal). Always backtrack to check vents and offices after clearing threats.
- No Story Branching: Your choices do not alter the main plot or ending, but how you spend resources and which paths you take in the station can affect your ability to survive later sections. Save weapon upgrades for the most critical moments (e.g., the flamethrower is best used sparingly).
- Save Stations Only: Manual saves are only possible at wall-mounted save stations. They are scattered throughout the station, but you cannot save during active Alien encounters or while being chased. Plan your save points: always use a station immediately after a quiet moment, as the Alien’s patrol can ambush you between stations.
- Autosave Frequency: The game autosaves at story checkpoints (e.g., after opening certain doors, completing objectives). These are spaced generously, so if you die after 20 minutes of exploration, you may lose progress. Rely on manual saves at stations whenever you find a safe room.
- Save Scumming is Safe: There is no penalty for reloading a save. If you’re low on health or resources, you can reload from a recent save to retry a section with perfect execution. This is especially useful during the “survive until the elevator arrives” sequences.
- Risk of Overwriting: The game allows only one manual save per slot (up to 3 slots). If you save at a station after a difficult encounter, you may overwrite a better checkpoint. Consider using different slots for different missions if you want to revisit earlier areas.
- Medical Bay (Mission 5): The first major spike occurs when the Alien becomes fully active. It will patrol the main hall regularly. Use vents, hiding in lockers (but don’t stay too long), and distractions (noise makers, smoke bombs) to cross open areas. The motion tracker is vital here.
- Reactor Core (Mission 14): The Alien is extremely aggressive here and the environment is full of narrow corridors. Save your flamethrower fuel – you will need it for the final escape sequence. Use the environment to break line of sight, and avoid running.
- The Hive (Final Mission): The Alien becomes near-constant, and you must traverse a narrow hive with limited cover. Use flares to distract it and molotovs to clear working joes. Save your game often before entering the hive proper.
- Working Joes: These androids are tough to kill; they soak up bullets and can grab you. Use the electric stun baton or melee attacks from behind. Once alert, they will chase you relentlessly. Better to avoid them or use the environment to stun them (e.g., opening/closing doors repeatedly).
- No Grinding Required: There are no leveling or crafting systems that force repetition. However, you can replay sections to reroll loot drops from dead humans or androids, but this is rarely beneficial. Better to move forward.
- Resource Hoarding Danger: Many players hoard items (especially fuel for the flamethrower) and never use them, only to die later because they were overwhelmed. Use items proactively! The flamethrower is best used to scare the Alien away, not to kill it. A quick burst saves fuel and buys you time.
- Weapon Upgrade Distribution: You find upgrade kits throughout the game. There are exactly enough to upgrade every weapon at least once, but reassignments cost nothing. Don’t worry about “wasting” upgrades; you can reapply them at any bench. However, you cannot recover used parts, so prioritize the weapons you use most (pistol, shotgun, flamethrower).
- Crafting Components: Items like scrap metal, electronic components, and gunpowder are finite per playthrough and do not respawn. Use them to craft essential tools: medkits, smoke bombs, and noise makers are mandatory; molotovs are optional but useful for working joes. Avoid crafting flashbangs – they are rarely useful.
- Single-Player Only: Alien: Isolation is a purely single-player game; no online multiplayer exists. As such, there are no etiquette rules or anti-cheat systems beyond DRM (e.g., Steam DRM on PC).
- Modding & Achievements: On PC, mods (from NexusMods or Workshop) can alter gameplay, graphics, or add new content. These do not typically disable achievements, but using third-party trainers may flag your account (if you are signed into Steam). For console, mods are not available.
- No Leaderboards or Competitive Play: You cannot cheat to affect other players. However, if you care about achievements/trophies, be aware that using a trainer to spawn items or set invincibility will likely prevent some achievements from unlocking mid-playthrough. It’s safest to avoid mods for a first playthrough.
- Human Enemies: In some sections (e.g., the anarchist survivors in Mission 6-7), humans can be killed or avoided. Killing them reduces future enemies, but makes noise that attracts the Alien. Use stealth or non-lethal takedowns (no option) – you can only kill or hide. Sometimes peaceful coexistence is impossible.
- Glitches & Softlocks: On rare occasions, the Alien may get stuck in a wall or refuse to leave an area. If this happens, quit to the main menu and reload your last save. Also, do not skip tutorial prompts (e.g., crafting) as it can break quest triggers.
- Difficulty Selection Affects Alien AI: On Hard and Nightmare, the Alien is more aggressive, learns faster, and has a shorter cooldown after being scared. It also spawns closer to you. For a first playthrough, choose Medium; for a challenge, Hard; Nightmare removes HUD elements and makes items even rarer.
- Check Your Map Frequently: The map is your navigational guide, but it does update in real-time. If you get lost, re-enter a safe area and study the map. Climbable vents are marked with small arrows.
Save Management & Pitfalls
Difficulty Spikes
Grinding Traps & Resource Management
Online Etiquette & Anti-Cheat Notes
Things Players Commonly Regret Not Knowing Earlier
1. The Motion Tracker is Your Best Friend (and Worst Enemy): Always have it out when exploring, but be aware that its blips can be heard by the Alien. Tap it briefly to check, then crouch and move. The Alien can also see the tracker’s light in the dark.
2. Hiding in Lockers is a Trap: The Alien can open lockers if it sees you enter or hears you breathing. Hold your breath (R3/left stick click) when it’s near. Never stay in a locker longer than 30 seconds; it will start a search pattern. Peek out via the door crack (press up on d-pad/arrow) to check the coast.
3. The Flamethrower’s True Purpose: It does not kill the Alien; it only scares it away temporarily. One second of flame is enough. Conserve fuel for the final segments where you need multiple scares. Overusing it can leave you defenseless.
4. You Can Melee Working Joes: A charged melee attack (hold melee button) from behind can take out a working joe with one blow if you have the stun baton. Otherwise, a few hits with the wrench can stun them. But direct confrontation is risky.
5. Noise Makers are More Useful than Flares: Noise makers attract the Alien to a specific location and are especially good for distracting it away from your path. Flares produce light and noise but are less reliable. Always carry at least one noise maker.
6. The Alien Learns (Sort Of): The game tracks your behavior patterns. If you frequently hide in vents, it will start checking vents. If you use the flamethrower a lot, it becomes resistant. Vary your tactics: sometimes hide in lockers, sometimes under desks, sometimes run openly. This will keep the Alien from predicting you.
7. Backtracking is Not Always Possible: After major story events, many areas become inaccessible (e.g., the transit system shuts down temporarily). Complete all side objectives (like retrieving ID tags or weapon parts) before moving to the next mission marker.
8. Save Often in Safe Rooms: Anytime you find a save station and the coast is clear, save. If you die 10 minutes later, you’ll thank yourself. Don’t skip save stations just because you think you’re safe.
9. The Ambi-Player (PC Specific): On PC, the mouse acceleration can be annoying; turning it off in settings improves aiming. Also increase FOV if you feel claustrophobic (there is a secret command: open the console with ~ and type `fov 90`).
10. The Final Hive is a Gauntlet: In the last mission, you cannot rely on hiding – you must keep moving. Use flares, noise makers, and all remaining fuel. The Alien will be on your tail constantly. Don’t hoard anything; use everything you have because the game ends after the escape.
Additional Warnings
In summary, play carefully, save often, and embrace the fear. The Alien is always learning – you must too.