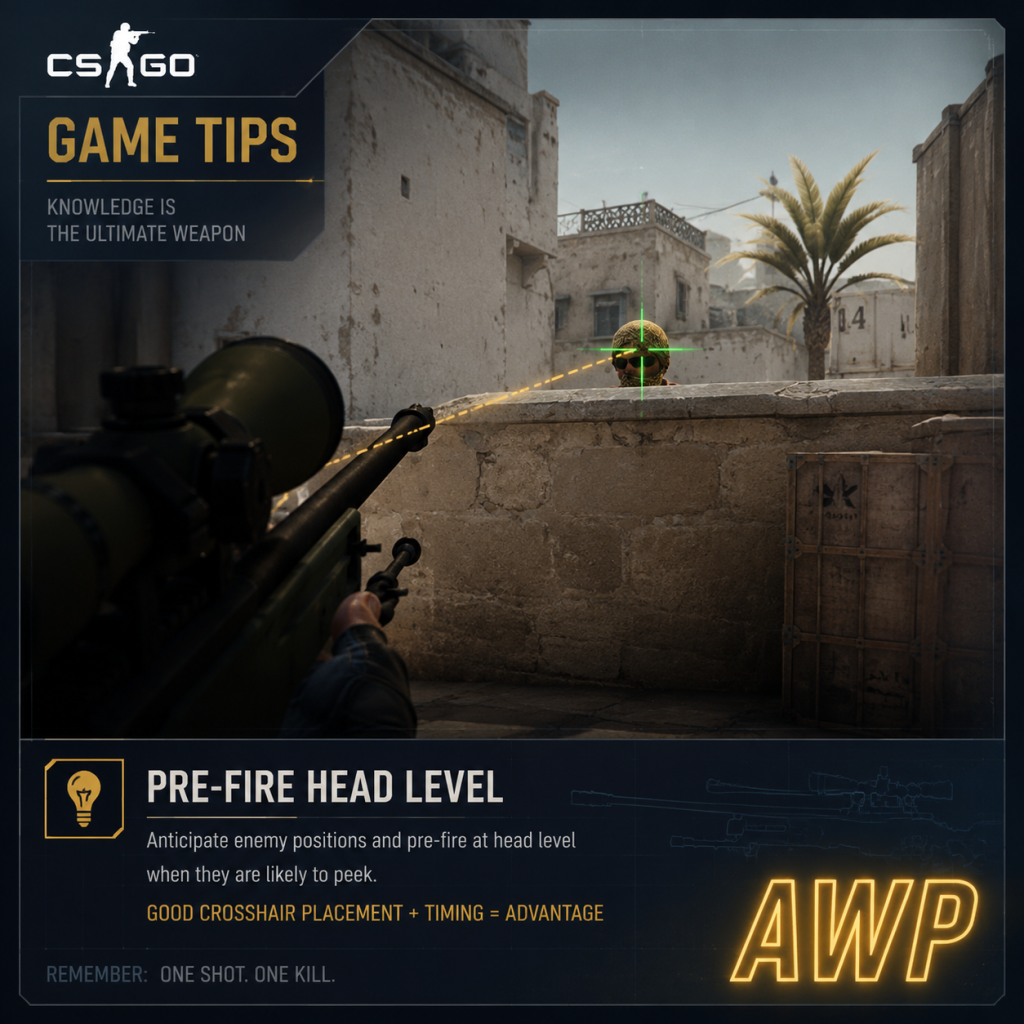
Game Tips
Game Tips for Counter-Strike: Global Offensive (now Counter-Strike 2)
This guide provides essential tips for players of all skill levels, from absolute beginners to advanced players seeking to optimize their performance. Tips are grouped by category and include explanations of why they work and when to apply them.
Combat Tips
1. Crosshair Placement at Head Level
- Beginner Tip: Always keep your crosshair at head height, not aimed at the floor or chest. This reduces the need to adjust vertically when an enemy appears.
- Why it works: The time needed to flick from chest to head is often the difference between winning and losing a duel. Consistently placing your crosshair at head level—accounting for distance (slightly lower for close quarters due to perspective)—dramatically improves your first-shot accuracy.
- When to use: Every map, every moment. Practice this on deathmatch servers.
- Intermediate Tip: When moving, pressing the opposite movement key cancels your momentum faster than releasing the key. For example, while moving left (A), press D to stop immediately before shooting.
- Why it works: CS:GO/CS2 has inaccuracy while moving. Counter-strafing lets you become accurate almost instantly, making your shots more reliable.
- When to use: During peek duels, peeking corners, and anytime you need to fire accurately after moving. Practice in aim training maps or deathmatch.
- Advanced Tip: At long distances, limit your shots to 2–3 round bursts with the M4 or AK-47. Full-auto spraying at range causes significant spread.
- Why it works: Recoil patterns become unpredictable after the first few bullets; bursting resets the pattern, maintaining accuracy.
- When to use: Holding long angles (e.g., Dust2 A Long, Mirage A Site) where enemies are far. For SMGs or pistols, bursting is less critical due to lower accuracy.
- Intermediate Tip: For single-shot weapons (Deagle, AWP, Scout), prioritize precise headshots. The Deagle can one-tap at any range if you hit the head.
- Why it works: The Deagle’s first-shot accuracy is high but recoil reset is slow. Taking time to aim for the head (even flicking) yields higher reward than spamming.
- When to use: Eco rounds with Deagle, or when you have range advantage and cover.
- Beginner Tip: Communicate with your team about money before each round. Use the scoreboard (Tab) to see team funds. Avoid buying when others save unless you plan a force buy together.
- Why it works: A fragmented economy (some buy, some save) leads to losses. Coordinated buys increase the chance of winning rounds, especially important in competitive matches.
- When to use: At round start, especially after a loss. Learn standard economy calls: save (no buy), force buy (spend all remaining pistol+armor+SMG), full buy (rifle+armor+grenades+maybe defuse kit).
- Intermediate Tip: After losing a pistol round, typically save (no buy) on round 2 (if you lost) to afford rifles+armor on round 3. Many teams force buy on round 2 only if they win pistol.
- Why it works: The economy system rewards winning rounds. Saving after a loss sets up a strong buy for the third round, giving better equipment against enemies who might be buying SMGs/armor.
- When to use: Follow team callouts. In MM, default: lose pistol -> save round 2, buy round 3; win pistol -> buy round 2 with SMG/armor.
- Advanced Tip: On CT side, always buy a defuse kit if you have $400 remaining after buying primary/armor/grenades. A kit shortens defuse time from 10s to 5s.
- Why it works: Those 5 seconds can be the difference between winning with bomb plant and losing. It also allows defusing under pressure (e.g., 1v1 with 7s left).
- When to use: Every full buy round, especially on maps with exposed bomb sites.
- Beginner Tip: As mentioned under combat, this movement technique is vital. Also learn to jiggle peek (quickly lean out and back) to gather info with minimal exposure.
- Why it works: Jiggle peeking uses counter-strafing to show only a fraction of your body, revealing enemy positions without exposing you to a full spray.
- When to use: Checking corners, baiting shots, or gathering info before committing.
- Intermediate Tip: B-hopping is a movement technique that preserves speed by jumping and strafing in sync. It has niche uses in CS2.
- Why it works: It can allow faster rotation across open areas, but it’s inconsistent due to server lag and movement penalties. Not essential, but useful for ladder strats or rushing.
- When to use: Only on maps with long corridors (e.g., Inferno Banana, Dust2 Mid) and when enemy is unaware. Do not rely on it in competitive play.
- Beginner Tip: To climb up to high surfaces (like Dust2 B Window sill), jump and press crouch (Ctrl) mid-air. This adds slight height.
- Why it works: The game physics allow a boosted trajectory. This opens up new positions (e.g., mirage under palace ledge).
- When to use: Map-specific spots; learn them in practice.
- Intermediate Tip: When throwing a flashbang, turn away from the point of impact until the flash detonates. Use the throwing sound to time your turn.
- Why it works: Flashes blind teammates and enemies regardless of vision if they see the explosion. Turning ensures no penalty.
- When to use: Before entering a site or when peeking. Coordinate with teammates to avoid blinding each other.
- Advanced Tip: Learn pre-set smoke lineups for common points: CT spawn on Mirage, default positions on Mirage A, Dust2 A Long, etc.
- Why it works: Perfectly placed smokes block key sightlines, forcing CTs to reposition or giving Ts safe entry. Lineups ensure consistency.
- When to use: On execute rounds. Practice in private servers or workshop maps.
- Intermediate Tip: On CT side, throw a molotov (or incendiary) onto the bomb after planting to prevent Ts from defusing. Toss it to cover the bomb completely.
- Why it works: The fire area is lethal; Ts cannot defuse through fire. This delays defuse or forces them to take damage.
- When to use: After securing a bomb plant, especially in post-plant situations.
- Beginner Tip: When holding an angle, stand slightly further back from the corner (not hugging the wall). This makes you appear later to the peeker due to network latency.
- Why it works: Peeker’s advantage (server tick rate) means the aggressor sees you slightly before you see them. Being further back gives you time to react.
- When to use: Holding long angles on defense. Example: in Dust2 A Long, stand behind the double doors entrance rather than at the corner.
- Intermediate Tip: Avoid standing where enemies are likely to pre-aim (e.g., default headshot positions). Instead, use unexpected spots (crouch behind a box, under a window).
- Why it works: Enemies will check common spots first; an off-angle gives you a free kill opportunity before they adjust.
- When to use: When you expect a rush or want to surprise. Risky against experienced players who check all angles.
- Beginner Tip: Use map-specific callouts (e.g., “A Long”, “Short”, “Cat”, “B Long”, “Sandbags”). Avoid vague terms like “over there”.
- Why it works: Quick, accurate information allows teammates to react correctly. Saying “one hit A Long” versus “they’re pushing” is more helpful.
- When to use: After any engagement or spotting an enemy. Dead teammates spectating should give live info.
- Intermediate Tip: After a teammate dies, immediately attempt to kill the enemy who killed them (trade). This prevents numbers disadvantage.
- Why it works: In a 2v1, trading increases your chances of winning the round. Always support teammates’ entries.
- When to use: Any time you see a teammate die and you have a clear line of sight. Use coordinated pushes.
- Beginner Tip: Use a simple, static crosshair (no dynamic) with a high-contrast color (cyan, green). Adjust size and gap so it’s visible but not obstructing.
- Why it works: Dynamic crosshair expands with inaccuracy, which can be distracting. A static crosshair lets you focus on placement without visual noise.
- When to use: Works best for most players. Customize in settings or use workshop maps.
- Intermediate Tip: Professional players often use eDPI (DPI × in-game sensitivity) between 800 and 1200. Lower sensitivity allows finer aim adjustments.
- Why it works: Higher sensitivity makes micro-flicks and spray control more difficult. Finding a comfortable low sensitivity improves consistency.
- When to use: Experiment in deathmatch. Start with 800 DPI, 1.0 sensitivity, then adjust ±0.2.
- Advanced Tip: The AK-47 and M4A4 have distinct spray patterns. Practice pulling down and then compensating horizontally. Use workshop maps like “Recoil Master” to build muscle memory.
- Why it works: Spray control allows you to kill multiple enemies in one magazine and hit accurately at medium range.
- When to use: Close to medium range engagements. At long range, use tap fire or burst.
- Advanced Tip: When peeking a corner, start shooting before you fully see the enemy. Aim at head height and fire the instant you peek.
- Why it works: Peeker’s advantage means your bullets register before the enemy’s reaction. Prefiring reduces TTK (Time to Kill).
- When to use: When you know an enemy is holding a specific angle (e.g., inferno pit, overwatch long).
- Advanced Tip: Walk (Shift) to move silently, but be aware it slows you down. Use running only when you are confident no enemies are nearby or to rotate quickly.
- Why it works: Sound gives away your position and weapon. Walking allows flanks and surprise attacks.
- When to use: Near bomb sites, when rotating, or when you suspect an enemy is close. On T side, walking into site can catch CTs off guard.
- Tip: T side should not overcommit to A Long without controlling Short (near CT spawn). CTs can crossfire from both. Coordinate pushes.
- Why it works: Splitting attention makes CTs react less efficiently. Use smokes to block CT spawn vision.
- Advanced Tip: On Mirage, a teammate can boost you onto the palace ledge (outside A site) using a jump boost. This gives a high ground angle that is unexpected.
- Why it works: It provides a clear view of A site and default positions, and is hard for CTs to spot.
- When to use: In coordination with a teammate (need two). Practice setup in casual.
2. Counter-Strafe to Stop Instantly
3. Burst Fire at Long Range
4. Use One-Taps with Weapons Like the Desert Eagle
Economy Tips
5. Team Economy Management
6. Know Buy Rounds and Eco Rounds
7. Defuse Kit Buys on CT Side
Movement Tips
8. Learn Basic Counter-Strafing (Repeated for emphasis)
9. Bunny Hopping (Intermediate)
10. Crouch Jump to Reach High Ledges
Utility Usage Tips (Grenades)
11. Flashbang Timing to Avoid Self-Blinding
12. Smoke Lineups for Key Positions
13. Molotov to Deny Defuses
Positioning Tips
14. Hold Angles with Peeker’s Advantage in Mind
15. Off-Angles Over Common Angles
Teamwork & Communication
16. Clear, Concise Callouts
17. Trade Killing
Settings & Crosshair Optimization
18. Configure Your Crosshair for Clarity
19. Lower Your Sensitivity for Precision
Advanced Tips
20. Learn Recoil Patterns
21. Prefire Common Angles
22. Sound Economy: Walk vs. Run
Map-Specific Tips
23. Dust II: Long vs. Short Control
24. Mirage: Palace Ledge Boost
Conclusion
These tips cover foundational mechanics through advanced strategies. Master the basics first (crosshair placement, economy, movement), then integrate utility and teamwork. Regular practice in deathmatch, aim training maps, and competitive matches will refine these skills. Remember: consistency and game sense come with time.