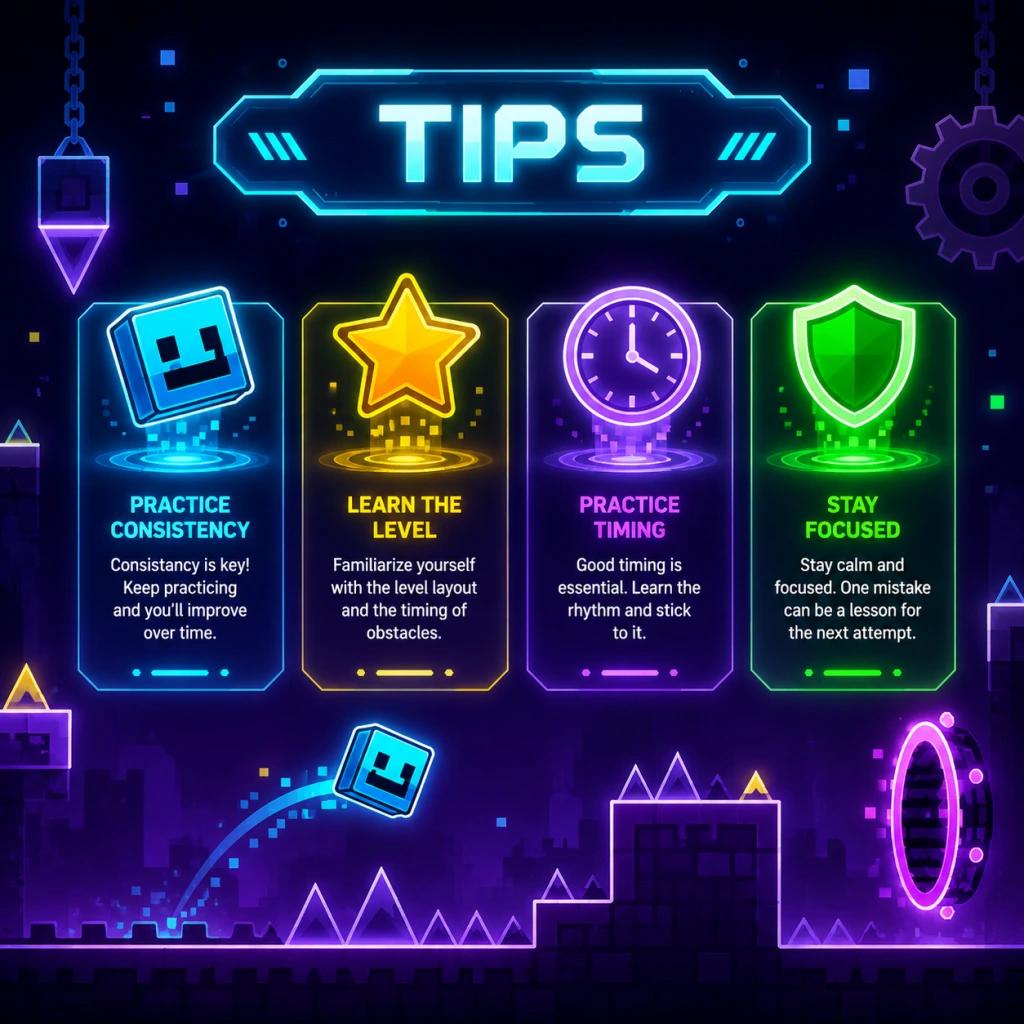
Game Tips
Geometry Dash Game Tips
This guide covers a wide range of tips for Geometry Dash, organized by difficulty level and category. Whether you are a newcomer or an experienced player aiming for 100% completion, these insights will help you improve your timing, patience, and overall skill.
---
Beginner Tips
#### 1. Master the Basics First
- Explanation: Focus on completing the official RobTop levels in order (Stereo Madness, Back On Track, Polargeist, etc.) before attempting user-created levels or harder difficulties. These levels gradually introduce new mechanics (jump pads, gravity portals, teleporters) and are designed to teach you the core gameplay.
- Why it works: The official levels have consistent timing patterns that sync with the music, making it easier to learn the relationship between audio cues and obstacles.
- When to use: Always start with Stereo Madness. Don’t skip to harder levels until you can finish Polargeist with 60%+ success rate.
- Explanation: Before attempting a full run, use Practice Mode (tap the gear icon in the level select screen, then choose "Practice"). You can place checkpoints anywhere and practice sections repeatedly.
- Why it works: Muscle memory is built through repetition. By isolating difficult segments (e.g., a triple-spike sequence), you can grind them until they become automatic.
- When to use: Every time you encounter a new obstacle or feel stuck at a particular part. For longer levels, place checkpoints every 20-30% to break the level into manageable chunks.
- Explanation: Geometry Dash is a rhythm game. The obstacles, jumps, and portals are timed to the beat of the background music. Listen for bass drops, snare hits, or melody changes to time your taps.
- Why it works: Your ear can react faster than your eyes when it comes to rhythm. Many players rely too much on visual patterns, but audio beats are more consistent.
- When to use: Especially in levels with fast-paced sections (like Clutterfunk or Theory of Everything) where visual reaction time might be too slow.
- Explanation: Each icon (cube, ship, ball, UFO, wave, robot, spider, swing) has unique movement physics. For example:
- Why it works: Knowing these differences prevents panic-tapping and allows you to adapt quickly during mode transitions.
- When to use: When you encounter a portal changing your icon, mentally switch to the appropriate control style.
- Explanation: In fast levels (2x or 3x speed), you cannot rely on reacting to new obstacles frame-by-frame. Instead, memorize the sequence of clicks (e.g., tap, tap, hold, release) and follow that pattern blindly.
- Why it works: At high speeds, your reaction time is too slow. A pre-learned click pattern lets you perform the section consistently without thinking.
- When to use: Levels like "Bloodbath" or "Cataclysm" (if you attempt them as an intermediate) demand memorized patterns for the robot/UFO parts.
- Explanation: When holding a button for ship or robot modes, your finger may drift or cramp. Instead of holding continuously, tap rapidly (10-20 taps per second) to maintain altitude with micro-adjustments.
- Why it works: Rapid tapping gives you better control over small altitude changes and avoids overshooting.
- When to use: Any long ship section with tight corridors (e.g., the end of Geometrical Dominator).
- Explanation: Many user-created levels have misleading designs or fake obstacles. Watch a video playthrough or use the "Show Hitboxes" mod (PC only) to see the real collision boxes.
- Why it works: Some creators place objects that look harmless but are lethal, or vice versa. Knowing the layout prevents frustration.
- When to use: For levels rated Demon or Insane where hidden traps are common. Also useful for daily/featured levels.
- Explanation: In tight timings, tap slightly before you think you need to. The game has a small input buffer (about 1-2 frames) that can save you if you tap too early.
- Why it works: If you tap exactly on the beat, any lag or human error will cause a miss. Tapping a hair early lets the buffer catch it, and you land perfectly.
- When to use: On spike rows, portal transitions, or any frame-perfect jump (common in extreme demons).
- Explanation: If you’re playing on PC with a keyboard, consider using a mechanical keyboard with low actuation force (e.g., Cherry MX Red). For mobile, enable "Reduce Motion" in game settings to lower animation load.
- Why it works: Less input lag and fewer misinterpreted taps mean better consistency.
- When to use: Always, if you aim to beat extreme demons or complete all official levels.
- Explanation: Portals that change your speed (e.g., 2x to 3x) require immediate adaptation. When you see a speed portal approaching, count out the beats in your head to anticipate the new tempo.
- Why it works: Your muscle memory may be locked to the old speed. Mentally preparing for the tempo shift reduces missed taps.
- When to use: In levels like "Theory of Everything" or "Blast Processing" where speed portals are frequent.
- Explanation: A level that looks amazing but has unfair timings or blind jumps will get downvoted. Ensure your layout is fun and logically follows the music before adding effects.
- Why it works: The community values playability. Levels with good gameplay get featured more often.
- When to use: When designing your first few levels—keep decorations minimal (maybe even monochrome) until you master structure.
- Explanation: Place spikes, jump pads, or block patterns exactly on the downbeat or offbeat of the song. Use the editor’s Song Offset to align the timeline.
- Why it works: Players naturally tap to the music; sync ensures they feel the rhythm intuitively, improving their experience.
- When to use: Always, unless you are intentionally creating a syncopated challenge.
- Explanation: After building a section, save a copy and play it as if you’ve never seen it. If you die unexpectedly, adjust the layout to make it fairer.
- Why it works: Creator bias makes you memorize your own patterns. A fresh test reveals hidden impossible jumps or awkward timing.
- When to use: Before publishing any level, especially if it is rated 7 stars or higher.
- Explanation: Playing for hours without breaks leads to exhaustion and decreased precision. Take a 10-minute break every 30 minutes, or switch to a different level.
- Why it works: Mental fatigue reduces reaction time. Short, focused practice yields faster improvement.
- When to use: When you feel your last 5 attempts were worse than the first 5.
- Explanation: Instead of aiming to beat a whole level, aim for 10% progress, then 20%, etc. Celebrate small wins.
- Why it works: It keeps motivation high and makes the final victory feel earned rather than arbitrary.
- When to use: For any level that takes more than 50 attempts to complete.
- Explanation: Some players perform better with a mouse (clicking), others with a keyboard (spacebar), and mobile players might prefer tapping on a glass screen protector. Try each for a week.
- Why it works: Different input methods affect tapping frequency and comfort. You might discover a setup that suits your natural rhythm.
- When to use: If you plateau with your current device for over a month.
- Explanation: For rapid sequences (e.g., wave mode with tight gaps), use two alternating fingers to tap twice as fast. Common on mobile but also possible on PC with macro setups (though macro use may be considered cheating).
- Why it works: Human single-finger tapping maxes out around 12-15 taps per second; two fingers can reach 20+, which is sometimes required in extreme demons.
- When to use: Only for specific levels known for requiring high CPS (clicks per second), like "Firework" or "Tartarus."
- Explanation: The editor has a Mirror feature for both horizontal and vertical flips. In practice, you cannot mirror in-game, but when creating, you can design symmetrical sections that are easier to memorize.
- Why it works: Symmetrical patterns reduce the mental load of memorization because the same muscle memory applies in both directions.
- When to use: When creating or learning a level with mirrored sections (e.g., "The Lost Existence").
- Explanation: Use the in-game stats or a third-party tracker to see your best runs, total attempts, and failure points. Note which percentage you die at most often.
- Why it works: Focused practice on your weakest segment (e.g., the 80% death) is more efficient than restarting from 0%.
- When to use: Once you can reach 30%+ consistently in a level.
#### 2. Practice Mode Is Your Best Friend
#### 3. Use Sound Cues, Not Just Visuals
#### 4. Learn the Icon Types and Their Physics
- Cube: Taps cause instant 1-tile jumps; holding jump gives higher (2-tile) jumps. Timed taps are key.
- Ship: Holding makes it fly upward, releasing makes it drop. Gentle tapping is used for precision.
- Wave: Tapping changes direction of movement (up/down). Requires steady, rhythmic taps.
---
Intermediate Strategies
#### 5. Develop a “Click Pattern” for High-Speed Sections
#### 6. Use the “Tap-Rest” Technique for Long Holds
#### 7. Analyze User Levels Before Playing
---
Advanced Techniques
#### 8. Master the “Buffer” (Pre-tapping)
#### 9. Use Low Sensitive Inputs (PC)
#### 10. Practice “Timing Portals” (Speed Changes)
---
Level Creation Tips (For Builders)
#### 11. Prioritize Gameplay Over Decoration
#### 12. Sync Obstacles to the Music’s Beat
#### 13. Test Your Level from a Fresh Perspective
---
General Advice
#### 14. Manage Frustration with Short Sessions
#### 15. Set Incremental Goals
#### 16. Experiment with Different Input Devices
---
Advanced Optimizations for 100% Completion
#### 17. Learn to “Ninja” (Tap with Two Fingers)
#### 18. Use the Game’s Built-in Mirror Tool (if applicable)
#### 19. Track Your Progress with Statistics
---
Final Note: Geometry Dash is as much about patience as skill. Every player, even the top ones, die thousands of times on hard levels. Use these tips to reduce that number, but accept that failure is part of the learning process. Good luck!