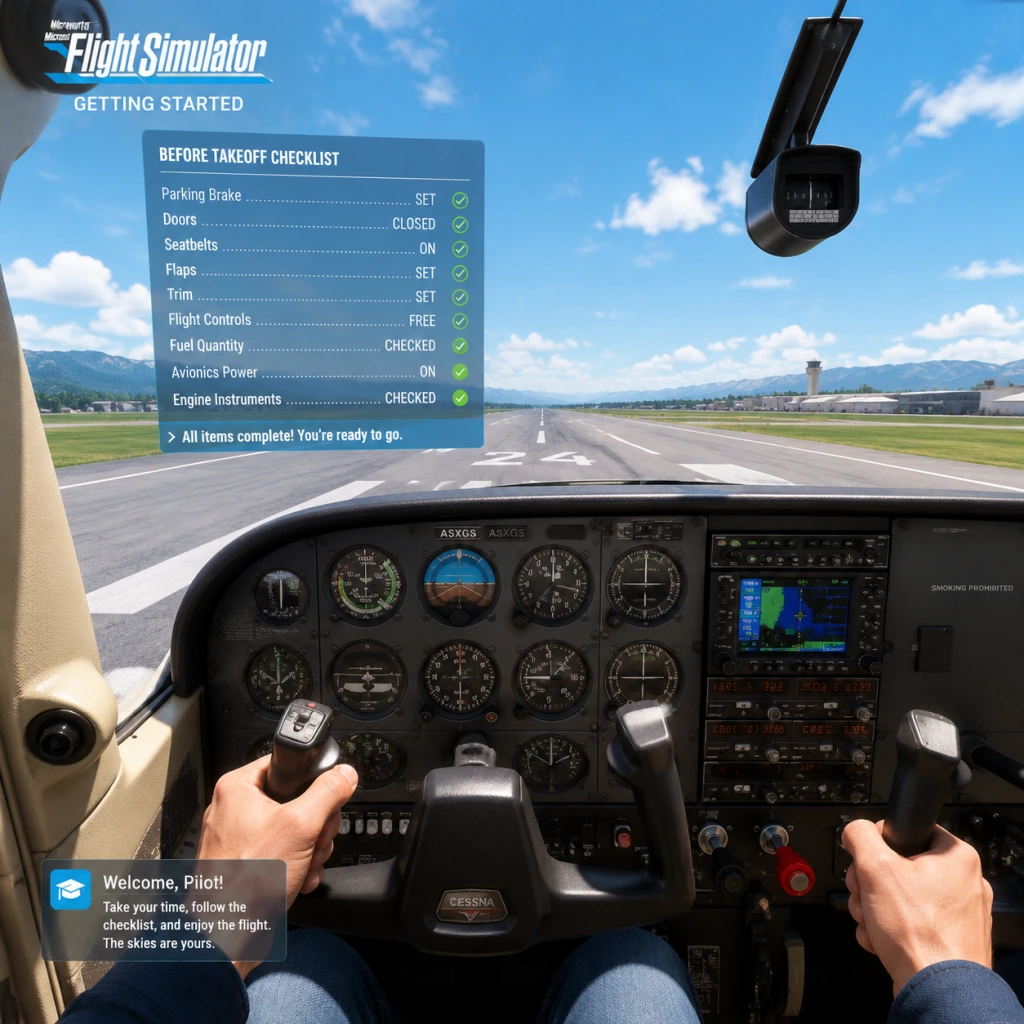
Getting Started
Getting Started Guide for Microsoft Flight Simulator
Welcome to the skies! This guide is designed for brand-new players, helping you take your first steps in Microsoft Flight Simulator (2020 edition) without getting overwhelmed. Follow this walkthrough to go from the main menu to flying your first successful flight.
First Hour Walkthrough: What You’ll Do
1. Launch the Game – After installation, the sim will load a title screen. Wait for the initial world data to download (this is one-time and can take several minutes, even hours on a slow connection).
2. Main Menu – You’ll see options: World Map, Activities, Free Flight, Training, Marketplace, Profile, and Settings. Start with Training.
3. Complete the Tutorials – The game includes interactive tutorials (takeoff, basic flight, landing). Do not skip them. The first tutorial teaches you how to start the engine, taxi, and take off using a Cessna 152. Follow the on-screen prompts.
4. Free Flight (First Attempt) – After tutorials, go to Free Flight > World Map. You can select any airport and aircraft (default is a Cessna 152 or 172). Choose a familiar airport (e.g., your home town or a large international airport like KSEA) and set departure time to daytime. Press FLY.
5. The Cockpit – You spawn on the runway or at a parking spot. If on the runway, the engine may be running. Use keyboard/mouse or controller to look around (right stick or mouse look). Your first goal: just take off and fly straight, then try a gentle turn and climb.
6. End the Flight – After 10–15 minutes, press Esc and choose End Flight to return to the menu.
Character Creation: None Needed
Microsoft Flight Simulator has no character creation. You always play from the cockpit perspective. There is no avatar, no custom pilot model. The focus is purely on flying.
Controls on All Platforms
The game supports multiple control methods. Here’s an overview of the most common ones:
#### Keyboard & Mouse (PC)
- Aileron/Roll – A/D (or mouse yaw left/right)
- Elevator/Pitch – W/S (or mouse forward/back)
- Rudder – Q/E (or numpad 0/Enter)
- Throttle – F1 (idle), F2 (decrease), F3 (increase), F4 (full throttle) – or use +/- on numpad
- Brakes – B (wheel brakes), Period (parking brake)
- Look – Hold right mouse button and drag, or use arrow keys
- Pause – Esc
- Instrument panel interaction – Left mouse click on switches/knobs
- Left stick – Pitch and roll
- Right stick – Camera look (free look) / also controls rudder when used (click right stick for rudder toggle)
- Left trigger – Brake (on ground) or reverse thrust
- Right trigger – Throttle up
- A – Push to talk (ATC) or confirm
- B – Back/cancel
- X – Toggle throttle quick access
- Y – Toggle autopilot modes
- D-pad up – Increase throttle
- D-pad down – Decrease throttle
- LB/RB – Snap views or next/previous instrument
- Plug and play is supported for most USB flight sticks and yokes (e.g., Thrustmaster T-Flight Hotas, Logitech Yoke). The game auto-detects and maps axes.
- You can fine-tune sensitivity in Options > Controls > Axis Settings.
- Top Bar – Shows flight info (speed, altitude, heading, vertical speed, current aircraft). You can click on these to change units.
- Top Right Corner – Quick settings (weather, time, teleport, reset flight). Use the C key to open the ATC panel.
- Bottom Toolbar – Appears when you move your mouse to the bottom of the screen. Contains:
- Instruments – Main flight displays (PFD, MFD, Garmin GPS, etc.) are clickable. You can press F10 to toggle the instrument panel visibility.
- DO: Choose a simple aircraft (Cessna 152 or 172) and a small, uncontrolled airport (e.g., KORS – Orcas Island).
- DO: Keep all automation off (no autopilot, no GPS). Rely on your instruments and visual cues.
- DO NOT: Attempt a long cross-country flight with complex airliners (Airbus A320, Boeing 747) on your first day. These have extensive systems and will frustrate you.
- DO NOT: Enable “Realistic” settings. Start with Easy flight model and Assistance On (hover over question marks in the airport selection screen to adjust).
- AVOID: Busting controlled airspace (Class B/C/D) near big airports without ATC clearance. You can set assistance to warn you.
- AVOID: Flying at night or in bad weather until you’re comfortable with instruments.
- Learning the interface – Spend your first 30 minutes in settings, controls, and the training missions. Don’t rush into “Free Flight” without understanding basic controls.
- Adjusting sensitivity – In Options > Controls > Axis, set a dead zone for your controller/stick to prevent jitter.
- Real-time weather vs. clear skies – Start with clear weather. Once comfortable, enable live weather for realism.
- Performance settings – Graphics may need tweaking. Lower settings like Terrain Level of Detail and Clouds if FPS is low.
#### Xbox Controller (PC & Xbox Console)
> Tip: Go to Options > Controls to remap any key or button. For beginners, the default Xbox controller preset is highly recommended.
#### Flight Yoke & Rudder Pedals (PC)
UI Overview: The Most Important Panels
- Flight Map (M key) – overhead view of your route, airports, obstacles.
- ATC – text-based air traffic control (call for takeoff clearance, flight following, landing).
- VFR Map – shows terrain, airspace, points of interest.
- Camera – switch between cockpit view, external view, drone camera.
- Tools – time compression, fuel calculator, weight & balance.
Essential First Objectives
1. Learn Basic Flight – Control speed, altitude, turns, and slow flight without stalling. Practice in the Cessna 152.
2. Master Takeoff and Landing – The tutorials cover this, but repeat them until comfortable.
3. Understand VFR Navigation – Use visual landmarks and the VFR map to fly from one airport to another.
4. Start with Clear Weather – Set weather to Clear Skies in Free Flight to avoid distractions.
5. Complete the “Basic Training” Flight School – Located in Activities > Flight Training. It takes about 30 minutes and covers all fundamentals.
What to Do First (Avoiding Overwhelm)
Early Resource Priorities: What to Spend Time On
Common Beginner Mistakes (And How to Avoid Them)
| Mistake | Solution |
|---|---|
| Stalling on takeoff – Pulling back too hard | Keep yoke/stick neutral until speed reaches 55 knots (Cessna), then gently rotate to climb at 70 knots. |
| Landing too fast – Coming in with excess speed | Reduce throttle at the threshold; aim for approach speed 65 knots in Cessna. Flatten descent rate when over runway. |
| Ignoring throttle – Forgetting to reduce power | Always monitor RPM. For low-wing aircraft, add carb heat when reducing power. |
| Forgetting to use flaps – Not extending them for takeoff/landing | Use 10° flaps for takeoff, 20–30° for landing (Cessna). Practice flap deployment. |
| Losing orientation while looking away – Getting confused by camera | Use the VFR Map (M) and the compass (top of panel). Keep your eyes on the instruments. |
| Trying to fly a complex aircraft immediately – Overwhelmed by systems | Stick to Cessna 152 until you understand basic flight. Later move to the TBM 930 or an airliner. |
| Not using ATC properly – Getting warnings for airspace violations | Request follow-me or use ATC to get clearance. In free flight, you can disable “Traffic” and “Airspace” warnings in Assistance settings. |
| Over-taxiing – Turning too sharply on the ground | Use differential braking (left/right brake) for tight turns. Light taps only. |
Day-One Checklist (First Play Session)
- [ ] Complete the Takeoff Tutorial (Training > Basic > Takeoff)
- [ ] Complete the Landing Tutorial (Training > Basic > Landing)
- [ ] Set controls to Easy model, and Assistance to at least “Medium” or “On” (Options > Assistance Options)
- [ ] In Free Flight, create a flight from a small uncontrolled airport (e.g., KORS) with clear weather and daytime.
- [ ] Take off, climb to 3000 feet, fly a few miles, then practice gentle turns and level flight.
- [ ] Do a slow flight exercise (reduce throttle to maintain altitude at 50–60 knots; note when stall horn sounds).
- [ ] Navigate back to the airport using the VFR Map (M key) and landmarks.
- [ ] Perform a landing (if crash, reload and try again).
- [ ] End flight after a successful landing (or after 20 minutes if struggling).
- [ ] Spend 10 minutes exploring the options menu – bind a favorite key for “Pause” and “Look” if needed.
- [ ] Save your controller preset as “My Control” (Options > Controls > Save Profile).
After completing this checklist, you’ll be ready for your first real flight from airport to airport. Remember: take it slow, learn the basics, and enjoy the view. The sim is designed to be a journey, not a race.