Getting Started
Getting Started Guide for NieR: Automata
This guide is designed to help brand-new players survive the first few hours, avoid common pitfalls, and get the most out of this unique action RPG. No prior knowledge of the series is required.
Before You Begin: Understanding the World and Your Role
You play as 2B, an android soldier of the YoRHa squad, fighting against machine lifeforms that have taken over Earth. The story is nonlinear and will ask you to replay sections from different perspectives – this is intentional. The prologue is long and cannot be saved, so you must complete it in one sitting. If you die during the prologue, you restart from the very beginning.
Character Creation? The “Name Input” System
There is no character customization in NieR: Automata. At the start, you are prompted to enter a name for your save file. This name is used in menus and can be anything – it does not affect gameplay or story. You will always play as 2B (and later as 9S and A2) without any visual or stat customization.
First Hour Walkthrough: Prologue and First Boss
1. Opening Cinematic: Watch the intro. You learn that Earth has been abandoned by humans.
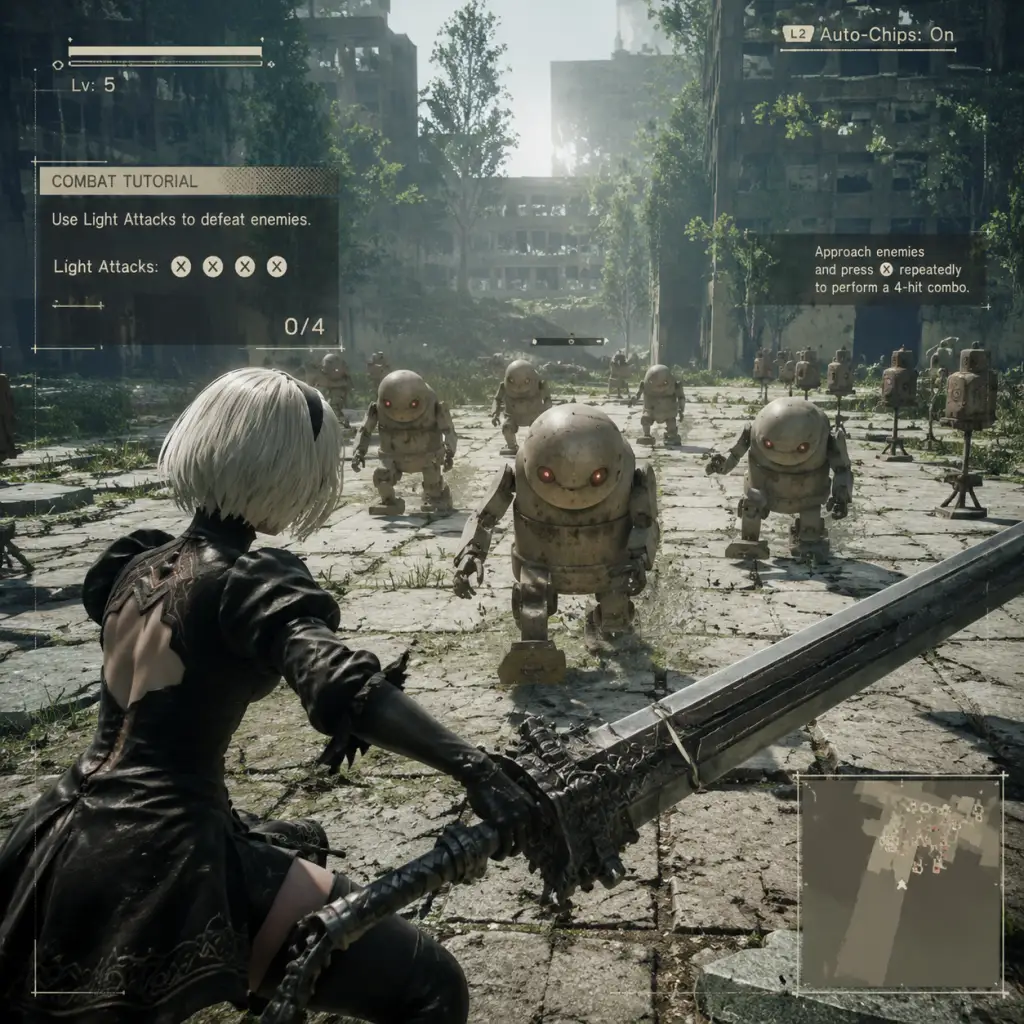
2. Tutorial Combat: You control 2B in a hangar. Learn basic moves: light attack (square on PS4), heavy attack (triangle), jump (cross), dodge (circle). Enemies are weak – practice combos.
3. Pod Introduction: Your floating companion, Pod 042, will appear. It can shoot (R1/RB) and later be upgraded. Pod fire is weak but useful for staggering enemies.
4. Rail Shooter Segment: You get on a flight unit (mecha) and navigate a scrolling shooter section. Move with left stick, shoot with R2/RT, dodge with L1/LB. Don’t stress – this section is forgiving.
5. Boss Encounter: The first boss (a large Goliath-class machine). Use your flight unit’s missiles (R2/RT) and dodge (L1/LB) its attacks. When it grabs you, mash the circle/B button to break free.
6. Second Phase: The flight unit is destroyed. Fight the boss on foot. Dodge its stomps and lasers. Hit its legs and core. Use pod fire to chip away health.
7. Third Phase – The Screen Goes Black: You’ll face a surprise attack. Do not panic. Dodge repeatedly and counterattack. If you die, you restart the entire prologue.
8. End of Prologue: You reach a save point at the Bunker (YoRHa headquarters). Save immediately – this is your first opportunity to save.
Controls on All Platforms
| Action | PlayStation (PS4/PS5) | Xbox One/Series | PC Keyboard (Default) | PC Gamepad (Xbox layout) |
|---|---|---|---|---|
| Move | Left Stick | Left Stick | WASD | Left Stick |
| Camera | Right Stick | Right Stick | Mouse/Arrow Keys | Right Stick |
| Light Attack | Square | X | Mouse 1 | A Button (Xbox) |
| Heavy Attack | Triangle | Y | Mouse 2 | X Button |
| Jump | Cross (X) | A | Spacebar | Y Button |
| Dodge / Run | Circle (not X) | B | Left Shift | B Button |
| Pod Fire | R1 | RB | V | Right Bumper |
| Pod Program (special) | R2 | RT | Ctrl | Right Trigger |
| Lock-On | R3 (press right stick) | R3 | Middle Mouse Button | Press Right Stick |
| Use Item (Heal) | D-Pad Up | D-Pad Up | E | D-Pad Up |
| Change Weapon | D-Pad Left/Right | D-Pad Left/Right | Q/E | D-Pad Left/Right |
| Menu | Options | Menu/Start | Escape | Start |
| Map | Touchpad (tap) | View button | M | View button |
UI Overview
- Top-left corner: Health bar (white) and visible part of the chip load (below health). Damage reduces health; black bar is temporary damage that can recover via healing items.
- Pod display: Shows ammo type (pod program) and cooldown.
- Bottom-right: Mini-map with cardinal directions. White dots = friendly NPCs, red dots = enemies, yellow triangles = objective markers.
- Center of screen: Crosshair for pod aiming (appears when you hold pod fire).
- When locked on: A red reticle appears around the target.
- Item shortcut: D-Pad up to use healing items. A small icon appears when item is available.
- Quests: Active quests show in the top-right corner; main objective is gold, side quests are silver.
- Save every 10 minutes after the prologue. Multiple save slots are allowed.
- Loot everything: Break boxes and spoils for repair kits, machine parts, and crafting materials.
- Talk to all NPCs in the Resistance Camp – they give side quests and lore.
- Upgrade your Pod (Pod A) ASAP – it improves damage and unlocks homing missiles.
- Equip Auto-Heal chips if you found them (they restore health automatically over time).
- Learn to dodge – dodging gives invincibility frames (i-frames). Practice on small machines.
- Don’t sell weapons or chips until you know their value. Many are needed for upgrades.
- Don’t ignore tutorials – the game explains chip fusion, pod programs, and combo system.
- Don’t rush into the desert zone (level 20+ enemies) early – you will be outmatched.
- Don’t skip side quests labeled “?” – they unlock chips, weapons, and endings.
- Don’t try to “grind” levels – weapon upgrades and chips matter more than raw levels.
Essential Early Objectives
1. Complete the prologue (no saves).
2. Save at the Bunker (first available save point).
3. Talk to the Operator (60) to learn about missions.
4. Deploy to Earth – choose the mission “Resistance Camp” from the Bunker’s mission board.
5. Land near the Resistance Camp and explore the city ruins. Collect items (Machine Cores, small gears).
6. Speak with the Resistance Leader (Anemone) to unlock side quests.
7. Complete the side quest “Resistance Contract” (simple fetch quest for meat).
8. Upgrade your Pod at the Resistance base (pay 500 G and 1 Small Gear).
9. Buy a weapon upgrade kit (500 G) from the Resistance merchant.
What to Do First and What to Avoid
Do First:
Avoid:
Early Resource Priorities
| Resource | Priority | Use |
|---|---|---|
| Machine Cores (small, medium, large) | High | Pod upgrades, weapon upgrades |
| Small Gears | High | Pod upgrades (first 2 levels) |
| Weapon Upgrade Kits | High | Found in chests or bought – upgrade your starting weapons (Virtuous Contract and Virtuous Treaty) |
| Repair Kits (small/medium) | Medium | Health recovery during combat |
| Recovery (heal) items | Medium | Buy from Resistance merchant (500 G for 3) |
| G | High | Use to buy upgrade materials, chips, heal items |
| Chips (Plug-In Chips) | Medium | Equip stat boosters; sell duplicates after fusing |
Common Beginner Mistakes
1. Dying in the prologue and losing 30 minutes of progress – Always heal before battles, learn boss patterns, and don’t get greedy.
2. Not saving frequently – The game has no autosave. Save at every terminal.
3. Ignoring side quests – They reward unique chips, weapons, and lore. Do “The Lost Girl” early for a useful Pod program.
4. Underestimating the dodge and chip system – Chips like “Auto-Heal” and “Damage Reduction” make the game significantly easier. Fuse duplicate chips to upgrade them.
5. Selling weapons or chips – Many weapons are needed for “A” endings or later upgrades. Only sell chips if you have 2+ duplicates.
6. Trying to fight every enemy – Avoid large groups of enemies until you have better gear. The city ruins have level 5-10 machines; farm those.
7. Thinking the first ending is the end – The game has 26 endings. “Ending A” (Route A) is only about 30% of the story. Keep playing!
Day-One Checklist
Follow this step-by-step checklist for your first session (aim for 2-3 hours).
- [ ] 1. Adjust settings: Go to System → Settings → Set camera speed to fast, invert Y axis if desired, enable subtitles.
- [ ] 2. Play the prologue without dying. If you die, restart from the last checkpoint (not beginning).
- [ ] 3. Save at the Bunker (first terminal). Create at least 2 save files to avoid corruption.
- [ ] 4. Equip the default chips (Auto-Heal, Attack Up, Defense Up) – they are in your inventory.
- [ ] 5. Deploy to Earth via the mission board.
- [ ] 6. Explore the city ruins – loot every container. Collect “Machine Core x3” and “Small Gear x2” for pod upgrade.
- [ ] 7. Find the Resistance Camp near the large bridge. Talk to Anemone.
- [ ] 8. Purchase Pod upgrade (500 G, 1 Small Gear) from the Resistance merchant.
- [ ] 9. Buy a Weapon Upgrade Kit (500 G) and upgrade your “Virtuous Contract” sword once.
- [ ] 10. Complete side quest “The Lost Girl” (follow the crying girl marker) – rewards Pod Program: Mirage (useful for dodging).
- [ ] 11. Save again at the Resistance Camp terminal.
- [ ] 12. Experiment with chip fusion: Open menu → Plug-In Chips → Combine two duplicate chips to create a stronger one.
- [ ] 13. Optional but recommended: Equip a “Move Speed Up” chip for easier dodging.
- [ ] 14. End your session by saving and exiting properly (avoid power-off mid-save).
Follow this guide, and you will breeze through the first hours with confidence, avoid frustrating restarts, and properly prepare for the deeper systems that NieR: Automata offers. Good luck, and enjoy the journey through the machine-infested Earth.