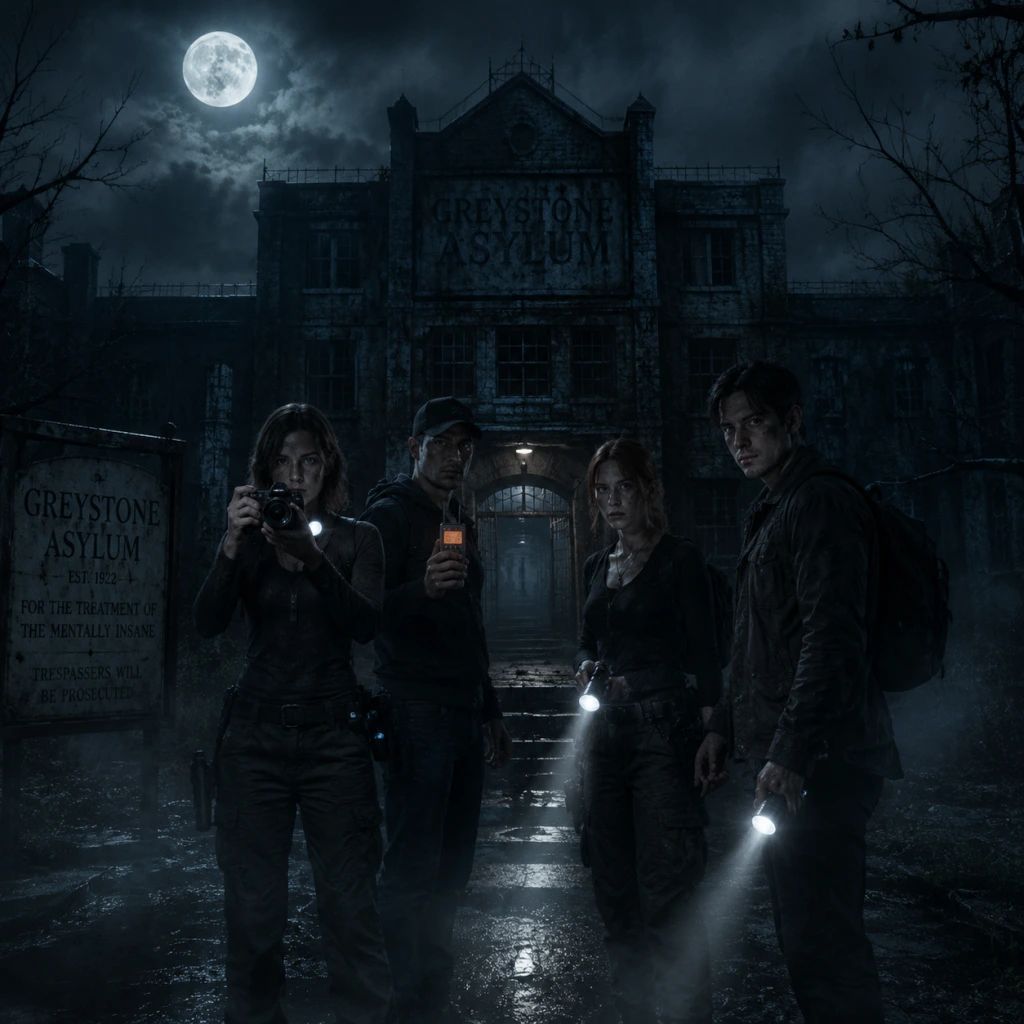
Characters & Roles
Characters & Roles in Phasmophobia
Overview
Phasmophobia does not feature traditional character classes, heroes, or unique abilities. Every player-controlled investigator is mechanically identical—same movement speed, same health, same sanity, and same inventory capacity. All players share the same starting equipment loadout and can use any item in the shop. There are no unlockable characters; you begin with the same skeleton model and can only change your appearance through cosmetic clothing purchases in the lobby shop (purely visual, no gameplay effect).
Despite the lack of predefined roles, effective teamwork in Phasmophobia relies on players voluntarily adopting specialized roles to maximize efficiency and survival. These roles are fluid—you can switch between them mid-contract or even on the fly. Below are the most common and effective roles used by experienced teams.
---
1. The Investigator (Generalist)
Background: The default role for any player. The Investigator is the jack-of-all-trades, responsible for locating the ghost room, collecting evidence, and completing objectives. No special background; every player starts here.
Strengths:
- Versatile – can handle any task.
- No dependency on specific equipment.
- Good for learning game mechanics.
- Less efficient than a dedicated role.
- May waste time switching between tasks.
- Enter the building first with a Thermometer (Tier I or II) to find the cold room (ghost room).
- Once located, place evidence-gathering equipment (EMF Reader, Spirit Box, Ultraviolet Light) and check for interactions.
- Monitor sanity and call out ghost events or hunts.
- Be ready to run for hiding spots during hunts.
- Thermometer (Tier I or II) for initial room detection.
- EMF Reader (Tier I or II) for evidence.
- Flashlight (Tier I is fine).
- Optional: Video Camera for ghost orbs.
- Can bring multiple high-value items at once (e.g., 4x Tripods, 3x Video Cameras).
- Efficient setup reduces time wasted.
- Can quickly retrieve forgotten gear from the truck.
- Carrying many items slows movement slightly (no speed penalty, but you have less free hands).
- May be slower to react during a sudden hunt if overloaded.
- Often leaves no room for a light source (rely on others).
- Load up on equipment before entering. Take Tripods, Video Cameras, D.O.T.S. Projectors, Salt Shakers, Crucifix (Tier I or II).
- After the ghost room is located, place all gear: tripod cameras, D.O.T.S projector on a wall, salt at entrances, crucifix on the floor.
- Return to the truck for additional items (Sound Sensors, Motion Sensors, Parabolic Microphone) if needed.
- During hunts, drop items or hide immediately—do not try to save gear.
- Video Camera (Tier II or III) + Tripod (multiple).
- D.O.T.S. Projector (Tier I or II).
- Salt Shaker (at least 2).
- Crucifix (Tier I or II) – place in ghost room.
- Flashlight (Tier I) – keep one on your belt.
- Extends investigation time before the ghost starts hunting.
- Prevents premature hunts caused by low sanity.
- Can save teammates from insanity (sanity reaching 0).
- Requires good communication and knowledge of sanity thresholds.
- Wasting pills on high sanity is wasteful.
- May need to stay in the truck to monitor sanity on the monitor (but can be in the building).
- Check the sanity monitor in the truck periodically (it shows individual and average sanity).
- Call out when average sanity drops below 70% (hunt threshold for most ghosts is around 50%, but some hunt at higher sanity like 60% or 80% – e.g., Demon, Yokai).
- Distribute Sanity Pills: Each pill restores ~40% sanity. Encourage teammates to use them when their personal sanity is below 50%.
- Keep track of how many pills remain (up to 4 total carried by the team).
- In the truck, you can also use the Head-Mounted Camera to watch teammates for ghost events.
- Sanity Pills (2-3 per player, but the Sanity Manager should carry at least 2).
- Head-Mounted Camera (to watch from truck).
- Optional: Parabolic Microphone to detect ghost sounds from safety.
- Knows the map layout and best hiding spots.
- Can survive longer during hunts by using advanced techniques (e.g., smudge sticks, lockers).
- Reduces team deaths.
- Less focused on evidence gathering.
- May waste time marking hiding spots instead of helping with setup.
- If hiding spot is compromised (e.g., ghost pathing), they may die.
- At the start of the contract, run through the map (if safe) to note all possible hiding spots: closets, lockers, behind beds, behind shelves, etc.
- Communicate the locations to the team via voice chat.
- During a hunt, lead teammates to the closest safe spot.
- Carry a Smudge Stick and Lighter to escape if the ghost finds you.
- After a hunt, stay hidden until the music stops (or sanity increases).
- Smudge Stick (Tier I or II) + Lighter.
- Flashlight (Tier I) – never turn it on during a hunt (ghosts see light).
- Optional: Crucifix (if placed near hiding spot).
- Efficiently completes objectives for extra money and XP.
- Can work independently.
- Often uses advanced equipment like Parabolic Microphone, Motion Sensor, Sound Sensor.
- May ignore evidence gathering, slowing down ghost identification.
- Often takes risks (e.g., using the Spirit Box near the ghost during a hunt).
- May die if objectives require direct ghost interaction.
- Read the objectives before entering: e.g., "Get a ghost photo", "Clean the ghost room with Smudge Sticks", "Walk through the ghost during a hunt".
- Prioritize objectives that are easy/safe first (e.g., motion sensor activation, ghost writing).
- Use the Photo Camera to snap pictures of the ghost, interactions, or disturbed objects.
- For "Walk through the ghost during a hunt", wait for a hunt and let the ghost pass through you (high risk).
- For "Complete a Ouija Board session", locate the board and ask a question that drains sanity.
- Photo Camera (Tier I or II) – always bring one.
- Ouija Board (if objective requires it).
- Parabolic Microphone (to detect ghost sounds without entering ghost room).
- Motion Sensor (to place in hallway for objective).
- High chance of getting Spirit Box response.
- Can quickly identify ghosts that require Spirit Box (e.g., Banshee, Yokai, Jinn).
- Calm under pressure – speaks clearly during ghost events.
- Must be alone in the ghost room for Spirit Box to work (ghost must be nearby and lights off).
- Vulnerable during hunts (needs to stop using Spirit Box and hide).
- May drain sanity with Ouija Board questions.
- Turn off all lights in the ghost room (use a flashlight).
- Stand alone in the room (other players must leave or be far away).
- Use the Spirit Box: ask simple yes/no questions like "How old are you?" or "Are you here?"
- Listen for a response in the radio (not spoken aloud).
- For Ouija Board: place the board, activate it, ask questions (sanity drain).
- Avoid using the Spirit Box when the ghost is hunting (it will not respond and you risk death).
- Spirit Box (Tier II or III for better range/response rate).
- Ouija Board (if needed).
- Flashlight (Tier I) – keep on at all times (lights off in room).
- Optional: Head-Mounted Camera for teammates to watch your interaction.
- Can quickly cause ghost activity for photo opportunities or objective completions.
- Can force a hunt early to observe ghost behavior (e.g., phantom doesn't show on camera during hunt? actually phantom is invisible on camera during ghost events).
- High risk, high reward – often completes contracts faster.
- Very dangerous – can cause chain hunts.
- Drains team sanity rapidly (Cursed Possessions drain sanity when used).
- May get teammates killed if hunts start unexpectedly.
- Find a Cursed Possession in the map (e.g., Tarot Cards, Ouija Board, Music Box, Summoning Circle, Monkey Paw, Doll, Voodoo Doll).
- Use it strategically: e.g., draw Tarot Cards to get the "Sun" card (restores sanity) or "Death" card (triggers immediate hunt).
- During a forced hunt, observe the ghost's speed (fast/slow), whether it shows visible footsteps, etc.
- Always have an escape route and smudge stick ready.
- After the forced hunt, the ghost may cool down – use this time to gather evidence.
- Smudge Stick + Lighter (essential for survival).
- Crucifix (to prevent hunts near you – but if you want to force one, place it elsewhere).
- Photo Camera (to take a photo of the ghost during the hunt).
- EMF Reader (to detect ghost steps during hunt).
Weaknesses:
Playstyle:
Recommended Equipment:
Team Synergy: Works best when paired with a dedicated Equipment Carrier and a Sanity Manager. The Investigator can focus on evidence while others handle setup.
---
2. The Equipment Carrier (Looter / Setup Specialist)
Background: This role emerged from the need to transport heavy gear quickly. The Equipment Carrier is the team's mule, responsible for bringing all necessary equipment into the map and setting up the ghost room.
Strengths:
Weaknesses:
Playstyle:
Recommended Equipment:
Team Synergy: Cooperate with the Investigator to know where to set up. The Equipment Carrier should communicate when gear is deployed so others can check evidence.
---
3. The Sanity Manager (Pill Popper / Stress Control)
Background: Sanity is a shared resource that depletes faster when players are near the ghost or when ghost events occur. The Sanity Manager monitors sanity levels and uses Sanity Pills strategically to keep the team alive.
Strengths:
Weaknesses:
Playstyle:
Recommended Equipment:
Team Synergy: Works closely with the Investigator to decide when to pill. A good Sanity Manager can keep the team from triggering early hunts, especially on higher difficulties (Nightmare, Insanity) where sanity drains faster.
---
4. The Hiding Spot Scout (Survivor / Camper)
Background: During hunts, surviving is paramount. The Hiding Spot Scout memorizes all hiding locations on the map and guides teammates to safety.
Strengths:
Weaknesses:
Playstyle:
Recommended Equipment:
Team Synergy: Essential for new players. Works well with the Equipment Carrier to ensure hiding spots have crucifixes planted nearby. The Hiding Spot Scout should call out when a hunt starts and guide everyone.
---
5. The Objective Hunter (Mission Specialist)
Background: Each contract has 3 optional objectives and sometimes a daily/weekly objective. The Objective Hunter focuses on completing these side goals without dying.
Strengths:
Weaknesses:
Playstyle:
Recommended Equipment:
Team Synergy: Cooperate with the Investigator to know the ghost type early, which might affect how you complete objectives (e.g., a Banshee will only target one player). The Objective Hunter should communicate what they need so others can help (e.g., hold a smudge stick while you snap a photo).
---
6. The Ghost Whisperer (Evidence Gatherer / Spirit Box Specialist)
Background: Some players excel at coaxing clues from the ghost. The Ghost Whisperer is the designated communicator, using the Spirit Box and Ouija Board to obtain evidence and optional objectives.
Strengths:
Weaknesses:
Playstyle:
Recommended Equipment:
Team Synergy: Needs teammates to stay away from the ghost room while using Spirit Box. The Sanity Manager should monitor the Ghost Whisperer's sanity, as Ouija Board usage drains it quickly.
---
7. The Ghost Hunter (Hunter / Aggressive Player)
Background: For players who want to force interactions and hunts to gain evidence faster. The Ghost Hunter uses Cursed Possessions (Tarot Cards, Music Box, etc.) to trigger events.
Strengths:
Weaknesses:
Playstyle:
Recommended Equipment:
Team Synergy: The Ghost Hunter must warn the team before using a Cursed Possession. The Sanity Manager should be ready to pill everyone after a sanity drain. The Hiding Spot Scout should know where everyone can hide.
---
Summary Table: Roles at a Glance
| Role | Primary Focus | Key Item | Risk Level | Best for... |
|---|---|---|---|---|
| Investigator | Evidence collection | Thermometer, EMF | Low | Beginners |
| Equipment Carrier | Setup/gear placement | Tripods, Cameras | Low | Organized teams |
| Sanity Manager | Sanity monitoring | Sanity Pills | Low | Strategists |
| Hiding Spot Scout | Survival during hunts | Smudge Stick, Lighter | Medium | Experienced players |
| Objective Hunter | Side objectives | Photo Camera | Medium | Completionists |
| Ghost Whisperer | Spirit Box/Ouija | Spirit Box, Ouija | Medium | Communication experts |
| Ghost Hunter | Forcing hunts | Cursed Possessions | High | Risk-takers |
Unlock Conditions & Progression
There are no unlockable characters or roles. All roles are available from the start; you simply need to buy the required equipment from the shop using in-game currency (earned from completed contracts). Equipment tiers (I, II, III) unlock as you gain higher player levels (Level 1 to 100+). Higher tier items often have better performance (larger range, longer battery, etc.) and can make your role more effective, but the role itself is never locked.
Team Synergy & Composition
An ideal team of 4 often includes:
- 1 Investigator (room finder, evidence gatherer)
- 1 Equipment Carrier (setup)
- 1 Sanity Manager (pill distribution)
- 1 Ghost Whisperer or Ghost Hunter (depending on objectives)
But any combination works. Communication is key – assign roles at the start of the contract via voice chat.
Conclusion
While Phasmophobia has no built-in character classes, the emergent roles above allow for deep strategic play. Mastering each role will make you a versatile investigator and increase your survival rate. Remember: roles are flexible – if your Sanity Manager dies, another player can pick up the pills. Adapt and survive.