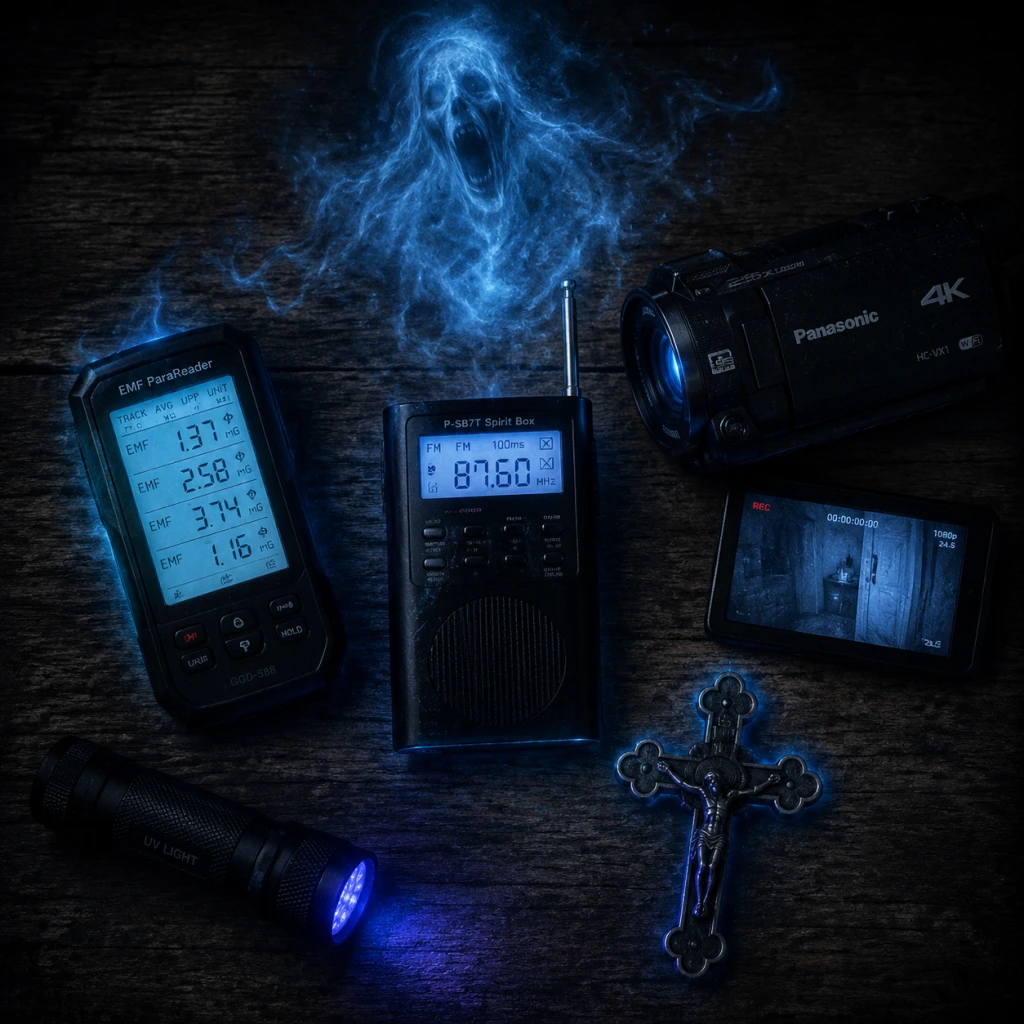
All Game Items
All Game Items
This guide covers every interactive item in Phasmophobia, grouped by category. All gear is purchased in the Lobby Shop using in-game currency earned from completing contracts. Equipment tiers (I, II, III) unlock as you gain experience and level up.
Investigation Equipment
These are the primary tools for gathering evidence and monitoring ghost activity. Most items have three tiers; higher tiers provide better range, durability, or features.
| Item | Description | How to Obtain | When Useful | Upgrades / Synergies |
|---|---|---|---|---|
| EMF Reader | Detects electromagnetic fluctuations when ghost interacts with environment. T1: needle meter; T2: digital display with 5 lights; T3: smartphone-shaped with precise readings. | Starter; T2/T3 unlock at higher levels | Identify ghost room; confirm ghost events; distinguish from false positives. | Use with Spirit Box for cross-referencing. |
| Spirit Box | Global voice chat device; ghost may respond to questions via radio. T1: static-only; T2: static + possible words; T3: clearer audio with automatic recording. | Starter; upgrades via leveling | Evidence type (Spirit Box is required for ghosts like Spirit, Wraith). | Combine with Ghost Writing to rule out certain ghosts. |
| Ghost Writing Book | Book placed in ghost room; ghost may write in it. T1: single page; T2: multiple pages with faster writing; T3: automatic trigger on placement. | Starter; upgrades unlock | Evidence (required for Obake, Yurei). | Place near interaction points for higher chance. |
| UV Light | Reveals fingerprints, footprints, and handprints. T1: weak glow stick (1 use); T2: flashlight-style with UV bulb; T3: UV flashlight with battery. | Starter; upgrades | Evidence (UV prints required for Poltergeist, Onryo). | Use on doors, windows, light switches after ghost interaction. |
| Thermometer | Measures ambient temperature; cold spot indicates ghost room. T1: slow analog; T2: digital instant; T3: laser thermometer with range. | Starter; upgrades | Quickly locate ghost room; detect ghost freezing temperatures (evidence). | Use early after setup to narrow search area. |
| DOTS Projector | Projects green or UV dots; ghost’s silhouette visible when walking through. T1: static projector; T2: rotating (covers wider area); T3: UV version invisible to human eye but visible on camera. | Unlock at level 2; upgrades later | Evidence (DOTS required for Goryo, Hantu). | Place in open areas of ghost room; view via video camera. |
| Parabolic Microphone | Headset that amplifies distant sounds; shows direction of noise. T1: basic; T2: has display with wave pattern; T3: can filter out non-ghost sounds. | Unlock at level 4; upgrades | Detect ghost activity from outside room; locate ghost during hunt via sound. | Useful on larger maps; synergizes with Motion Sensor for hunt tracking. |
| Motion Sensor | Tripod laser beam; detects movement across its path. T1: single direction; T2: dual direction; T3: adjustable angle. | Unlock at level 6; upgrades | Monitor ghost movement; trigger ghost events. | Connect to Video Camera for visual confirmation. |
| Sound Sensor | Decibel meter placed on wall; alerts when noise exceeds threshold. T1: basic alert; T2: sound level display; T3: directional arrow. | Unlock at level 8; upgrades | Detect ghost interactions (throwing objects, footsteps). | Pair with Parabolic Microphone for pinpointing. |
| Video Camera | Handheld camcorder; essential for seeing ghost orbs. T1: black & white night vision; T2: color night vision; T3: includes recording. | Starter; upgrades | Evidence (Ghost Orbs); night mode reveals UV DOTS. | Use with Tripod for stationary observation; Head Mounted Camera for hands-free. |
| Head Mounted Camera | Worn on player’s head; live feed sent to van monitor. T1: standard; T2: night vision; T3: enhanced zoom. | Unlock at level 10; upgrades | Allow teammate in van to see your perspective; useful for DOTS observation. | Sync with Video Camera in van for dual views. |
| Photo Camera | Captures evidence photos for additional reward money. T1: 5 shots; T2: 10 shots; T3: 15 shots with better quality. | Starter; upgrades | Document ghost interactions, bone, and cursed possessions for bonus cash. | Best used with Tripod for steady shots. |
| Tripod | Mount for Video Camera or Photo Camera; can be placed on floor or table. | Unlock at level 3 | Stabilize camera for long-term observation; essential for DOTS and orb evidence. | Required for stationary camera setups. |
Consumables & Utilities
One-time use items that aid survival, block hunts, or provide temporary benefits.
| Item | Description | How to Obtain | When Useful | Upgrades / Synergies |
|---|---|---|---|---|
| Smudge Sticks | Burnable incense; when lit, prevents ghost hunting in a small area for ~5 seconds (T1), longer at higher tiers. Also smudges ghost during ghost event to break line of sight. | Purchased in shop (always available) | During hunts: light to block ghost’s ability to kill nearby; or during events to get ghost to leave. | Must be used with Lighter. Tier III smudge sticks last 6 seconds and have larger radius. |
| Lighter | Ignites smudge sticks and firelight; one lighter lasts entire contract. | Starter (always available) | Required for any fire-based item. | No synergy beyond ignition. |
| Incense | Similar to smudge sticks but lasts longer and can be placed as a stationary smoke curtain. T1: short duration; T2: mid; T3: long. | Unlock at level 12; upgrades | Block line of sight during hunts; confuse ghost pathfinding. | Combine with Crucifix for delayed hunt prevention. |
| Salt | Pour on floor; ghost walking over it leaves UV footprints. Also slows ghost during hunts slightly. T1: 3 piles; T2: 5 piles; T3: 7 piles. | Starter; upgrades | Confirm ghost location; create small speed debuff. | Use with UV Light to see footprints. |
| Crucifix | Cross; when placed in ghost room, prevents hunt if ghost is nearby. T1: prevents hunts within 3m; T2: 5m; T3: 7m. | Unlock at level 5; upgrades | Defense against hunt; place near most common ghost spawn. | Does not stop ghost during active hunt; only prevents new hunt. Pair with Motion Sensor to know when to activate. |
| Candle | Provides light; ghost can blow it out (detectable via sound). T1: single candle; T2: three pack; T3: longer burn time. | Starter; upgrades | Light dark areas without attracting ghost as much as flashlight; also used for evidence (Yokai). | Use with Lighter to ignite. |
| Firelight | Handheld long-burning torch; bright light but loud. T1: short battery; T2: medium; T3: long. | Unlock at level 15; upgrades | Better illumination than flashlight; but louder so may attract ghost. | No special synergy. |
| Flashlight | Basic handheld light. T1: weak, flickers; T2: strong, steady; T3: tactical with zoom and strobe. | Starter; upgrades | Essential for navigation. Strobe on T3 can disorient players (not recommended). | Better than candles for mobility. |
| Radio (Walkie-Talkie) | Communication device; default equipment, can't be dropped. | Always provided | Talk to teammates across map. No substitutes. | Integral for coordination. |
| Key (varies) | Found in map; used to unlock doors (storage, lockers, etc.). | Looted on site | Unlock hiding spots or access blocked rooms. | Keys are map-specific and one-time use. |
Currencies & Progression Items
Non-physical items that track progression and enable purchases.
| Item | Description | How to Obtain | When Useful |
|---|---|---|---|
| Money ($) | In-game currency; spent on equipment, upgrades, and cosmetics. | Earned per contract (survival bonus, evidence photos, objectives). | All purchases. |
| Experience (XP) | Levels up character; unlocks higher tier equipment. | Earned per contract (survival, objectives, bonus). | Every level unlocks new gear and tiers. |
| Equipment Unlock Points | Implicit from leveling; not a visible item but controls access to T2/T3 versions. | Obtained at specific levels (e.g., 5, 10, 15, etc.). | Must be spent (automatically) to purchase upgraded gear. |
| Cursed Possessions | Unique items found in maps: Ouija Board, Music Box, Voodoo Doll, Tarot Cards, Summoning Circle, Monkeys Paw. Used for special interactions but come with risk. | Found on each map (one per contract). | Can break sanity or force ghost events; useful for optional objectives or quick evidence. |
Collectibles & Cosmetics
Items that provide no gameplay benefit but enhance personalization or completion.
| Item | Description | How to Obtain | When Useful |
|---|---|---|---|
| Ghost Photos | Take photo of ghost during hunt or event for bonus money and journal entry. | Any camera; must capture ghost. | Evidence photo objective; money bonus. |
| Bone | Skeleton piece found randomly on map; take photo for extra cash. | Looted; location varies. | Bonus photo objective. |
| Cursed Items Photos | Photo of any cursed possession for bonus. | Each map has one cursed item; take photo. | Additional money. |
| ID Card | Your player’s identification; cosmetic only. | Always owned; can change style in shop. | No gameplay effect. |
| Badges | Cosmetic badges displayed on ID card. | Purchased with money or earned via achievements. | Show off achievements. |
| Clothing | Outfits for your character; some unlocked via leveling, others via DLC. | Shop or achievements. | Purely cosmetic. |
| Grave Marker | Cosmetics that appear on your character’s grave after death. | Unlocked via levels or shop. | No gameplay effect. |
Important Synergies & Upgrades
- Smudge Sticks + Lighter: Essential combination for safety. Always carry both.
- Video Camera + Tripod + DOTS Projector: Triangulation method to see DOTS from van via night vision.
- Motion Sensor + Sound Sensor: Create perimeter alarm to detect ghost location during hunt.
- Thermometer + EMF Reader: Fast room confirmation; cold room with EMF spikes confirms ghost room.
- Crucifix + Incense: Use crucifix to prevent hunt, then incense to block line of sight if it fails.
- Flashlight + Candle: Alternate light sources to conserve battery or avoid attracting ghost (candle is quieter).
- Salt + UV Light: Reveal ghost movement patterns through footprints.
- Loadout slots: You can carry 3 items in hand (plus flashlight and walkie). Backpack in van holds extra gear.
- Tier upgrades: Higher tiers cost more money but drastically improve performance. Prioritize EMF, Spirit Box, and Flashlight early.
- Cursed Possessions: Extremely dangerous; only use if you understand the consequences (e.g., Tarot Cards can cause instant death).
- Photo Camera: Always bring for money bonus; bone photos give $10 bonus each.
Item Management Tips
---
This guide covers all items as of the 1.0 release. Check official patch notes for future additions.