Getting Started
First Hour Walkthrough (Chamber 00–10)
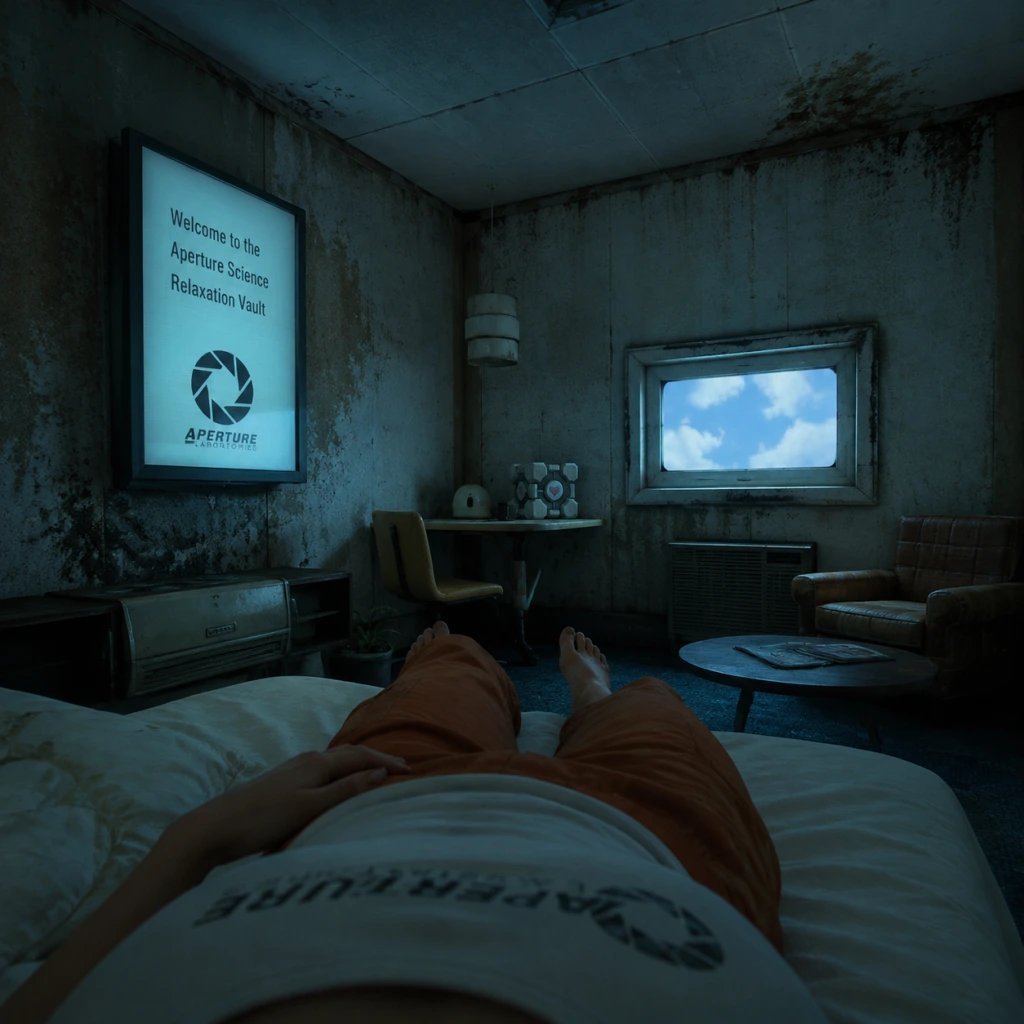
Portal 2 begins in a relaxation vault. You wake up in a motel-style room; move around to get used to first-person controls. Glados (the AI) speaks to you from a speaker. Shortly after, a hole appears in the wall – walk through it. This is the start of the "first hour" which covers the first ten test chambers (00 to 09).
Key moments in the first hour:
- Chamber 00 – Getting Started: A simple room with a button you must stand on. Step on it to open the exit door. This teaches basic movement and the concept of activating plates.
- Chamber 01 – The First Cube: A Weighted Storage Cube appears. Drag it onto a floor button to open the door. Learn to pick up and carry objects (use the same button as interact on all platforms).
- Chamber 02 – The Portal Gun: After a short transition through a hallway, you receive the Aperture Science Handheld Portal Device (portal gun). Test fire both blue and orange portals on the white panels. Shoot one onto the wall, walk through; then shoot the other on an adjacent white panel to cross gaps.
- Chamber 03–05: These teach basic portal mechanics: creating paths between rooms, using cubes on elevated buttons, and understanding that portals preserve momentum.
- Chamber 06 – Introduction to High Energy Pellets: A beam of energy that must be redirected via a cube or portal (later). For now, just dodge it.
- Chamber 07 – The Turret: Your first encounter with a sentry turret. It shoots at you; hide behind walls or use a cube as a shield. Learn to neutralize turrets by tipping them over or sending them through a portal.
- Chamber 08–09: Combine cube-and-button puzzles with turrets and energy pellets. You start to rely on both portals simultaneously.
- Chamber 10 – The Exit Button: This chamber introduces moving platforms and the "excursion funnel" — a repulsion field that launches objects (or you) upward. Use portals to ride the funnel to the exit.
- Move: W, A, S, D
- Look: Mouse
- Jump: Space
- Interact / Pick up: E
- Fire Blue Portal: Left Mouse Button
- Fire Orange Portal: Right Mouse Button
- Zoom / Focus: Mouse Wheel (or G button)
- Crouch: Ctrl (default)
- Drop Object: Q (or press E again while holding)
- Menu: Esc
- Toggle Portal Gun View: Tab (if needed)
- Left stick: Move
- Right stick: Look
- A (Xbox) / X (PS): Jump
- X (Xbox) / Square (PS): Interact
- Right Trigger: Fire Blue Portal
- Left Trigger: Fire Orange Portal
- Right Bumper: Crouch (hold)
- Left Bumper: Drop object
- D-pad: not used (some menu navigation)
- L2: Orange portal
- R2: Blue portal
- Square: Interact
- Cross: Jump
- R1: Crouch (hold) – can be changed in settings.
- L Button: Orange portal
- R Button: Blue portal
- A: Jump
- B: Crouch (hold)
- Y: Interact
- ZL/ZR: not mapped (use L and R for portals)
- Right Stick press: Toggle look inversion.
- Center: Crosshair (reticle) for aiming.
- Bottom Center: Portal gun icon with two small circles: left = blue portal status (active/inactive), right = orange. A "1" or "0" indicates if a portal is deployed.
- Lower Left (occasional): Timer in co-op or challenge mode (not in campaign).
- Environment Prompts: When near an interactable object (cube, button, panel), a tooltip appears (e.g., "Press E to Pick Up").
- Subtitles: Can be enabled in Options for all dialogue (recommended for accessibility and humor).
- Loading Screens: Show puzzle hints or developer commentary snippets.
- In-Game Menu (Esc): Options, Load, Save, Quit. No inventory screen.
- Spend 2–3 minutes in the first chamber just looking around. Understand the room layout.
- Read the surface for portalable areas – they are always white or off-white.
- Listen to Glados’s instructions, even if sarcastic – they sometimes give hints.
- Experiment with portal placement on different surfaces (only on white ones; notice the difference).
- In chambers with turrets, observe their field of view – they only shoot when you are in sight.
- Don’t shoot portals on non-portalable surfaces. You’ll waste time; only white walls accept portals.
- Don’t stand in front of turrets – take cover.
- Don’t ignore the environment. Buttons may be hidden or require you to place a cube first.
- Don’t hold down the interact button while moving – you’ll drop the object.
- Don’t try to cheese puzzles. If solution requires both portals, use them creatively but within intended physics.
- Portals: You can have one blue and one orange at a time. You can re-fire them infinitely.
- Cubes: Usually limited per puzzle; you cannot create them. Use them wisely but they are often reusable.
- Time: No limit, so take as long as you need.
- Ammo: None; portal gun has infinite portals. The only “resource” is mental effort.
- [ ] Install Portal 2 from Steam, Xbox Live, PlayStation Store, or Nintendo eShop.
- [ ] Launch the game and adjust video settings (resolution, fullscreen, vsync).
- [ ] Go to Options > Audio & Video > Enable subtitles (helps catch jokes and hints).
- [ ] Go to Options > Controls > Adjust mouse sensitivity (PC) or stick sensitivity (console). Many players prefer a lower sensitivity for precise portal aiming.
- [ ] Check control layout – remap if desired (e.g., swap portal buttons).
- [ ] Enter the main menu and select “New Game” (Single Player).
- [ ] Play through the first 10 chambers (expect 45–60 minutes).
- [ ] After completing chamber 09, you will see the elevator; take it to Chapter 2.
- [ ] Optional: Once comfortable, try co-op mode (separate story) with a friend or online.
- [ ] Save often (game autosaves after each completion, but you can manually save in menu).
By the end of the first hour, you should be comfortable with the basic mechanics: portal placement, cube handling, turrets, and simple physics interactions.
Controls (All Platforms)
PC (Keyboard & Mouse)
PC (Controller) – Xbox or PlayStation controller supported natively:
Xbox 360 / Xbox One (backward compatible)
Same as PC controller mapping above. Note: Xbox One version has same layout.
PlayStation 3
Nintendo Switch (Portal: Companion Collection)
Steam Deck
Uses Xbox-style layout: Right trigger blue, left trigger orange; A jump; B crouch; Y interact.
UI Overview
The HUD is minimal:
Essential Early Objectives
1. Complete Chambers 00–09. These are the tutorial; don't skip them.
2. Master Portal Placement: Always look for white, glossy panels. Portals cannot stick to concrete, metal grating, glass, or moving surfaces. If surface is portalable, it will show a small white dot when you aim at it.
3. Learn Momentum Conservation: When you fall through a portal, you maintain exit speed. Use this to jump farther or reach higher ledges.
4. Combine Cubes and Portals: Place a cube on a button by carrying it through a portal or by creating a ramp.
5. Recognize Puzzle Elements: Buttons (floor and wall buttons), high energy pellets (blue balls), turrets (hostile), faith plates (launch you), excursion funnels (move objects/you upward), and lasers (red beam; later chambers).
What to Do First and What to Avoid
Do First:
Avoid:
Early Resource Priorities (None in Single-Player)
Portal 2 does not have health, ammo, or currency. Your only resources are:
Focus on understanding the puzzle logic rather than gathering items.
Common Beginner Mistakes
1. Forgetting to close a portal before moving on: If you leave a portal behind, you might trigger a trap or cause confusion. Shoot a new portal on the same surface to replace it.
2. Not using portals to maintain momentum: You can gain speed by falling through a portal. Many puzzles require a running start or falling from height.
3. Shooting portals on wrong surfaces: Only white/off-white panels work. If you shoot at a grey wall, nothing happens – that is normal.
4. Misunderstanding portal placement: Portals need a flat surface; they will not work on edges or small ridges. Aim for large, flat white areas.
5. Not using both portals creatively: Early puzzles may seem impossible unless you place one portal behind you and the other in front. Example: create a loop to redirect a high energy pellet.
6. Ignoring environmental cues: Glados’s dialogue often points to solution; e.g., “That cube looks heavy” means you need to pick it up.
7. Standing still while portals are active: Keep moving – turrets can see you, and energy pellets might hit you.
8. Not checking behind you: Some puzzles require you to turn around and place a portal on a wall behind you.
Day-One Checklist
With this foundation, you are ready to navigate Aperture Science’s puzzles. Remember: think with portals.