Game Tips
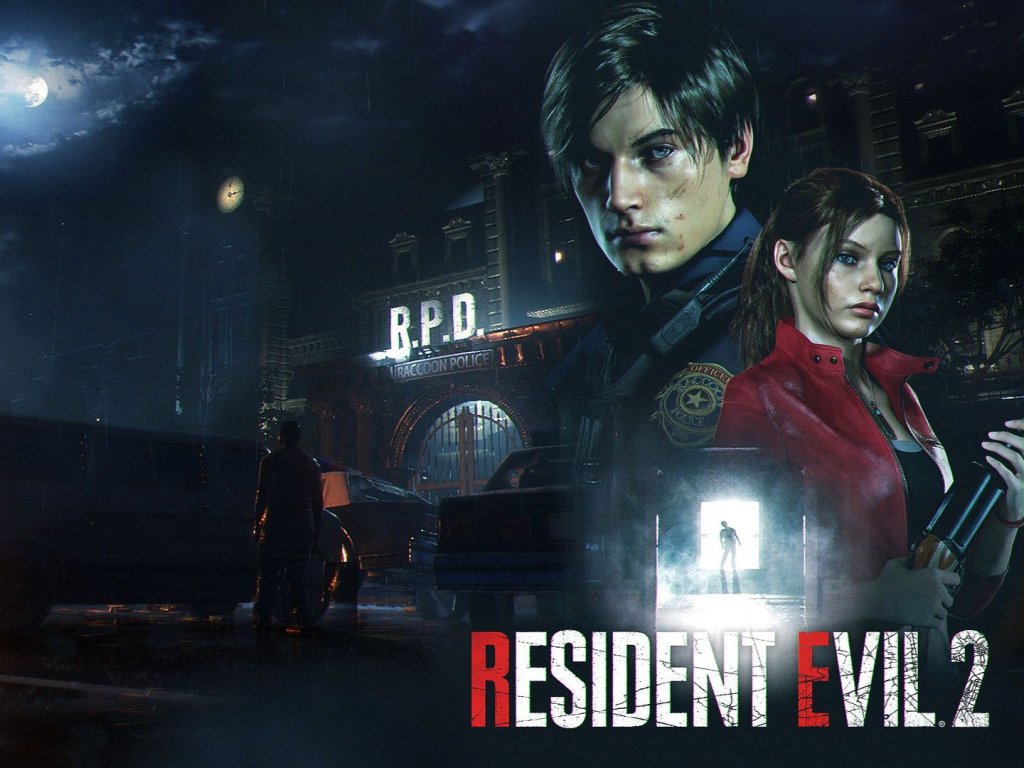
Game Tips for Resident Evil 2 (2019)
This guide provides essential tips for surviving the zombie-infested Raccoon City. Whether you're a new player or a seasoned veteran, these strategies will help you conserve resources, navigate dangers, and conquer the game's toughest challenges.
---
Combat Tips
#### 1. Aim for the Head, But Don't Always Shoot
- Explanation: Headshots deal the most damage and can stagger zombies, but they consume precious ammunition. Only engage when necessary.
- Analysis: Zombies can take multiple headshots even on Standard difficulty. Save ammo by using the knife for downed zombies or avoiding fights altogether. On Hardcore, every bullet counts.
- Explanation: When a zombie falls, you can slash it with your knife to permanently kill it before it gets up.
- Analysis: This conserves handgun ammo and prevents the zombie from turning into a tougher enemy later. But be careful: the knife has durability (on Hardcore) or can be used infinitely (on Standard). On Hardcore, use the knife sparingly.
- Explanation: The shotgun's spread is wide. Only use it against groups of zombies or when you need a guaranteed stagger at close range.
- Analysis: Against a single zombie, a headshot with the handgun is more efficient. The shotgun is best for clearing tight corridors or stopping charging lickers.
- Explanation: Both frag grenades and flash grenades have powerful effects. Use frags for large groups or bosses, and flash grenades to escape tight situations or blind tough enemies like the Tyrant (Mr. X).
- Analysis: Flashes are especially useful on Hardcore to avoid damage when you're cornered. They also stun lickers and the Tyrant for several seconds, giving you time to run.
- Explanation: Leon gets a submachine gun (MP5) and Claire gets a magnum revolver. Both are powerful but ammo is scarce.
- Analysis: Save these for bosses or emergency situations. The SMG can shred the G monsters, while the magnum can one-shot certain enemies with headshots.
- Explanation: When grabbed by a zombie, you can press a button (shown on screen) to shove it away using a defensive item (knife, grenade, or sub-weapon).
- Analysis: Always carry at least one defensive item. On Hardcore, you can only survive one hit without it. Practice the timing to avoid wasting items.
- Explanation: The map shows rooms you've visited. Doors you can't open are marked in red.
- Analysis: Prioritize unlocking these doors because they often lead to shortcuts, safe rooms, or key items. Use small keys and key items as soon as you find the corresponding door.
- Explanation: Safe rooms (no enemies spawn) are marked on the map. They also have typewriters for saving (on Standard) and item boxes.
- Analysis: In a pinch, if you're being chased by the Tyrant, head to the nearest safe room. He cannot enter. Use these to reorganize inventory.
- Explanation: Ammo, herbs, and key items are often hidden in desks, filing cabinets, and lockers.
- Analysis: Some lockers require a combination (like 1-2-3 or 0-9-0). Try common codes found in documents. Searching thoroughly reduces backtracking later.
- Explanation: Zombies moan, lickers hiss, and the Tyrant has heavy footsteps. Use sound to detect threats before you see them.
- Analysis: Equip headphones for better spatial awareness. When you hear the Tyrant stomping, he's likely close. Crouch and walk to avoid detection; running attracts him.
- Explanation: After looting a chest or statue, it disappears from the map. If you see a chest icon on the map, it's still full.
- Analysis: This is a great way to ensure you don't miss ammo or healing items. The final chest in the parking garage (Leon A) has an assault rifle.
- Explanation: Green herbs heal, blue herbs cure poison, and red herbs boost the effect. Green+Red = full heal + damage resistance.
- Analysis: Always combine a red herb with a green herb for the best healing efficiency. Never use a green herb alone unless necessary. Save blue herbs for poison rooms (like the sewer spiders).
- Explanation: The game provides enough ammo for essential fights. Crafting early wastes gunpowder.
- Analysis: Wait until you have a stockpile of gunpowder and high-grade gunpowder, then craft large amounts at once. On Hardcore, prioritize shot shells over handgun ammo because they are more effective.
- Explanation: Hip pouches are found in specific locations and permanently add 2 inventory slots.
- Analysis: There are 4 hip pouches in the game (e.g., in the East Wing waiting room, the Art Room, etc.). Collect them all as early as possible to reduce inventory management headaches.
- Explanation: Puzzle items like the Spade Key, Heart Key, etc., are only needed for certain doors. Once you've used them, they disappear from inventory. But some items (like the Battery) are used in multiple places.
- Analysis: Don't discard items until you're sure they're not needed later. The game will normally let you drop items only if they're no longer required, but it's safer to keep them in the item box until you check thoroughly.
- Explanation: Inventory space is limited. Only carry what you need: a weapon, ammo, healing, and a defensive item.
- Analysis: If you have multiple weapons, choose one ranged and one melee (knife). Use the item box regularly, especially before boss fights. Discard blue herbs if you're not in a poison area.
- Explanation: Many puzzles have clues hidden in documents. For example, the statue puzzle in the library requires turning statues based on a story clue.
- Analysis: If you're stuck, open your inventory and read the notes you've collected. They often contain passwords (e.g., the electronic safe code is in the intro report).
- Explanation: Some puzzles (like the chess piece puzzle in the sewers) require matching symbols. Take a screenshot or use photo mode to compare.
- Analysis: This saves mental effort. On PC, use F12 to screenshot. On consoles, use the share button.
- Explanation: In the RPD office, there is a jigsaw puzzle. Start by placing corner and edge pieces.
- Analysis: This is straightforward but can be time-consuming. Use the clue in the note to know the final image.
- Explanation: The clock in the RPD lobby must be set to 11:15? Actually, the time is \"9:15\" according to the mayor's note.
- Analysis: Check the note near the clock. Setting correctly opens a secret compartment with a key.
- Explanation: Shooting a zombie's leg can cripple it, making it crawl. It's then easier to avoid.
- Analysis: This is excellent for conserving ammo. A crawling zombie can still be a threat, but it's much slower. Works best with the handgun. On Hardcore, kneecapping is more reliable than headshots because headshots require precise aim.
- Explanation: Lickers are blind but have extreme hearing. Walking, crouching, or moving slowly won't alert them. Running triggers an attack.
- Analysis: If you must pass a licker, crouch-walk. Firing any weapon will aggro it. Use flash grenades to stun them or grenades to kill them if necessary. On Hardcore, it's better to sneak past.
- Explanation: The Tyrant slowly pursues you in many areas. He cannot open doors that require key items, but he can break through normal doors.
- Analysis: Use tight corners and switchback corridors to break line-of-sight. Flash grenades stun him for about 5 seconds. There are specific safe rooms he cannot enter (e.g., the Stars Office). If he catches you, take damage and he'll back off briefly. On Hardcore, he is faster and hits harder.
- Explanation: Various forms of G (William Birkin) have weak spots – their eyes. Shooting the eyes causes them to stagger and exposes their core.
- Analysis: Use the shotgun or magnum at close range. The knife is also effective against G's arm when it grabs you. On Hardcore, you'll need precise aim and lots of ammo. Use the grenade launcher (Claire) or SMG (Leon) for the final forms.
- Explanation: Dogs are fast and can leap. They often pause before attacking.
- Analysis: When a dog stops and pounces, shoot it mid-air. A headshot with the handgun will kill it instantly. Alternatively, use the knife when they're close.
- Explanation: On Standard difficulty, the knife has infinite durability. You can repeatedly slash downed zombies.
- Analysis: After stunning a zombie with a headshot, you can slash it dozens of times to kill it without using extra ammo. This is a great way to clear areas without gunfire. On Hardcore, the knife breaks after a few uses, so be careful.
- Explanation: In rooms with multiple doors, you can bait the Tyrant to punch you while you dodge, causing him to stop momentarily.
- Analysis: This is risky but can buy you time. Combine with flash grenades for a safe escape. Advanced players can use the tight corridors in the RPD to keep him at a distance.
- Explanation: Play through the game twice – once as Leon A/Claire B (or vice versa) to get both scenarios and all weapons.
- Analysis: Each scenario gives different key items and enemies. By playing both, you can unlock infinite ammo weapons and the Rocket Launcher (for S+ rank). This is essential for speedruns.
- Explanation: To achieve S+ rank (Hardcore), you must complete the game under 2.5 hours (or 2 hours for some) with only 3 saves.
- Analysis: Learn the exact routes and skip all unnecessary fights. Use the Rocket Launcher for bosses. Memorize puzzle solutions. Avoid picking up excess items. There are many video guides available.
- Explanation: Some achievements require completing the game without healing (or without using recovery items).
- Analysis: This requires perfect timing, knowledge of enemy placements, and use of defensive items. Prioritize avoiding combat. Use flash grenades and the knife efficiently. Restart if you take damage.
- Explanation: You can find upgrades like the High-Capacity Magazine (in the RPD Stars Office) and the Suppressor (in the parking garage).
- Analysis: The suppressor is useful for stealth – it reduces noise and prevents attracting distant enemies. The high-cap mag allows more shots before reloading. Equip these immediately.
- For Leon (A scenario): Handgun + Shotgun + Knife + Grenade. For ranged, use the shotgun for big groups; handgun for single zombies. Save the SMG for bosses (like G).
- For Claire (A scenario): Handgun + Grenade Launcher + Knife + Flash Grenade. The grenade launcher uses explosive rounds against G and groups. Acid rounds are effective against lickers.
- General Rule: Carry only one primary weapon plus the knife to save space. Keep ammo for that weapon in the box.
- Explanation: There is no vending machine in RE2. Instead, you combine resources at workbenches. But there is a specific item (the \"Green Herb\") that you shouldn't hoard.
- Analysis: Actually, you can discard items in the item box. There's no economy system like buying ammo. Resource management is purely about what you carry.
- Explanation: Some players complete the game using only the knife (Standard difficulty). This tests your melee skills.
- Analysis: Requires constant movement and dodging. Use the knife's infinite durability to your advantage. Avoid enemies whenever possible. This is not recommended for first playthroughs.
- Start on Standard Difficulty: Normal is forgiving enough to learn the mechanics. Hardcore is brutal – enemies deal more damage, you can only save with ink ribbons, and items are scarcer.
- Save Often (Standard): Use typewriters. On Hardcore, save only when you've made significant progress.
- Don't Be Afraid to Run: Not every fight is mandatory. If you're low on ammo, sprint past zombies. They're slow.
- Learn the Map: Familiarize yourself with the RPD, sewers, and lab. Knowing shortcuts reduces panic.
- Use the Sub-Weapon Slot: Always have a knife or grenade ready for defensive moves.
#### 2. Use the Knife to Finish Downed Enemies
#### 3. Shotgun: Wait for Clumps
#### 4. Grenades Are Your Best Friend
#### 5. Use the Submachine Gun (Leon) or SLS 60 (Claire) Wisely
#### 6. Melee Survival: Timing the Counters
---
Exploration Tips
#### 1. Always Check Map for Red Doors
#### 2. Memorize Safe Room Locations
#### 3. Search Every Corner, Especially Desks and Drawers
#### 4. Listen for Audio Cues
#### 5. Use the Map to Track Unopened Chests and Statues
---
Resource Management Tips
#### 1. Combine Herbs Wisely
#### 2. Don't Craft Unnecessary Ammo Early
#### 3. Use the Hip Pouch to Increase Inventory
#### 4. Save AT LEAST 1 of Each Key Item
#### 5. Do Not Hoard Everything – Prioritize
---
Puzzle Solving Tips
#### 1. Read All Files and Notes
#### 2. Use the Photo Mode for Puzzles
#### 3. Solve the Jigsaw Puzzle by Prioritizing Edge Pieces
#### 4. The Clock Tower Puzzle
---
Enemy-Specific Tips
#### 1. Zombies: Kneecap or Headshot?
#### 2. Lickers: Avoid Alerting Them
#### 3. Mr. X (Tyrant): Use Obstacles
#### 4. G Mutants: Shoot the Eyes
#### 5. Zombie Dogs: Wait and Shoot
---
Advanced Techniques & Optimizations
#### 1. Knife Glitch (Standard Difficulty)
#### 2. Baiting the Tyrant into a Stun Loop
#### 3. Resource Maxing: The "Two Run" Strategy
#### 4. Speedrun Techniques
#### 5. The "No Damage" Run
---
Economy & Weapon Builds
#### 1. Weapon Upgrades
#### 2. Recommended Weapon Loadouts
#### 3. Selling Useless Items at the Vending Machine?
#### 4. The "Only Knife" Challenge
---
Beginner Tips
---
Conclusion
Resident Evil 2 rewards careful planning and execution. By mastering these tips, you'll minimize wasted resources, survive tougher encounters, and experience the game's tension without unnecessary frustration. Good luck, and remember: the Tyrant is always listening.
---
Guide written for players of all skill levels. Last updated: [Current Date]