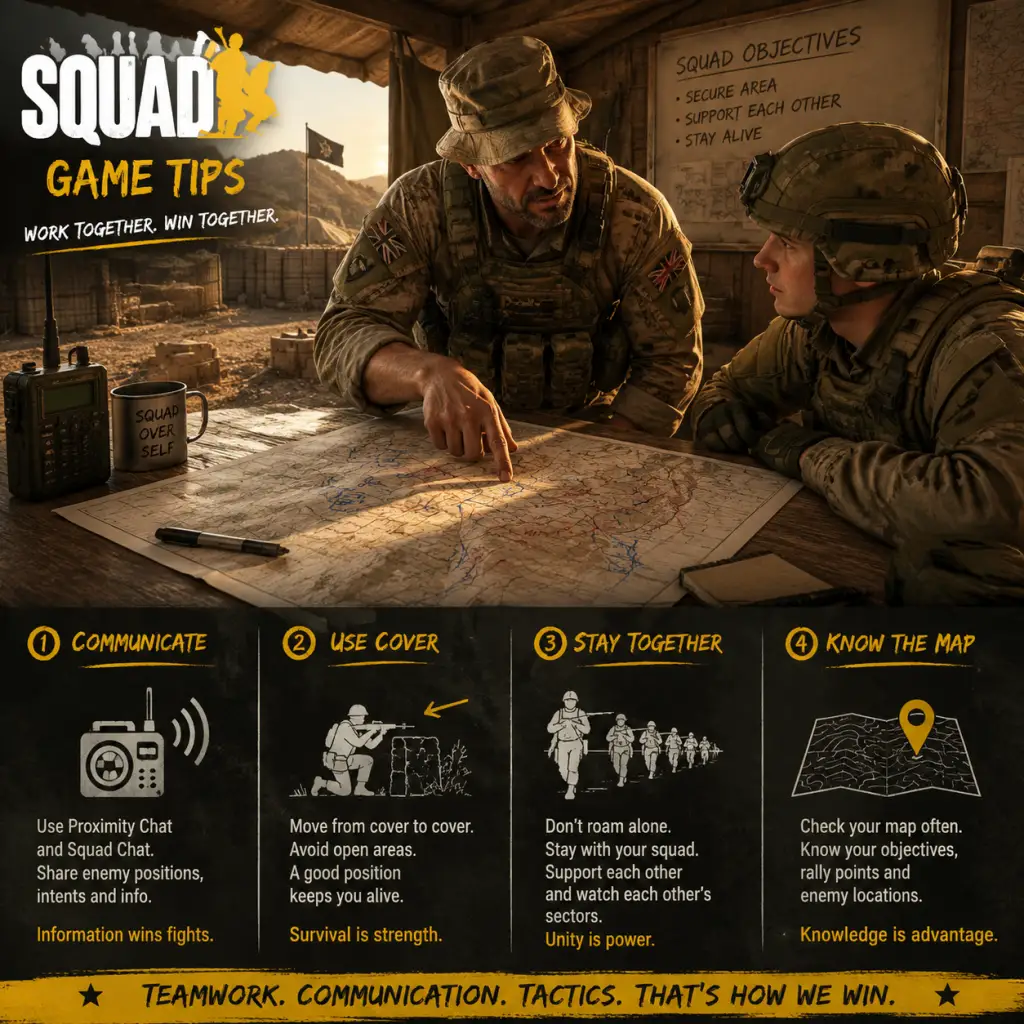
Game Tips
Game Tips
Welcome to the definitive collection of Squad tips, covering everything from your first spawn to advanced combined-arms coordination. This guide is organized by category, with each tip explained in depth, including why it works and when to apply it. Tips are labeled for beginner (B), intermediate (I), or advanced (A) players.
---
1. Communication & Teamwork (B/I/A)
B: Use Local and Squad Voice Channels Correctly
- Explanation: Local voice (Left Alt by default) transmits to nearby friendly players, while Squad voice (G) is heard only by your squadmates. Use local for short-range coordination (e.g., "enemy in the red house") and squad channel for tactical orders. Never clutter command channel unless you're the Squad Leader.
- Why it works: Prevents channel overload. New players often broadcast across all channels, causing confusion and missed calls.
- Explanation: Use the format: Direction (clock bearing from your position), Distance, Description, and Action. Example: "Contact, local, north-northwest at 10 o'clock, 100 meters, enemy infantry moving toward the compound. Requesting fire support."
- Why it works: Speed and clarity reduce time to engage. Veterans rely on consistent reports to build situational awareness.
- Explanation: As Squad Leader, relay critical information to other SLs without clogging the channel. Use markers on the map (enemy vehicles, habs, movements) to create a shared picture. Keep voice for emergencies.
- Why it works: The map is silent and persistent. Well-placed markers save time and reduce radio chatter.
- Explanation: Never stand still in the open. Move from cover to cover, using crouch and prone to reduce your silhouette. When engaging, peek around the left side of an object (exposes less of your body).
- Why it works: In Squad, suppression is lethal. A stationary target is easy prey; movement and cover make you harder to hit.
- Explanation: Suppression degrades enemy accuracy and vision. Fire at known enemy positions even if you don't have a clear shot. Use machine gunners or automatic rifles to pin down enemies so teammates can flank.
- Why it works: Suppressed enemies can't shoot effectively. This creates windows for assault or relocation.
- Explanation: Split your squad into two fireteams. One moves while the other provides cover from a position. The moving team advances 20-50 meters, then sets up cover for the next team. Repeat.
- Why it works: Minimizes exposure. If enemies engage the moving team, the stationary team can return fire immediately. Essential for crossing danger zones like fields or bridges.
- Explanation: Stay within 50 meters of your medic and SL. If you're wounded, a nearby medic can revive you. Being close to SL ensures you receive orders and can help defend/attack objectives.
- Why it works: Lone wolves die and stay dead. Squad cohesion is strength.
- Explanation: Footsteps, gunfire, vehicle engines, and even voice lines are directional. Wear headphones to pinpoint enemy locations. Learn the distinct sounds of each weapon (e.g., AK vs M4).
- Why it works: Sound is a primary intel source. You can anticipate flanking maneuvers or spot hidden enemies.
- Explanation: Capturing a hill, rooftop, or ridge overlooking an objective provides superior fields of fire. Use the terrain's natural protection (reverse slope) to avoid being seen from long range.
- Why it works: High ground gives you first shot advantage and better angles. Dominating terrain forces enemies into predictable routes.
- Explanation: Rifleman has a basic weapon, frag grenades, and an ammo bag. No complex equipment. Focus on learning map flow, shooting, and communication.
- Why it works: Reduces cognitive load. You avoid wasting specialist roles like Marksman or Sniper, which require advanced aim and positioning.
- Explanation: Medics revive and heal teammates. Carry at least 2 bandages, use smoke grenades to cover revives, and prioritize the Squad Lead. Keep your rifle for self-defense.
- Why it works: A dead squad loses momentum. Keeping your squad alive is more valuable than individual kills.
- Explanation: Grenadier uses 40mm grenades to flush enemies from buildings or cover. AR provides continuous suppression. Both require positioning to maximize blast radius or sustained fire.
- Why it works: These roles control chokepoints and deny access. Proper use breaks enemy defensive lines.
- Explanation: Most vehicles have weaker side and rear armor. Heavy armor (tanks) have vulnerable engine compartments. Use AT weapons there.
- Why it works: Front shots often ricochet or do minimal damage. One well-placed rear shot can destroy an engine.
- Explanation: Light Anti-Tank (LAT) can disable transport trucks and IFVs. Heavy Anti-Tank (HAT) destroys main battle tanks. Pair with a rifleman carrying an ammo bag to reload rockets faster.
- Why it works: Solo AT players are ineffective. Two launchers and a supply of ammo can kill multiple vehicles.
- Explanation: Logistics trucks carry construction supplies and ammo. Driving them to the frontline as a taxi wastes resources. Instead, drop supplies at FOBs and return for more.
- Why it works: A constant supply chain builds defenses and radios. Without supplies, your team crumbles.
- Explanation: FOB HABs are spawn points. Place them in low-visibility areas like dense forest, behind hills, or inside compounds. Mark them on map as 'build'.
- Why it works: Hidden HABs survive longer. Enemy players will search visible locations first.
- Explanation: Construct multiple layers of cover around a HAB. Place HESCOs (large walls) first, then sandbags and razor wire. Create a protected firing lane for defenders.
- Why it works: Layered defenses absorb explosions and slow attackers. A single wall can be flanked; multiple layers funnel enemies into kill zones.
- Explanation: Using ammo, SLs can deploy a vehicle repair station next to a FOB. This allows vehicles to repair without returning to main base.
- Why it works: Keeps armor in the fight longer. Repair stations are force multipliers.
- Explanation: The map is divided into 1km and 200m grids. Use these to call out locations (e.g., "Enemy HAB at FOB Charlie 3-2-1"). Study map legends for cap zones and objective markers.
- Why it works: Precise coordinates allow quick reaction. Without grid calls, teammates search blindly.
- Explanation: On each map, learn the common travel corridors between objectives. Note where ambushes happen. Find alternate paths through forests or wadis.
- Why it works: Predict enemy movements and avoid kills zones. You can set up ambushes or bypass defenses.
- Explanation: When an enemy HAB is active, you can hear its radio sound within ~100m. Also, destroyed radios create a static noise. Listen for these cues to locate and destroy spawn points.
- Why it works: Destroying HABs wins games more than killing players. Each radio kill reduces enemy rally points.
- Explanation: Squad Leaders can place a rally point (radio) that acts as a limited spawn. Place it in cover near the objective. Have a teammate stay near it to prevent disappearance if SL dies, but only if safe.
- Why it works: Rally points allow quick respawns close to action. They're essential for sustained assaults.
- Explanation: Riflemen carry smoke grenades, and medics have them too. Throw multiple smokes to create a corridor. Wait for them to pop before moving.
- Why it works: Smokes block line of sight for both sides. They mask advancement and reduce suppression effectiveness on you.
- Explanation: Squad Leaders can request artillery, drone strikes, or vehicle drops from the Commander. Use these on confirmed enemy HABs or dense infantry clusters. Communicate precise coordinates.
- Why it works: A single well-placed strike can wipe an entire squad and destroy a radio. Poorly used strikes waste team resources.
- Explanation: Every death costs your team tickets (unless revived). Avoid unnecessary heroics. If you're in a losing fight, retreat and regroup.
- Why it works: Ticket deficit leads to loss. Preserving lives is as important as capturing points.
- Explanation: Rally points allow respawn after 30 seconds (vs 60+ from main). Place them strategically to keep pressure on objectives.
- Why it works: Faster respawns enable continuous attacks and defenses.
- Over-reliance on Sniper Role: Most new players think snipers are useful. They're not. You'll get limited kills and contribute nothing to objectives.
- Firing From One Window Too Long: Enemies will pinpoint your muzzle flash. Shoot, move, shoot.
- Ignoring the Commander: The Commander has powerful tools. Listen and support their orders.
- Walking in Open Groups: Spread out to reduce the impact of a grenade or machine gun burst.
I: Learn to Give Clear, Concise Contact Reports
A: Use Command Radio for SLs Only – Create Passive Information Network
---
2. Combat & Firefights (B/I/A)
B: Always Use Cover and Peek from Different Angles
I: Master the Art of Suppression
A: Use Bounding Overwatch in Open Terrain
---
3. Movement & Positioning (B/I/A)
B: Stick with Your Medic and Squad Lead
I: Use Audio Cues to Detect Enemy Presence
A: Control High Ground and Key Terrain
---
4. Roles & Kits (B/I/A)
B: Choose Rifleman (Standard Kit) for Your First 20 Hours
I: Master the Medic Role
A: Play as a Grenadier or Automatic Rifleman for Area Denial
---
5. Vehicles & Anti-Armor (I/A)
I: Always Approach Vehicles from the Side or Rear
A: Coordinate LAT/HAT with Your Squad
B: Use Logi Trucks for Logistics, Not Taxis
---
6. Logistics & Base Building (I/A)
I: Place FOBs (Forward Operating Bases) in Concealed Locations
A: Build HESCO Barriers and Sandbags in Layers
A: Maintain a Repair Station for Vehicles
---
7. Map Knowledge & Navigation (B/I/A)
B: Learn the Grid System
I: Memorize Main Routes and Flank Paths
A: Use the Map to Track Enemy FOB Radios
---
8. Advanced Tactics (A)
A: Execute a “Buddy Rally” to Spawn Faster
A: Use Smoke Screens to Cross Open Ground
A: Coordinated Air Support with Commander Assets
---
9. Economy & Respawn Management (I/A)
I: Manage Your Tickets – Don't Waste Spawns
A: Use Rally Points to Reduce Spawn Time
---
10. Beginner Mistakes to Avoid
---
Final Tip: Squad is unforgiving but rewarding. Every death is a learning opportunity. Watch experienced players, ask questions, and always communicate. Now go lead your squad to victory.