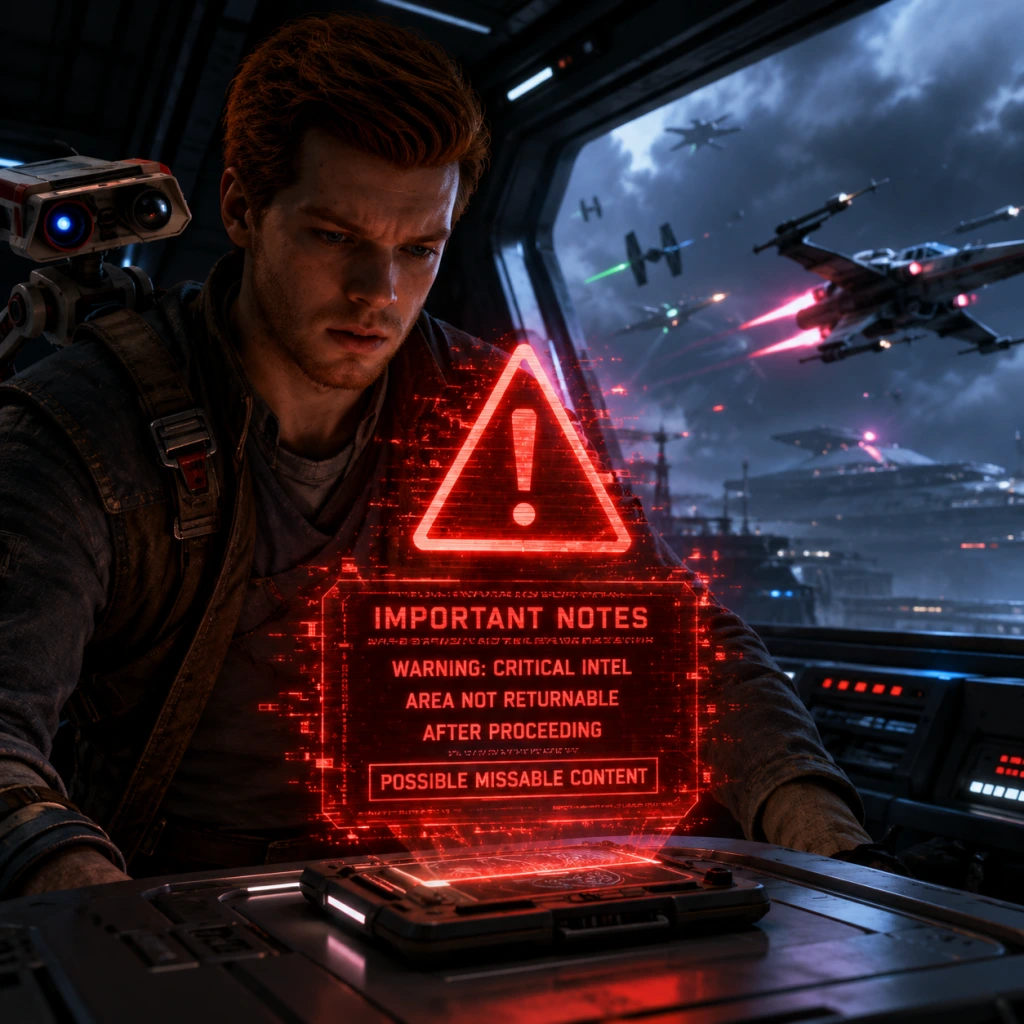
Important Notes
Star Wars Jedi: Survivor – Important Notes
This guide covers critical warnings, missable content, difficulty spikes, and other essential knowledge to help you avoid regret and save frustration during your journey as Cal Kestis.
Warnings and Pitfalls
- Performance Issues (PC): Jedi: Survivor is demanding. Even high-end PCs may experience stuttering, frame drops, or crashes, especially in open-world areas like Koboh. Update your GPU drivers, disable ray tracing if unstable, lower crowd density, and cap FPS at 60. On PS5/Xbox Series X|S, use Performance mode for smoother framerate (target 60 FPS) at the cost of some visual fidelity.
- Platforming Deaths: Cal can die from fall damage if you miss a jump or air-dash. Always double-check ledges and use the map to plan routes. The game has no fall damage to health – you instantly die if you fall off a cliff.
- Camera Issues: In tight corridors or during large enemy fights, the camera can clip into walls. Lock-on is essential but not perfect; manually adjust when needed.
- Enemy Scaling: Enemies do not scale with your level. Some areas (e.g., the Shattered Moon) contain high-level enemies early on. If you’re struggling, explore Koboh first to unlock upgrades and skills.
- Save Corruption: Rare but possible. On PC, back up your save files located in `Documents/Star Wars Jedi Survivor/Saved` periodically. On consoles, use cloud saves or USB backup.
- No Irreversible Skill Build: You can unlock every skill and Force ability by endgame – there is no respec option, but you are not locked out of anything permanently. Spend points freely.
- Missable Collectibles: After completing certain main story events, some areas become inaccessible. Specifically:
- Rumors (Side Quests): Most rumors remain available after the story, but a few tied to specific NPCs (e.g., the bounty hunter Dagan’s lair) may lock if you advance too far. Prioritize unique rumor icons with orange markers.
- Priorite Shards and Databank Entries: Many are one-time pickups. Use the map legend to track uncollected items, and check each planet’s completion percentage.
- Early Game Spike: The first few hours are tough because you lack stances, Force abilities, and health upgrades. Rely on blocking and dodging. The Ninth Sister boss on Coruscant is a major skill check – learn her attack patterns and parry.
- Mid Game Spike: The Rayvis fight on Nova Garon demands aggressive, rhythmic parrying. If you haven’t mastered the Crossguard or Blaster Stance, switch to Double-Bladed for crowd control.
- Final Boss: The last boss is a prolonged multi-phase encounter. Bring full stims, consider using the “Fortified” perk for extra damage reduction, and use the Interaction Wheel to consume stims quickly between phases.
- General Tip: If stuck, lower the difficulty temporarily (Story Mode gives more forgiving parry windows) – you can change it anytime in the pause menu.
- Skill Points (XP): You earn plenty by exploring and defeating enemies. Do not waste time repeatedly killing the same respawning enemies at a Meditation Point – it’s inefficient. Instead, clear a map zone thoroughly once.
- Materials for Upgrades: You can farm rare materials (e.g., Pristine Datacrons, Sentinel Caches) by returning to earlier areas after unlocking new Force abilities. No need to grind; the game provides enough resources to upgrade all gear.
- Credits: Money is abundant. Spend freely on cosmetics and data disks. Save Priorite Shards for the vendor on Koboh – they unlock unique gear and abilities.
- Don’t Sell Collectibles: You cannot sell items; credits come from chests and enemies. Spend early on stim canisters and skill tree unlocks.
- Single-Player Only: No multiplayer, co-op, or competitive modes. No anti-cheat software required.
- EA Account: Required for achievements/trophies and cloud saves. Linking is mandatory but does not affect gameplay.
- Leaderboards: Present for some challenge rooms (e.g., “Force Tears”). They are optional and non-intrusive. No etiquette rules apply.
- Auto-Save: The game auto-saves frequently at meditation points, story checkpoints, and when entering/exiting areas. However, auto-saves overwrite each other.
- Manual Save: You can manually save from the pause menu (Save & Quit). This creates a separate manual save slot (only one). Use it before major boss fights or exploration in missable zones.
- Backups (PC): Navigate to `%USERPROFILE%/Documents/Star Wars Jedi Survivor/SaveGames/`. Copy the entire folder to a safe location regularly.
- Console Cloud Saves: On PS5, disable auto-sync sometimes to avoid overwriting a bad save. On Xbox, ensure cloud saves are active but be cautious.
Irreversible Choices & Missable Content
- Nova Garon: Once you finish the mission there, you cannot return. All collectibles (chests, databanks, essences, treasure maps) in that area are permanently missable. Exploit fully before leaving.
- Coruscant: The opening section is linear and cannot be revisited. Miss nothing – but completionists should grab every collectible before leaving.
- Jedha (areas after sandstorm changes): Some spots become sealed after story progression. Complete side content on Jedha before finishing the main quest there.
Difficulty Spikes & Bosses
Grinding Traps & Resource Management
Online / Anti-Cheat Notes
Save Management
Things Players Commonly Regret Not Knowing Earlier
1. Fast Travel Unlocks Late: You cannot fast travel directly to most points until you unlock the Koboh Mantis Upgrade (mid-game). Until then, plan routes carefully.
2. Stance Swapping is Instant: You can have two stances equipped and switch between them mid-combat using the d-pad (console) or number keys (PC). Experiment early – don’t stick with one stance.
3. Force Abilities Open Paths: Many blocked paths require specific Force powers (e.g., Force Lift, Confuse). Return to early areas after unlocking them to discover new collectibles and shortcuts.
4. BD-1 Map Upgrade: On Koboh, find the Philosopher’s Cache to upgrade BD-1’s map to show all collectibles. Do this as soon as possible to avoid backtracking.
5. Upgrade Lightsaber Damage First: Prioritize the Lightsaber Mastery skill (increased damage) over health upgrades early – kill enemies faster to reduce damage taken.
6. Meditation Points Reset Enemies: Use them to farm resources and XP by fast traveling away and back – but it’s rarely necessary.
7. Not All Chests Are Visible: Some chests require using the Survey ability (scanner) to reveal hidden walls or floors.
8. No Enemy Scaling: If an area feels too hard, come back later. The game never punishes you for avoiding combat.
9. Rumors Are Worth It: Side quests from NPCs on Koboh often reward unique abilities, stims, or permanent health upgrades. Check the cantina regularly.
10. You Can Pause Cutscenes: Press the Menu button during cinematics to pause – useful for referencing story details or taking a break.