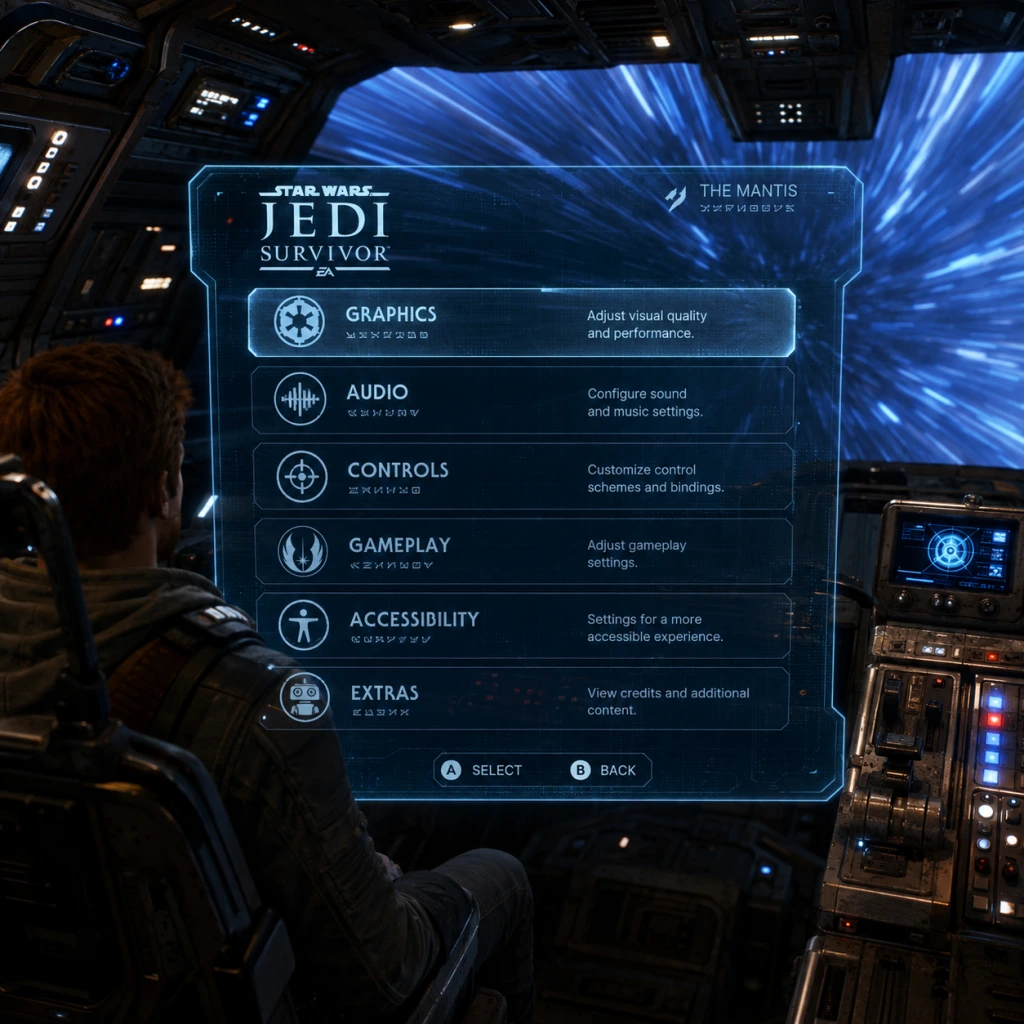
Game Settings
Star Wars Jedi: Survivor – Game Settings Guide
This guide covers every settings category in Star Wars Jedi: Survivor. We explain what each option does, provide recommended configurations for performance (low-end) and quality (high-end) hardware, and point out settings that are easy to misconfigure or that have a major impact on your experience.
---
1. Graphics Settings
#### 1.1 Display & Resolution
- Display Mode: Fullscreen (recommended for performance), Windowed Borderless (good for multi-monitor setups).
- Resolution: Set to native monitor resolution. For low-end PCs, drop to 1080p or lower.
- V-Sync: Off for lower input lag; On to eliminate screen tearing. If you have a G-Sync/FreeSync monitor, keep V-Sync On in driver and Off in game.
- Frame Rate Limit: Set to monitor refresh rate (e.g., 60, 144). Helps maintain consistency.
- HDR: Only enable if your display supports it. Adjust brightness in HDR menu.
- Graphics Quality: Ultra, High, Medium, Low, Custom. We recommend starting with the preset that matches your GPU (see table below).
- Key Custom Options:
#### 1.2 Quality Presets & Custom Options
- Texture Quality: Affects sharpness. Performance cost: Low (mainly VRAM). High-end GPUs use Ultra; low-end use High.
- Shadow Quality: Softness and detail. Performance cost: High. Set to Low/Medium on low-end.
- Global Illumination (GI): Affects lighting realism. Performance cost: Very High. Use Low or Medium on low-end.
- Reflections: Screen Space or Ray Traced. Performance cost: High. Prefer Low or Medium.
- Post Processing: Bloom, motion blur, depth of field. Performance cost: Low. Turn off motion blur if it causes motion sickness.
- Ambient Occlusion: Adds depth shading. Performance cost: Medium. Low or Medium acceptable.
- Anti-Aliasing: TAA is default. On low-end, use FXAA to reduce blur.
- Ray Tracing: Off for performance. On for visual quality (requires RTX 20/30/40 or RX 6000/7000). Very demanding.
#### 1.3 Recommended Settings by Hardware Level
| Component | Low-End (e.g., GTX 1060, i5-8400) | Mid-Range (e.g., RTX 3060, R5 5600) | High-End (e.g., RTX 4080, i7-13700K) |
|---|---|---|---|
| Overall Preset | Low (Custom tweaks below) | High | Ultra (Custom with RT) |
| Resolution | 1080p or 900p (if needed) | 1440p | 4K or 1440p with high refresh |
| View Distance | Low | High | Ultra |
| Texture Quality | High | Ultra | Ultra |
| Shadow Quality | Low | High | Ultra |
| Global Illum. | Low | Medium | Ultra (or RT GI) |
| Reflections | Low | High | Ultra (or RT reflections) |
| Post Processing | Low | High | Ultra |
| Ambient Occlusion | Low | High | Ultra |
| Anti-Aliasing | FXAA | TAA | TAA or DLSS Quality (if available) |
| Ray Tracing | Off | Off (or Low if performance allows) | On (Medium or High) |
| FPS Target | 30-45 fps stable | 60 fps | 60-120 fps |
#### 1.4 Easy to Misconfigure Graphics Settings
- Resolution Scale: Often left at 100% by mistake. Reducing to 90% or 80% can substantially boost FPS on low-end PCs.
- Upscaling Mode: Make sure to choose the correct option for your GPU (e.g., DLSS only on NVIDIA RTX). The game may default to TAAU.
- Frame Limit vs V-Sync: Enabling both can cause input lag. Use only one.
- Texture Pool: Low VRAM? Reduce texture quality. The game may crash on 6 GB cards with Ultra textures.
- Master Volume: 70-80% is a good starting point.
- SFX Volume: Keep 100% to hear combat cues.
- Dialogue Volume: 100% for story immersion.
- Music Volume: Adjust to taste; music can be intense during boss fights.
- Voice Language: Choose language for spoken dialogue (separate from text).
- Subtitles: On (recommended) even for native language to catch ambient dialogue.
- Dynamic Range: Choose “Headphones” for better spatial awareness with a headset; “Home Theater” for surround sound.
- 3D Audio (HRTF): On if supported (PS5, Xbox, PC with compatible headphones). Improves directional cues.
- Audio Output: Select your device correctly. Misconfiguration can cause crackling or low volume.
- Controller (Console/PC): Default layout is similar to Jedi: Fallen Order. Customizable.
- Mouse & Keyboard (PC): Full rebindable. Recommended to rebind Force abilities to mouse buttons or nearby keys.
- Controller Sensitivity: Start at default (e.g., 50/100). Increase gradually if aiming feels sluggish.
- Mouse Sensitivity: 400-800 DPI, in-game sensitivity 50-70. Adjust for precise parrying.
- Aim Assist: On for controller (helps in combat). Off for mouse if you prefer raw aim.
- Invert Y: Off by default. Toggle if you prefer inverted controls.
- Trigger Deadzone (Controller): Keep default (10-15%). Lower for quicker response, but risk of accidental inputs.
- Stick Deadzone: Default is fine. Increase if drifting occurs.
- Toggles vs Holds: You can switch between hold-to-run and toggle-run. Toggle is easier on thumbs.
- Lightsaber Stance Switching: Assign to a quick button (e.g., hold triangle/Y) to avoid delays.
- Force Abilities: Map each to a dedicated key/button if possible for faster use.
- Color Blind Modes: Protanopia, Deuteranopia, Tritanopia – affects UI elements and game world markers.
- High Contrast Mode: Increases visibility of objects and enemies. Helpful for low vision.
- Text Size: Small, Medium, Large. Large is recommended for readability.
- Subtitle Background: Opaque or semi-transparent to improve contrast.
- Camera Shake: Reduce or disable to prevent motion sickness.
- Motion Blur: On/Off. Off for clarity and less nausea.
- Auto-Running: On (character runs automatically forward). Helpful for players with limited fine motor control.
- Combat Assistance:
- Navigation Assistance: Highlight path to objectives (like a guiding line). On by default; can be turned off for challenge.
- Photo Mode Sensitivity: Reduce sensitivity if camera moves too fast.
- Game Text Language: Choose from available options (English, French, German, Japanese, etc.).
- Audio Language: Can be separate from text. Only voice acting language; subtitles remain in text language.
- Subtitle Language: By default follows text language, but can be changed independently.
- Menu Language: Usually same as text language, but some systems (like PS5) may have separate options.
- Online Features: On/Off. Disable if you prefer offline play (saves are local).
- Cross-Play: Not applicable (no multiplayer). The option may appear but does nothing.
- Data Sharing: Allows EA to collect telemetry – no gameplay impact. Disable for privacy.
- Connection Status: Shows if you are connected to EA servers. Not required to play single-player.
- Difficulty: Story, Jedi Knight, Jedi Master, Grandmaster (see Game Tips guide for details). This setting affects enemy damage, aggression, and parry windows. Can be changed anytime.
- Quick Travel Unlock: By default, meditation points must be discovered. No setting to change this.
- Auto-Equip Upgrades: On/Off. On automatically equips new abilities when unlocked. Off gives manual control.
- Hint System: Frequent, Infrequent, Off. Affects how often NPCs give puzzle hints. Off for purists.
- Dismemberment: On/Off. Only affects visuals (cuts on humans). Off reduces graphic violence.
- Subtitles for Gameplay: On by default – shows environment descriptions (e.g., “Wall run enabled”). Keep on for clarity.
- Weapon Holster: Automatic or Manual. Manual allows you to holster lightsaber by holding a button (stance switch).
- Camera Assist: On – camera automatically adjusts behind Cal during movement. Off gives full manual control.
- Look-Ahead Camera: On – camera tilts in direction of movement slightly. Helps with platforming. Off for fixed cinematic view.
---
2. Audio Settings
Misconfigure Note: If sound is distorted, check sample rate/bit depth in Windows sound settings (should be 48 kHz, 24-bit).
---
3. Controls Settings
#### 3.1 Input Method
#### 3.2 Sensitivity & Aim
#### 3.3 Specific Control Schemes
Misconfigure Note: The default controls sometimes assign “Dash” and “Sprint” to same button (e.g., L3 on controller). Make sure they are distinct to avoid accidental dodges.
---
4. Accessibility Settings
- Auto-Attack: On – character attacks automatically when near enemies.
- Auto-Dodge: On – automatically dodges enemies' unblockable attacks (reduces difficulty).
- Auto-Force: On – uses Force abilities at optimal moments.
Special Attention: The Combat Assistance features are easy to miss – they are in the Accessibility menu, not Difficulty menu. Enabling them makes the game much easier, so toggle carefully if you want a challenge.
---
5. Language Settings
Note: Changing audio language mid-playthrough does not affect save data.
---
6. Network Settings
Troubleshooting: If you experience crashes or load delays, disable online features. The game occasionally stutters when trying to sync achievements.
---
7. Gameplay Settings
Misconfigure Alert: The “Look-Ahead Camera” can disorient some players. If you feel motion sick, turn it off.
---
8. Special Attention Points During Setup
1. Save and Exit Properly: The game does not auto-save in menus. Always wait for the white spinning icon (meditation point auto-save) before closing.
2. Graphics Preset vs Custom: Applying a preset overwrites all custom settings. If you tweak individual options, do not later apply a preset.
3. VRAM Management: On PC, if you encounter stuttering, lower Texture Quality and Ray Tracing. The game can exceed 8 GB VRAM at Ultra.
4. Controller on PC: If using a PlayStation or Xbox controller, ensure you have the correct input type selected under Controls > Controller Type. The game may incorrectly default to keyboard.
5. DualSense Features (PC/PS5): Haptic feedback and adaptive triggers are only fully supported on PS5 and via wired USB on PC. Check your connection.
6. Audio Sync: If audio lags behind video, update audio drivers or lower audio quality in Windows.
7. Photo Mode: Accessible via both menu and shortcut. Does not pause gameplay (enemies still move) – plan your shots carefully.
8. Cloud Saves: Enabled by default on all platforms. If you play on multiple devices, ensure sync is complete before starting.
---
With these settings properly configured, you’ll have a smoother and more personalized experience in Star Wars Jedi: Survivor. Adjust as needed based on your hardware and preferences. May the Force be with your settings!