Character Skills
Character Skills Guide for The Callisto Protocol
Overview
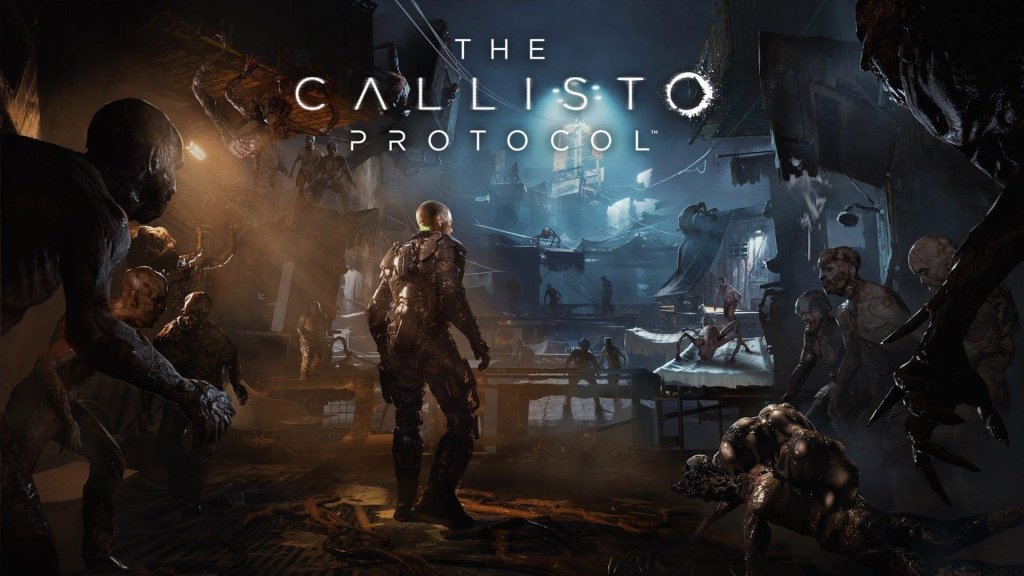
The Callisto Protocol features a single playable character: Jacob Lee, a cargo pilot stranded on the prison planet Callisto. Jacob does not have a traditional skill tree with spells or talents. Instead, his abilities are divided into Core Combat Skills (melee, dodge, block, GRP) and Upgradable Skills that enhance health, GRP, and weapon effectiveness. Skills are unlocked using Callisto Credits at Reforging Stations (checkpoints) scattered throughout Black Iron Prison. This guide covers every skill, upgrade, and combat technique Jacob can learn or improve.
---
Core Combat Skills (Always Available)
These are baseline abilities Jacob possesses from the start. They can be improved via upgrades.
#### 1. Melee Baton Attacks
- Light Attack: Fast, low damage. Used to stagger enemies or interrupt their attacks. Can chain up to 3 hits before a brief pause.
- Heavy Attack: Slow but high damage. Charged heavy can break enemy blocks. Use after a dodge or when enemy is stunned.
- Block Breaker (Heavy + Direction): A charged heavy attack performed while pushing forward. Breaks through enemy guard. Essential against shield-wielding enemies.
- Air Strike: After a successful GRP lift (see GRP), press melee button to perform a powerful overhead slam that deals massive damage to a lifted enemy. Unlocked automatically after obtaining GRP.
- Dodge: Move left or right while not blocking to perform a quick sidestep. This does not consume stamina. Timing is critical – dodge just before an enemy attack connects. Successful dodges create a window for counter-attacks.
- Backstep (Hold S + Dodge): A quick backward leap to create distance. Useful against group attacks.
- Slide: Run forward and crouch (or press dodge while sprinting) to slide under certain attacks or obstacles.
- Block (Hold Block button): Reduces incoming melee damage but does not negate it entirely. Stamina drains while blocking. Cannot block all attacks – some heavy attacks and specials bypass block (indicated by a red glow).
- Parry (Block just before hit): Timing a block precisely negates all damage and staggers the enemy, leaving them open for a follow-up attack. Parry window is generous but requires practice. Cannot parry ranged attacks.
- GRP Lift (Hold Grip button + aim): Pulls an enemy toward you or lifts them in the air. Lifted enemies are helpless and can be thrown or slammed.
- GRP Throw (While holding an object or enemy): Launch a grabbed object or enemy in the direction you aim. Throwing enemies into spiked walls, fans, or off ledges results in instant kills. Objects (pipes, grates, barrels) deal impact damage; larger objects hit harder.
- GRP Slam (While holding an enemy): Press the melee button to slam a lifted enemy to the ground, knocking them down and stunning nearby enemies.
- GRP Shield Grab: During combat, you can grab a shield from a Biophage Guard and use it as a temporary barrier (blocking forward attacks) or throw it back.
- Aiming (L2/LT): Enter iron sights for precision – reduces recoil spread.
- Shooting (R2/RT): Fire one shot per trigger pull (semi-auto for pistol; shotgun fires spread; Skunk Gun fires explosive rounds).
- Reloading (Square/X): Manual reload. Cannot reload while aiming or sprinting.
- Melee Attack with Weapon (Press melee while holding weapon): A quick butt strike to push enemies away – uses stamina and does minimal damage.
- Tier 1 (Max Health +10%): "Lung Capacity" – Small increase to overall health pool. Cost: 100 credits.
- Tier 2 (Max Health +20%): "Cardiac Enhancement" – Moderate increase. Cost: 200 credits.
- Tier 3 (Max Health +30%): "Adrenal Boost" – Significant increase. Cost: 400 credits.
- Effect: Each tier adds a segment to your health bar. Higher health allows survival of more hits from heavy enemies.
- When to upgrade: Prioritize early if you find yourself dying frequently. Good for players who prefer tanking damage.
- Tier 1 (GRP Battery Duration +25%): "Magnetic Resonator" – Extends the time you can hold an enemy or object before battery drains. Cost: 150 credits.
- Tier 2 (GRP Battery Capacity +50%): "Flux Capacitor" – Increases total battery charge, allowing more GRP uses before cooldown. Cost: 300 credits.
- Tier 3 (GRP Recharge Rate +50%): "Induction Coil" – Battery recharges faster after depletion. Cost: 500 credits.
- Effect: Improves GRP uptime. Essential for controlling fights and environmental kills.
- When to upgrade: Upgrade if you rely on GRP for crowd control or one-hit kills. Tier 2 and 3 make GRP sustainable.
- Tier 1 (Increased Damage +20%, Magazine +2): "High-Caliber Rounds" – Improves basic stopping power. Cost: 100 credits.
- Tier 2 (Reload Speed +30%, Accuracy +15%): "Match-Grade Trigger" – Faster reload and tighter hip fire spread. Cost: 200 credits.
- Tier 3 (Explosive Rounds): "Armor-Piercing Incendiaries" – Bullets now explode on contact with enemies, dealing area damage. Cost: 400 credits.
- When to use: Pistol is for general combat; upgrade early for consistent damage. Tier 3 makes it viable against groups.
- Tier 1 (Increased Damage +30%, Magazine +1): "Magnum Shells" – Deals more damage per pellet. Cost: 150 credits.
- Tier 2 (Reload Speed +25%, Spread Reduction): "Breaching Choke" – Tightens pellet spread for better range. Cost: 300 credits.
- Tier 3 (Incendiary Rounds): "Dragon's Breath" – Shells now set enemies on fire, dealing damage over time. Cost: 500 credits.
- When to use: Close-quarters bursts against groups. Upgrade after pistol. Incendiary is great for crowd control.
- Tier 1 (Increased Damage +25%, Magazine +3): "Hollow Point Rounds" – Extra damage to fleshy enemies. Cost: 200 credits.
- Tier 2 (Reload Speed +20%, Zoom): "Precision Stock" – Allows slight zoom when aiming. Cost: 400 credits.
- Tier 3 (High Explosive Rounds): "Grenade Launcher Conversion" – Shots become small grenades that explode on impact, devastating groups. Cost: 600 credits.
- When to use: Long-range precision and heavy single-target damage. Upgrade last; Tier 3 is expensive but transforms it into a boss killer.
- Tier 1 (Increased Damage +30%, Magazine +1): "High Explosive Hatchets" – Same as Skunk Gun but with unique headshot multiplier. Cost: 200 credits.
- Tier 2 (Reload Speed +35%): "Quick-Draw Holster" – Faster equip/unequip. Cost: 400 credits.
- Tier 3 (Ricochet Shots): "Bouncing Betty" – Bullets ricochet to nearby enemies after first impact. Cost: 600 credits.
- When to use: If you own DLC, this is a niche but fun weapon for crowd control. Ricochet shots can chain kills.
- Spiked Wall: GRP-throw an enemy into a wall of spikes (common in prison areas). Instant kill.
- Ceiling Fan: GRP-throw an enemy into a spinning fan blade. Instant kill.
- Bottomless Pit / Chasm: GRP-throw an enemy over a railing or into a grinder (e.g., Chapter 3). Instant kill.
- Explosive Barrels: Shoot or throw an enemy near a red barrel to trigger explosion. High damage to all nearby.
- After a successful parry (block just before hit), the enemy is stunned. Immediately press heavy attack to land a guaranteed critical hit that deals double damage and knocks down.
- Tip: Use against single enemies to conserve ammo.
- While sprinting, press dodge to slide. If you slide into an enemy, they get knocked down briefly, leaving them open for a ground pound (melee while they are down).
- Effective for moving through crowds.
- When an enemy is on the ground (from GRP slam, slide tackle, or parry), press melee to stomp on their head, dealing moderate damage and stunning them. Can repeated.
- Efficient for finishing off weakened enemies without spending ammo.
- GRP Lift + Air Strike + Ground Stomp: Lift an enemy, press melee to slam them, then stomp twice as they lie on ground. Devastating on single targets.
- Parry + Counter + Shoot: Parry an attack, quick-shot with pistol while enemy is staggered for extra damage.
- GRP Throw + Explosive Barrel: Grab an enemy and hurl them into a barrel just before you shoot it for a massive explosion.
- Dodge + Slide + Baton Heavy: Dodge around an enemy’s attack, slide past them, then hit heavy attack from behind for a critical.
#### 2. Dodge & Evasion
#### 3. Block & Parry
#### 4. GRP (Grip) Ability
The GRP is a telekinetic arm prosthetic. It is the most versatile skill in Jacob’s arsenal.
#### 5. Weapon Handling
Jacob can use four main weapons: Tactical Pistol, Riot Gun, Skunk Gun, and the forthcoming (DLC) Hand Cannon. Each weapon has its own skills/upgrades (see Upgradable Skills section). Basic handling includes:
---
Upgradable Skills (Callisto Credits)
These are purchased at Reforging Stations. They are divided into three categories: Health, GRP, and Weapon Proficiency. Each upgrade tier costs increasing credits. Upgrades are permanent; invest wisely.
#### Health Upgrades
#### GRP Upgrades
#### Weapon Proficiency Upgrades
Each weapon has three skill tiers that improve damage, accuracy, magazine capacity, reload speed, and special modifications. All weapons share the same progression cost structure.
Tactical Pistol (Starting weapon)
Riot Gun (Shotgun, acquired Chapter 2)
Skunk Gun (Rifle, acquired Chapter 4)
Hand Cannon (DLC weapon – Riot Bundle)
---
Special Moves & Techniques
These are unique combat actions that require specific conditions.
#### 1. Environmental Finishers
When to use: Always prioritize these over standard damage. They save ammo and quickly reduce enemy counts.
#### 2. Parry Counter
#### 3. Slide Tackle
#### 4. Finisher Strikes (Ground Stomp)
---
Recommended Builds & Upgrade Priorities
Build 1: The Brawler – Focus on melee and health. Upgrade Health first (all tiers), then GRP (Tier 1 and 2). Weapon upgrades last. Use baton heavy attacks, parry counters, and GRP slams. Useful for first playthrough on lower difficulties.
Build 2: The Controller – Max GRP upgrades as soon as possible. Use GRP to lift and throw enemies into hazards. Upgrade Pistol (Tier 1) and Riot Gun (Tier 2) for backup. Prioritize GRP battery capacity and recharge.
Build 3: The Gunslinger – Upgrade weapons first: Pistol Tier 3, Riot Gun Tier 3, Skunk Gun Tier 3. Focus on Callisto Credits from selling items. Use weapons for all encounters, conserve melee for tight spaces.
Build 4: Balanced – Alternate between Health and GRP upgrades, with weapon upgrades when you find a weapon you prefer. Good for first playthrough on Normal difficulty.
---
Synergies & Combos
---
When to Use Each Skill: Quick Reference
| Skill | Best Used When | Notes |
|---|---|---|
| Light Melee | Staggering fast enemies, interrupting attacks | Low damage, safe against one enemy |
| Heavy Melee | After dodge, parry, or against slow enemies | High damage, leaves you open |
| Block | When overwhelmed, no escape | Drains stamina, avoid red-glowing attacks |
| Parry | Against single, predictable enemy | Opens enemy for counter |
| Dodge | Always – it’s your primary defense | Timing is key; practice |
| GRP Lift | When you see environmental hazard nearby | Saves ammo, instant kills |
| GRP Throw | To launch enemies into hazards or away | Also good for knocking enemies off ledges |
| GRP Slam | To crowd control multiple enemies | Knocks down nearby foes |
| Weapon Fire | Ranged enemies, bosses, when overwhelmed | Consumes ammo – aim for headshots |
| Reload | During safe moments | Never reload in the middle of a fight |
Unlock Order & Tips
- Early Game (Chapters 1-3): Purchase Health Tier 1 first to survive more hits. Then GRP Tier 1 to extend lift duration. Then Pistol Tier 1 for better damage.
- Mid Game (Chapters 4-6): GRP Tier 2 for longer battery, Riot Gun Tier 2 for tighter spread and faster reload. Save credits for Skunk Gun upgrades.
- Late Game (Chapters 7-8): Max GRP Tier 3 for rapid recharge. Weapon Tier 3 for special ammo (explosive rounds). Health Tier 3 if not already done.
- Always check Reforging Stations for the unique item "Callisto Credits" hidden in each level. Sell unnecessary items like datapads for extra credits.
- The DLC "Contagion Mode" adds new modifiers but does not change the skill system.
- If you miss a Reforging Station, you cannot go back – plan upgrades as you progress.
Notes:
This guide covers every skill, upgrade, and combat technique available in The Callisto Protocol. Master these to survive the horrors of Black Iron Prison.