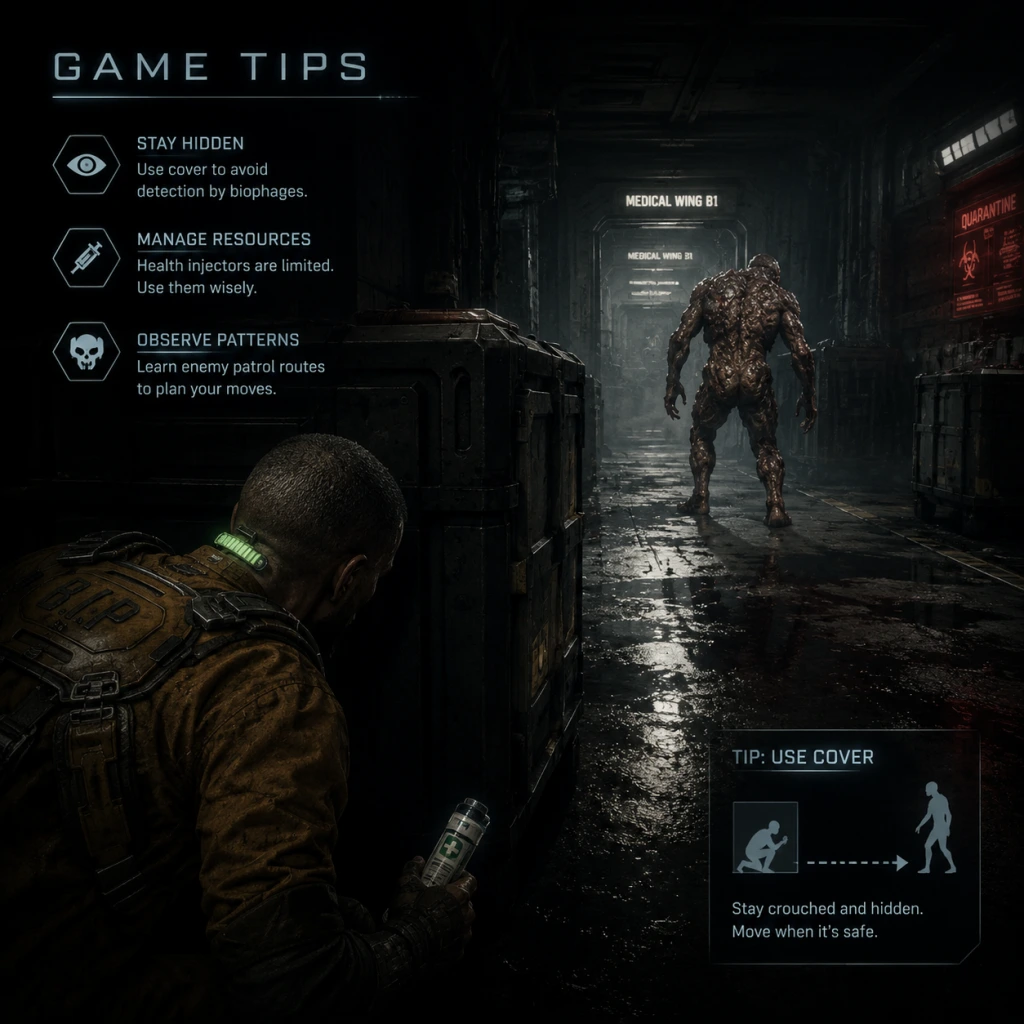
Game Tips
Game Tips for The Callisto Protocol
This guide provides essential tips to survive Black Iron Prison and UJC outbreaks. Tips are grouped by category and difficulty level: Beginner (first playthrough), Intermediate (understanding systems), and Advanced (maximizing efficiency).
Beginner Tips
1. Master the Dodge Mechanic Immediately
- Tip: Hold the dodge direction (left or right) and release just before an enemy attack lands. Do not spam dodge; the game punishes panic.
- Why it works: The dodge window is generous (about 0.5 seconds before impact). Holding the stick confirms your intent after the enemy commits. A successful dodge triggers a brief slow-motion window for a counterattack.
- When to use: Always in melee range. Against Biophage, dodge first, then strike once or twice, then dodge again. Never try to block unless you have the Block Upgrade.
- Tip: Prioritize unlocking the GRP (Grip) power and its range/force upgrades at the Reforging Station.
- Why it works: GRP allows you to throw enemies into hazards (fans, spikes, pits) for instant kills, saving ammo and health. It also creates space when overwhelmed.
- When to use: Against any enemy near an environmental hazard or surrounded by others to create crowd control.
- Tip: When entering a room, hold GRP to scan for lootable items (yellow outline) and hidden audio logs/video recordings.
- Why it works: GRP scanning highlights all interactable objects, including ammo, health injectors, and lore items behind furniture or in dark corners.
- When to use: At every new area. Scanning costs no resource and reveals secrets.
- Tip: Use the Stun Baton as your primary weapon for the first three chapters. Ranged weapons are for emergencies or specific enemies.
- Why it works: Melee has infinite ammo (uses stamina). Ammo for pistol/riot gun is scarce early on. Melee combos can stagger most enemies, and heavy attacks break limbs.
- When to use: Against all non-ranged enemies until you have extra ammunition.
- Tip: Spend Callisto Credits at Reforging Stations on health injector capacity (increase max health) and GRP upgrades before weapon damage.
- Why it works: More health lets you survive mistakes; GRP is your best crowd control and instant-kill tool. Damage upgrades are negligible until mid-game.
- When to use: After each boss or major checkpoint where you die frequently.
- Tip: Most melee enemies follow a 2-3 attack combo, then pause. Dodge the first attack, wait for the second, then counter during the pause.
- Why it works: Dodging the first attack often triggers a second swing. If you counter prematurely, you get hit. Patience ensures safe retaliation.
- When to use: Against Biophage Grunts and Spitters that charge. After blocking with Block Upgrade (available later), use the same timing.
- Tip: When facing 3+ enemies, GRP one and throw it away (preferably into a wall or hazard) to temporarily remove it from combat.
- Why it works: Throwing an enemy causes it to take damage and be briefly stunned, reducing the number of threats you face simultaneously.
- When to use: In any room with multiple enemies. Prioritize throwing the ranged enemy (Spitter) first.
- Tip: The Riot Gun (shotgun) is powerful but ammo is rare. Use it exclusively against anchored enemies (that resist GRP) or when surrounded.
- Why it works: Shotgun can one-shot several enemies at close range. Pistol is better for headshots at medium range. Save shotgun shells for mini-bosses (e.g., Two-Head).
- When to use: When an enemy is about to grab you or during boss phases.
- Tip: Memorize hazard locations. When a Biophage is near a spinning fan or spike wall, GRP it in that direction.
- Why it works: These instant-kill hazards reset quickly and save significant resources. Some hazards (steam) cause stun; use that to follow up with melee.
- When to use: In combat arenas with obvious hazards (e.g., Chapter 3: Prison Entrance).
- Tip: In the GRP skill tree, prioritize "Force" (increases throw damage and distance) over "Range" (distance at which you can grab).
- Why it works: Force makes even a non-hazard throw lethal to standard enemies, essentially turning GRP into a kill shot. Range only helps you grab from farther – you can always walk closer.
- When to use: As soon as you have 800+ credits.
- Tip: Fully upgrade the Stun Baton's heavy attack (powered swing) and use it repeatedly. After the first heavy attack, the enemy is staggered – chain another heavy while they are stunned. You can often kill a Biophage Grunt with 3-4 heavy hits.
- Why it works: Heavy attacks have a longer wind-up but deal 2x damage and interrupt most enemy attacks. The stagger duration is longer than the recovery of the heavy attack, creating infinite loop.
- When to use: Against a single enemy, especially a mutated one (e.g., after using GRP to isolate).
- Tip: Unlock the Block Upgrade skill (requires 1,500 credits). Then, hold block just before an enemy's attack lands (0.2-second window). A perfect block stuns the enemy for a free gun shot or GRP throw.
- Why it works: Perfect block is riskier than dodge but leaves the enemy completely vulnerable. It also negates all damage. Combine with the Baton's block upgrade to turn defense into offense.
- When to use: When you have a clear line of sight and want to end a fight quickly. Best against enemies with slow, telegraphed attacks (e.g., the chainsaw-wielding enemy).
- Tip: After clearing an area, walk back to previous rooms before the door seals. Many rooms have hidden ammo or health that you missed. Also, breakable boxes often respawn? No, they don't, but the game has fixed loot – so revisit after upgrades that open new paths (e.g., GRP range to reach high ledges).
- Why it works: Some items are accessible only after unlocking GRP upgrades or finding keycards. Later chapters allow you to revisit via tram systems.
- When to use: After acquiring a new GRP upgrade, check previous areas for out-of-reach items (indicated by yellow outline).
- Tip: Always carry at least one Shiv (melee weapon upgrade) and one Knife (to break window locks). But the inventory is limited to 4 weapon slots plus utility. Use the GRP to scan and loot ammo first if space is tight.
- Why it works: Running out of knife means you cannot open certain shortcuts and might need to go around dangerous rooms. Shivs increase baton damage significantly.
- When to use: At Reforging Stations, craft a Shiv if you have spare parts (Scrap). Use Knives only when necessary; they are single-use.
- Tip: At Reforging Stations, you can sell ammunition for a fraction of cost (e.g., pistol ammo sells for 10 credits). If you have 50+ pistol rounds and rarely use the pistol, sell them to buy health injector capacity or GRP upgrades.
- Why it works: Credits are scarce. Selling excess ammo provides net gain, especially late-game when you have more powerful weapons (e.g., Skunk Gun).
- When to use: After clearing a large area where you collected much ammo. Leave at least 20 rounds of each type in case of sudden difficulty spike.
- Tip: When no hazard is nearby, aim the GRP throw at enemy feet (press R1/RB and flick down). This slams the enemy to the ground, leaving it vulnerable to a coup de grâce (stomp) which instantly kills most standard Biophage.
- Why it works: Ground slam does no damage but immobilizes the enemy for 2 seconds – long enough to run up and press the stomp button (circle/B). Stomp costs no ammo and bypasses armor.
- When to use: Against enemies with helmets or reinforced heads that resist gunfire. Or when low on ammunition.
- Tip: In boss fights (e.g., The Two-Head, Captain Ferris), use GRP to throw explosive canisters at the boss. Canisters appear only during the fight. Also, dodge their attacks with perfect timing – they have obvious wind-ups.
- Why it works: Explosive canisters deal massive damage and stagger bosses, opening them to melee combos. GRP can also pull off armor plates.
- When to use: Focus on survival first; only throw canisters during boss attack downtime.
- Tip: Train yourself to dodge, land one light attack, then immediately dodge again (assuming the enemy hasn't finished its combo). This prevents greedy damage and maintains constant pressure.
- Why it works: Many enemies have hyper-armor on certain attacks; if you attack twice, they can hit you. Single-hit then dodge keeps you safe while gradually chipping health.
- When to use: Against any melee enemy that isn't staggered by one hit (e.g., Two-Head). Requires practice.
2. Never Neglect GRP Upgrades
3. Always Scan New Rooms with GRP
4. Melee Is King in Early Game
5. Don't Hoard Credits – Invest in Health and GRP First
Intermediate Strategies
6. Learn Enemy Attack Patterns: The “Two-Hit Combo” Rule
7. Use the GRP to Separate Groups
8. Ammo Conservation: Use Riot Gun Only for Close Encounters
9. Environmental Awareness: Spikes, Fans, and Steam Vents
10. Upgrade the GRP Force First Over Range
Advanced Optimizations
11. Stagger Lock: The Heavy Attack Loop
12. Perfect Block: The “Block and Counter” Technique
13. Resource Grinding: Backtracking for Loot
14. Manage Your Inventory: Knife/Shiv Priority
15. Economy: Sell Unneeded Ammo Types
16. Advanced GRP Throw: Aim at Feet for Ground Slam
17. Boss Fights: Use the Environment and GRP
18. The “Dodge-Counter-Dodge” Rhythm
Combat Tips (Summary)
| Tip | Difficulty | Core Benefit |
|---|---|---|
| Learn dodge timing | Beginner | Avoid damage |
| Use GRP for instant kills | Intermediate | Save resources |
| Perfect block counter | Advanced | Stun locked enemies |
| Stun baton heavy loop | Advanced | Infinite stagger |
Exploration Tips
- GRP Scan every corner – loot is hidden in vents, behind pipes, under grates.
- Breakables (wooden crates, glass) often contain Scrap. Destroy them with baton.
- Audio Logs and Video Recordings give lore and sometimes unlock secret codes for safes.
- Safes require 3-digit codes found in same chapter. Write them down or check settings.
- Secret Areas are often behind locked doors requiring a Keycard (level color-coded). Return later.
- Credits are earned from enemy drops and selling Scrap at Reforging Stations. Scrap is the main currency; use it to buy upgrades.
- Health Injectors are found in blue coolers. Don't use them unless health is below 50% – they are rare.
- Ammo types: Pistol (9mm), Riot Gun (Shells), Skunk Gun (Slugs), and Batteries (for GRP recharge). Batteries are infinite in GRP charging stations, but portable batteries are limited.
- Upgrade Priority: GRP Force > Health Capacity > Baton Damge > Weapon Damage.
- Dodge is your best friend – practice against the first enemy repeatedly.
- Don't rush – exploration yields more resources than speedrunning.
- The difficulty spike in Chapter 6 (below storage) is real; ensure you have 300+ credits and 5+ health injectors before going down.
- Rebind controls (optional) for easier GRP use – put it on L1/LB instead of default.
Resources & Economy Tips
Build Recommendations
Survivor Build (Beginner-Friendly): Focus on +Health, GRP upgrades, and Baton heavy attack. Ignore guns until Chapter 5.
Stealth Build (Intermediate): Upgrade GRP range to pull enemies from far away into hazards. Use Skunk Gun silenced? There is no silencer, but use GRP throws to isolate enemies one by one.
Power Build (Advanced): Max out and use the Skunk Gun (unlocked later) with damage upgrades. Combine with perfect block to line up headshots. Requires good timing.
Final Tips
---
Guide by Striking Distance Guides. Updates for patch 1.0.6 included.