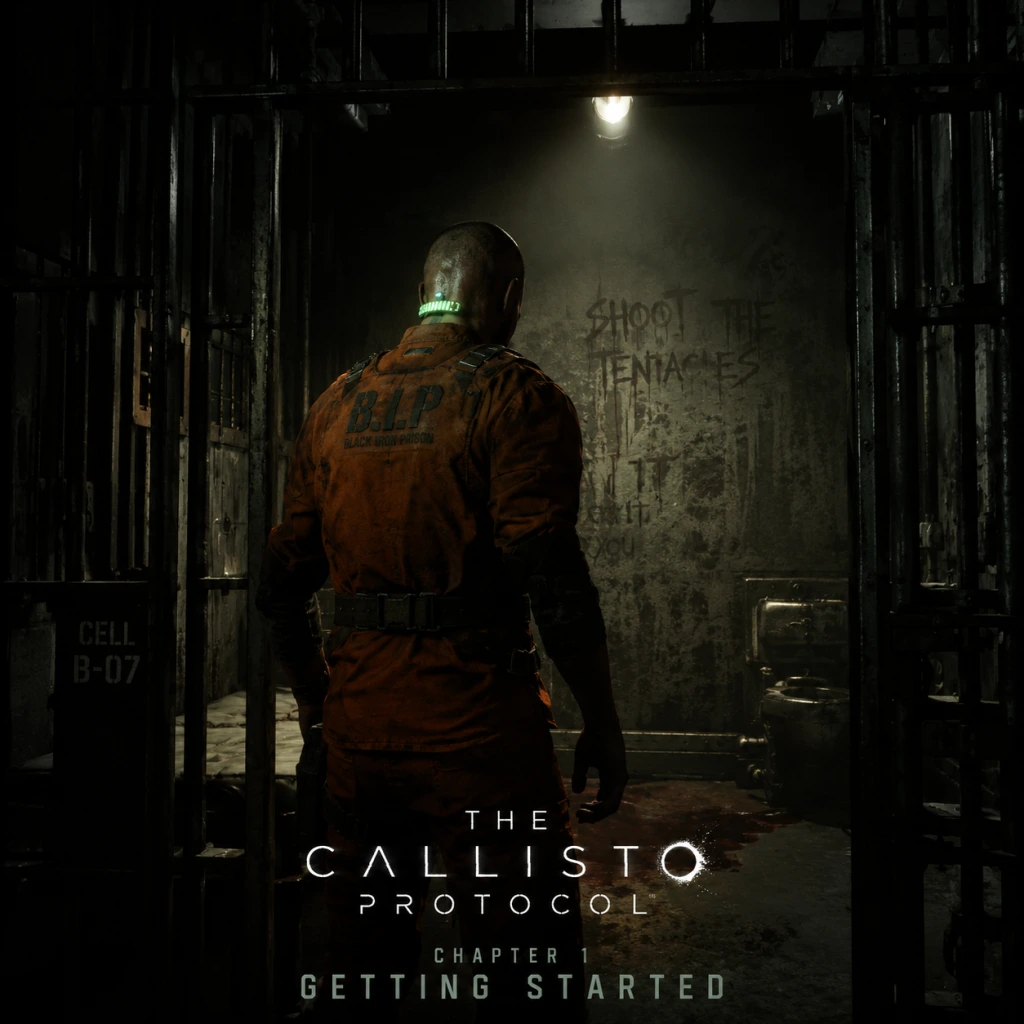
Getting Started
Getting Started Guide for The Callisto Protocol
Welcome to Black Iron Prison
You are Jacob Lee, a cargo pilot transporting a mysterious outbreak. The introduction sequence will put you in the pilot seat, then a crash, and finally waking up in a cell. This guide covers your first hour, critical early decisions, and how to survive the horrors ahead.
---
Character Creation
There is no character creation. You play as Jacob Lee — a fully voiced, pre-defined protagonist. Your choices affect story outcomes (especially in the final chapter), but you cannot customize Jacob’s appearance, gender, or backstory.
---
First Hour Walkthrough (Spoiler-Free)
1. Prologue (5 mins): Control Jacob during the cargo ship flight. Follow prompts to check cargo and interact with AI companion. A crash sequence will start automatically — don’t fight it, just watch the cutscene.
2. Wake Up in Cell (10 mins): After the crash, you regain consciousness in a prison cell. Pick up the GRP (Grip) glove from the table. This is your first key tool for environment interaction and combat.
3. First Enemy Encounter (15 mins): You’ll encounter a biophage (mutant) in a hallway. Use the GRP to grab objects and throw them at the creature — this is your primary weapon until you get a baton. Do not try to melee without a weapon.
4. Get the Stun Baton (20 mins): Shortly after the first fight, you’ll find a stun baton on a corpse. Equip it (D-pad up on controllers, number keys on keyboard). This is your main melee weapon for a while.
5. Avoid the Blind Mutant (25 mins): A huge, blind, armoured creature will patrol a dining hall. Do not attack it. Crouch (L3 on controller, Ctrl on keyboard) and move slowly behind shelves to reach the exit. Make noise? It will one-shot you.
6. First Save Station (30 mins): You’ll reach a room with a Reforge station (save/upgrade point). Always use this when you see it.
7. Meet Elias (35 mins): A fellow survivor gives you a talking watch (holographic map). Learn to toggle the map (Hold select/back/ESC) — it highlights objectives.
8. First Real Combat Tutorial (40-45 mins): A room with a giant fan and multiple biophages. Use the GRP to pull them into the fan blades for instant kills. Saves ammo.
9. Pipe Weapon (50 mins): You can craft a makeshift shotgun (the "pipe weapon") at a workbench. Do this as soon as you have 3x Large Scrap and 1x Pipe (found in early lockers). It will help immensely.
10. End of First Hour: You should be past the fan room, have the pipe weapon, and be approaching the “Habitation Decks” area. Expect a boss encounter shortly after — use your baton and GRP combo.
---
Controls (All Platforms)
#### PlayStation 5 / PlayStation 4
| Action | Button |
|---|---|
| Move | Left Stick |
| Look / Aim | Right Stick |
| Run | Hold R2 (while moving) |
| Crouch / Dodge | L1 (hold to crouch, tap to dodge) |
| Interact / GRP (Grip) | R1 |
| Attack (melee) | R2 |
| Shoot (when weapon drawn) | L2 |
| Reload | Square |
| Switch Weapon | Triangle (tap) |
| Quick Heal | D-pad Left |
| Inventory | D-pad Down |
| Map | Touchpad (hold) |
| Reforge Station Upgrades | D-pad Right / Left |
| Action | Button |
|---|---|
| Move | Left Stick |
| Look / Aim | Right Stick |
| Run | Hold RT |
| Crouch / Dodge | LB (hold to crouch, tap to dodge) |
| Interact / GRP | RB |
| Attack (melee) | RT |
| Shoot (when weapon drawn) | LT |
| Reload | X |
| Switch Weapon | Y (tap) |
| Quick Heal | D-pad Left |
| Inventory | D-pad Down |
| Map | View button (hold) |
| Action | Key |
|---|---|
| Move | W, A, S, D |
| Look | Mouse movement |
| Run | Left Shift |
| Crouch / Dodge | Left Ctrl (hold to crouch, tap to dodge) |
| Interact / GRP | F |
| Attack (melee) | Left Mouse Button |
| Shoot / Aim | Right Mouse Button (hold to aim) |
| Reload | R |
| Switch Weapon | 1-4 number keys |
| Quick Heal | Q |
| Inventory | Tab |
| Map | M (hold) |
| Reforge Station | E (interact) |
---
UI Overview
1. Health Bar: Top-left corner. Red when damaged. Use health injectors to restore.
2. Ammo Count: Bottom-right. Shows current magazine and reserve ammo for equipped weapon.
3. GRP Energy: Bottom-center, below health. A glowing white circle — depletes when you use Grip to throw objects or enemies. Recharges over time.
4. Crosshair: Center of screen. Turns red when aiming at an enemy. White for objects.
5. Enemy Health Indicators: Occasionally appear above enemies as small red bars (especially bosses).
6. Objective Marker: A yellow diamond icon floating in the world — follow it for main story.
7. Map (Hold): Overhead view with objective waypoint, locked doors, and points of interest. Use it often.
8. Audio Cues: Use headphones. Enemy growls, breathing, and audio logs are critical for survival.
---
Essential Early Objectives
- Find the GRP glove (first room after prologue)
- Pick up the stun baton (shortly after first enemy)
- Reach the first Reforge station (save and upgrade)
- Craft the pipe weapon (requires Pipe + 3 Large Scrap)
- Meet Elias (get the map watch)
- Disable the fan safety lock (to use fan as weapon)
- Escape the dining hall without alerting the blind mutant
- Unlock doors with GRP (pull on red handles)
- Find audio logs and data pads for lore and experience (used to unlock upgrades)
- Use the environment as a weapon: GRP enemies into spikes, fans, open reactors — saves bullets.
- Dodge, dodge, dodge: Enemies telegraph attacks. Tap dodge (L1/LB/Left Ctrl) sideways when they lunge.
- Check every corner: Scrap, health injectors, and ammo are scarce but often hidden in lockers, under desks, or behind breakable containers.
- Upgrade GRP capacity first: It helps in combat and puzzles.
- Save at every Reforge station: The game auto-saves only at checkpoints — manual saves prevent long backtracking.
- Listen to audio logs: They provide background and occasionally hint at secret paths.
- Do not rush into groups of enemies: Even two biophages can kill you in seconds. Use GRP to separate them.
- Do not waste large scrap on the stun baton: Save for the pipe weapon and later upgrades.
- Do not attack the blind mutant in the dining hall: You cannot kill it. Stealth is mandatory. Crouch and move slowly.
- Do not ignore quick heals: D-pad Left (or Q on PC) uses a health injector instantly. Health packs take longer but are more efficient.
- Do not forget to reload: Ammo is scarce; you cannot afford to get caught empty.
- Do not stay in the open when a swarm is near: Find narrow corridors where enemies must funnel.
---
What To Do First / What To Avoid
#### ✅ DO:
#### ❌ AVOID:
---
Early Resource Priorities
| Resource | Priority | Why |
|---|---|---|
| Large Scrap | #1 | Used for crafting and upgrading weapons. You need 3 for pipe weapon. |
| Pipe | #1 | Unique component for pipe weapon. Found in first area (near a dead guard). |
| Health Injectors | #2 | Keep at least 2 in inventory. Use when health drops below half. |
| Ammo (Handgun/Shotgun) | #3 | Don’t hoard too much early — some ammo racks give more if you leave them until you have low ammo. |
| Small Scrap | #4 | Used for minor upgrades or sold at Reforge stations. |
| Biophasic Gel | #5 | Only needed for certain upgrades — hold onto until you have a clear plan. |
---
Common Beginner Mistakes
1. Trying to melee without timing dodges: The stun baton combos are powerful only if you dodge and counter. Spamming attack will get you killed.
2. Ignoring the GRP: It’s not just for puzzles — throwing heavy objects at enemies stuns them, and throwing them into hazards kills instantly.
3. Wasting ammo on weak enemies: Use the baton for basic biophages; save bullets for harder ones.
4. Not reading logs: Story progression often depends on finding keycards or codes hidden in emails/audio logs.
5. Rushing through rooms: Hostiles are often placed where you can’t see them — move slowly and listen.
6. Forgetting to upgrade at Reforge stations: You can upgrade weapon damage, melee speed, and GRP range. Check every station.
7. Using quick heal in front of enemies: The animation leaves you vulnerable. Only heal when behind cover or after dodging.
---
Day-One Checklist
- [ ] Complete prologue and reach the prison cell.
- [ ] Equip the GRP glove immediately.
- [ ] Pick up the stun baton.
- [ ] Craft the pipe weapon before the first major combat area.
- [ ] Save at the first Reforge station (and every subsequent one).
- [ ] Learn to dodge (practice with the first enemy in the hallway).
- [ ] Check all lockers and breakable objects in the first three rooms.
- [ ] Read the audio log about “The Outbreak” and “Prisoner 234”.
- [ ] Use the map to locate the yellow objective.
- [ ] Avoid the blind mutant in the dining hall — crouch and sneak.
- [ ] Upgrade GRP capacity at the first Reforge station (if you have enough scrap).
- [ ] Familiarize with the inventory system — D-pad down or Tab to see items.
- [ ] Set brightness/gamma as recommended (ensure dark areas are visible but not washed out).
- [ ] Adjust audio: enable 3D audio if supported, increase dialogue volume.
- [ ] Play with a controller for best dodge experience (PC players note that keyboard dodging feels less fluid).
- Crowd control: Use GRP to throw one enemy into another to knock both down.
- The pipe weapon has a unique alt-fire: Keep aiming (LT/L2/RMB) while holding the button to charge for a more powerful shot (uses 2 ammo).
- Revisit earlier areas after getting new abilities: Some locked doors can be opened later with higher GRP levels.
- If you die often, lower the difficulty — the game’s combat is unforgiving even on normal. You can change it in options without losing progress.
- Turn on “Auto-Quick Heal” if you panic — found in options > gameplay. It will automatically use a health injector when health is critical (but wastes resources).
---
Final Pro Tips for Newcomers
Welcome to Black Iron Prison, Jacob. Make it out alive.
---
For more detailed combat, exploration, and boss strategies, see our other guides.