Getting Started
Overview
This guide covers The Last of Us Part I (PS5, PC) and The Last of Us Part II Remastered (PS5). New players often feel overwhelmed by the tense stealth, scarce resources, and brutal combat. This guide walks you through the critical first hour, explains every control scheme, and gives you a clear day‑one checklist so you survive the apocalypse with confidence.
---
Game Introduction
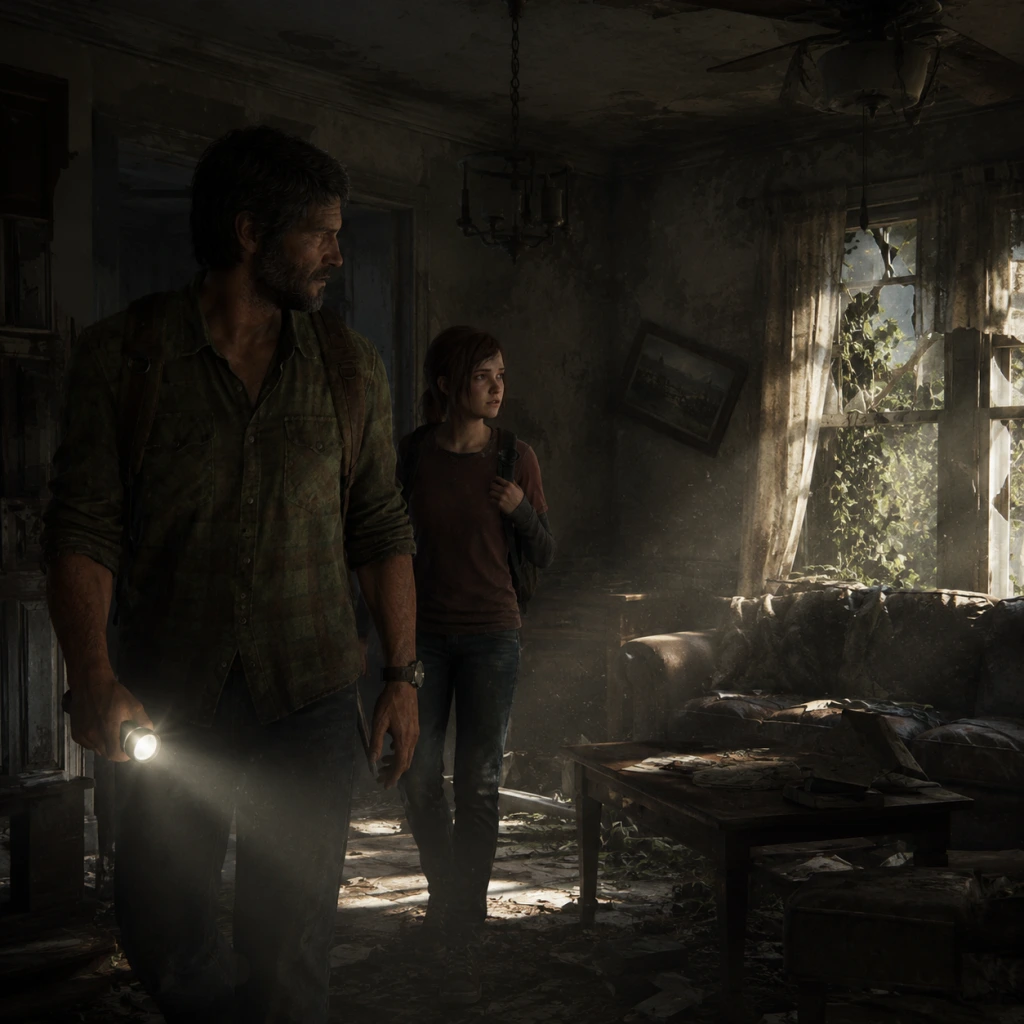
The Last of Us is a story‑driven action‑adventure set in a post‑apocalyptic world ravaged by a fungal infection. You play as Joel, a hardened survivor, tasked with smuggling a teenage girl, Ellie, across the country. Stealth, resource management, and brutal combat are central. There is no character creation—you step directly into Joel’s shoes.
---
First Hour Walkthrough (Spoiler‑Free)
1. Opening Cinematic (5 min) – Pay attention to the context: the outbreak, Joel’s trauma. No gameplay yet.
2. Tutorial Section – Sarah (15 min) – You control Sarah, Joel’s daughter, inside their house. Learn basic movement (left stick), camera (right stick), and interact (triangle on PS / E on PC).
3. Escape Sequence (10 min) – The outbreak hits. Follow Tommy, navigate chaos, avoid infected. This teaches you run and crouch (L3). Quick‑time events appear; mash the button prompt.
4. Time Skip – Boston (20 min) – 20 years later. Joel meets Tess. You learn combat basics: punching (R2), aiming (L2), and shooting (R2 while aiming). The tutorial tells you to sneak and listen mode (R1).
5. First Fight – Rooftop (10 min) – You face a few infected. Practice stealth kills (approach from behind, click R1 when prompt appears). Use bricks/bottles to distract (R2 to throw). End the hour by reaching the safe house with Tess.
Key takeaway: The first hour is linear and teaches you every core mechanic. Don’t rush—learn the controls here.
---
Character Creation
There is no character creation in The Last of Us. You play as a predetermined character (Joel in Part I, Ellie in Part II). You can unlock outfits via New Game+ or collectibles, but these are purely cosmetic and don’t affect gameplay.
---
Controls – All Platforms
PlayStation 5 (DualSense)
| Action | Button |
|---|---|
| Move | Left Stick |
| Look / Aim | Right Stick |
| Sprint | L3 (press left stick) |
| Crouch / Stand | L3 (hold while moving) |
| Listen Mode | R1 (hold) |
| Melee / Grab | R2 |
| Shoot (while aiming) | R2 |
| Aim (weapon) | L2 |
| Reload | Square |
| Interact / Pick Up | Triangle |
| Weapon Quick‑Swap | L1 |
| Craft / Backpack | Up on D‑Pad |
| Molotov / Throwable | R1 (tap) |
| Flashlight | Down on D‑Pad |
| Heal / Use Health Kit | R2 (while health kit selected) |
| Pause / Menu | Options |
PC (Keyboard + Mouse)
Default keybinds (can be remapped):
| Action | Key |
|---|---|
| Move | W,A,S,D |
| Look | Mouse movement |
| Sprint | Shift |
| Crouch / Stand | Ctrl (hold) or C (toggle) |
| Listen Mode | Q (hold) |
| Melee / Grab | E |
| Shoot | Left Mouse Button |
| Aim | Right Mouse Button |
| Reload | R |
| Interact | F |
| Weapon Quick‑Swap | Mouse Wheel or 1‑4 |
| Craft / Backpack | Tab |
| Throw Brick/Bottle | G |
| Flashlight | B |
| Heal | H (hold) |
| Pause / Menu | Escape |
---
UI Overview
Your Heads‑Up Display (HUD) is minimal and contextual:
- Health Bar – Bottom‑center. A gray circle represents health; darker segments mean injury. No numbers – watch for character limping.
- Weapon & Ammo – Bottom‑right shows equipped weapon, ammo count, and type.
- Listen Mode Indicator – When you hold R1/Q, a white ring expands from your character. Enemies silhouettes show through walls (not behind cover).
- Crafting Menu – Press Up/Tab. Shows available materials and recipes (health kits, shivs, molotovs, etc.).
- Backpack – Same menu. View items, collectibles, notes.
- Compass – Top‑center, shows cardinal directions and quest markers.
- Ammo Counter – Very subtle. Reload often.
- Context Prompts – Triangle/F appears when you can interact.
- Survive the tutorial without wasting ammo – use melee and stealth.
- Reach the Capitol Building with Tess and Ellie.
- Learn to scavenge – always search drawers, cabinets, and bodies. Resources are scarce.
- Craft a shiv as soon as you find scissors and binding – shivs open locked doors and kill clickers silently.
- Use listen mode (R1/Q) constantly to track enemies behind walls.
- Avoid direct combat – stealth is your best friend.
- Explore every room – resources are hidden everywhere.
- Break wooden boards and other obstacles with melee attacks – they often hide supplies.
- Upgrade your backpack as soon as you find enough tools (found in workbenches or tools lying around).
- Collect artifact notes – they provide lore and sometimes clues to stashes.
- Use bricks/bottles to distract enemies – throw them to create noise, then sneak past or attack from behind.
- Craft health kits early – you can carry only 3 at a time.
- Rushing through areas – you’ll miss supplies and trigger enemy ambushes.
- Wasting bullets – ammo is extremely rare. Only fire when absolutely necessary.
- Ignoring listen mode – it’s your best tool for stealth.
- Fighting infected in open spaces – lure them into corridors or use bottlenecks.
- Skipping workbenches – they let you upgrade weapon handling (reload speed, clip size, etc.).
- Neglecting the “clicker” danger – clickers are blind but deadly up close. Always kill them with a shiv or a well‑placed bullet to the head.
- Holding the flashlight on – enemies (especially infected) can see light. Toggle it off when you hear enemies nearby.
- Not using listen mode often enough – it recharges quickly and reveals enemy positions. Use it every few steps.
- Gunfighting with hunters – humans can also hear and spot you. Use stealth kills or bricks to distract.
- Standing still when infected charge – always move sideways; they lunge straight.
- Forgetting to upgrade your melee weapon – a fully upgraded bat or pipe can one‑hit kill many enemies.
- Not saving the game manually – autosave is frequent, but you can also quicksave (PC: F5, PS5: Pause > Save). Do it before a big fight.
- Ignoring environment traps – you can throw bricks at explosive barrels near enemies to trigger explosions.
- [ ] Watch the opening cutscene and control Sarah (learn movement/interact).
- [ ] Survive the escape sequence (practice running and crouching).
- [ ] Reach the Boston capitol area timeline.
- [ ] Learn combat basics: melee, aim, shoot, and stealth kill.
- [ ] Use listen mode at least 10 times to track enemies.
- [ ] Find and craft your first shiv (scissors + binding).
- [ ] Upgrade one weapon at a workbench (preferably the pistol’s reload speed or the shotgun’s clip size).
- [ ] Collect all resources in the very first apartment building (check every drawer).
- [ ] Read a note or artifact (to understand the world).
- [ ] Save the game manually after the tutorial.
- [ ] Practice stealth – kill 3 enemies without being detected.
---
Essential Early Objectives (First 2 Hours)
---
What to Do First – What to Avoid
✅ Do First
❌ Avoid
---
Early Resource Priorities
Resources are finite. Prioritise:
1. Binding – used in health kits, shivs, and molotovs. Always pick up binding.
2. Scissors – combined with binding to make shivs (essential for clickers and locked doors).
3. Rag – used for health kits and molotovs.
4. Alcohol – for molotovs and health kits. Very valuable.
5. Blades – upgrade melee weapons (only when you have a weapon to upgrade).
6. Pills – found in specific locations; use them at the skill menu (press Options -> Skills) to improve health, weapon sway, listening range, etc.
Tip: Don’t craft everything immediately. Sometimes you need a molotov for a boss‑like encounter later.
---
Common Beginner Mistakes
---
Day‑One Checklist
When you start a new game, complete these steps within your first session:
Once you’ve done these, you’re ready to face the rest of the game. Good luck, survivor.