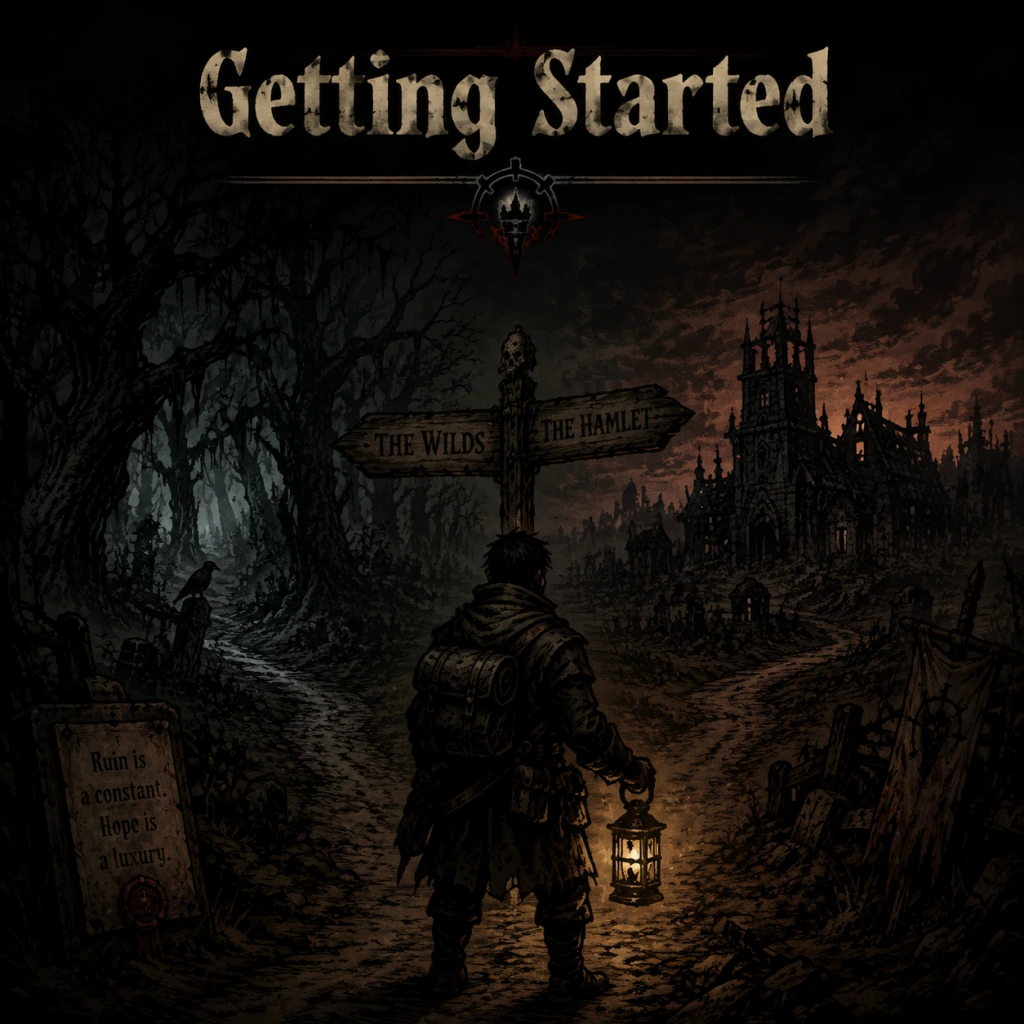
Getting Started
Getting Started with Darkest Dungeon: A Newcomer's Guide
Welcome to Darkest Dungeon, a game that revels in punishing your decisions and testing your resolve. This guide is crafted to help you survive your first hour, understand the core mechanics, and avoid the most common pitfalls. There's no character creation here—your heroes are randomly generated with names, quirks, and flaws. Your job is to manage their sanity, health, and resources through turn-based tactical combat and exploration.
First Hour Walkthrough (What to Do Minute by Minute)
1. Watch the opening cutscene and tutorial messages. Pay attention to the narrator—he sets the tone. You'll be dropped into the Hamlet (your hub).
2. Interact with the Stagecoach (top-left of the Hamlet). This is where you recruit new heroes. You'll get four free heroes immediately: a Plague Doctor, a Highwayman, a Vestal, and a Crusader—a balanced starting party.
3. Enter the Hamlet buildings to see the options: The Guild (upgrade skills), Blacksmith (upgrade weapons/armor), Survivalist (camping skills), Sanitarium (remove stress/quirk treatment), and Abbey/Bar (stress relief). You can't upgrade anything yet—you have no heirlooms or gold.
4. Open the Mission Board (bottom-right of the Hamlet, in the ruins icon). You'll see a single mission available: Short, Apprentice level, in the Ruins titled "We Are the Flame" or similar. This is your first expedition.
5. Assemble your party. Drag your four starting heroes from the roster (top bar) into the four party slots. Ensure the Vestal (healer) is in a back row (position 3 or 4) and the Crusader (tank) in front (position 1).
6. Go to the Provisions screen. Buy a shovel (1 gold), 2-4 torches, 2-4 food, maybe a key or two. Don't overspend—you only have 2,500 starting gold. Avoid buying bandages or antivenom on your first run.
7. Enter the dungeon. The game auto-saves. You'll start in the first room. Your objective is to complete the room battles, explore corridors, and reach the final boss room (usually a small room with a mini-boss).
8. Manage your light level. Keep the torch meter (top center) above 75% for easier combat and scout chance. Use torches (from inventory or found) to increase light. Letting light fall to 0% makes enemies stronger and stress more common.
9. Use combat skills wisely. The Highwayman's "Pistol Shot" is great for back-line enemies. The Plague Doctor can stun or apply blight. The Vestal heals with "Divine Grace." The Crusader deals stress damage with "Zealous Accusation" and can attack front ranks.
10. When you finish the quest objective, you can continue exploring optional rooms for loot, but don't overextend. Retreat if your team is high stress or low health—click the white flag icon in the top-right menu.
11. Return to Hamlet. Any surviving heroes gain XP and loot. You'll receive gold, heirlooms, and trinkets.
Controls on All Platforms
- PC (Keyboard + Mouse): Click to move, select, and interact. Right-click for context menus. Hit `Tab` to cycle through heroes. `Spacebar` to confirm actions. `F1-F4` for hero skills. `R` to retreat. `M` for map. `I` for inventory. `Esc` for menu.
- PC (Controller): Xbox/PlayStation layout recommended. Left stick to navigate; A/Cross to confirm; B/Circle to cancel; right stick or D-pad for menus; triggers for shortcuts.
- PlayStation (PS4/PS5): D-pad or left stick for movement; X to confirm; Circle to cancel; Square for inventory; Triangle for map; R1/L1 to cycle heroes; Options for pause menu.
- Xbox One/Series: D-pad or left stick; A to confirm; B to cancel; Y for inventory; X for map; RB/LB to cycle heroes; Menu button for pause.
- Nintendo Switch: Left stick/D-pad for movement; A to confirm; B to cancel; Y for inventory; X for map; L/R to cycle heroes; + for menu.
- Mobile (iOS/Android): Tap to move/select; swipe for camera; pinch to zoom; special UI buttons for actions (retreat, inventory, map).
- Top-left: Stagecoach (recruit new heroes).
- Center-left: Guild (upgrade skills).
- Center-right: Blacksmith (upgrade weapons/armor).
- Bottom-left: Survivalist (unlock/upgrade camping skills).
- Bottom-center: Sanitarium (treat diseases, remove negative quirks).
- Bottom-right: Abbey, Tavern, and Nomad Wagon (stress relief, trinkets, supplies).
- Right side: Roster bar showing all available heroes.
- Top-right corner: Mission Board (select expeditions).
- Top bar: Torch light level, party health/stress bars, dungeon timer.
- Bottom bar: Inventory, equipped trinkets, map toggle, retreat button.
- Combat screen: Turn order at top left, hero skills at bottom, enemy portraits above.
- Left of combat: Party status icons (buff, debuff, disease, etc.).
- Accept the first mission and complete it without spending gold on unnecessary provisions.
- Buy a shovel before every dungeon (to clear piles of rubble that block paths).
- Use torches to keep light above 50% at least.
- Focus on upgrading the Stagecoach and the Guild.
- Use the Plague Doctor's Blinding Gas (stun) and the Vestal's healing every fight.
- Don't take medium or long missions until you have upgraded heroes and equipment. The enemy difficulty scales dramatically.
- Don't ignore your heroes' stress levels. A hero with 100 stress may become afflicted (paranoid, masochistic, etc.) and harm the party.
- Don't waste gold on expensive trinkets from the Nomad Wagon early on. You'll find plenty of decent ones in dungeons.
- Don't let a hero die if you can retreat. Losing a high-level hero is a heavy setback.
- Don't neglect the Camping mechanic (for long missions only). In medium+ dungeons, camping can heal stress and buff party, but it's complex for beginners.
UI Overview
When you first arrive at the Hamlet, you'll see a central square with several buildings:
During a dungeon:
Essential Early Objectives
1. Complete your first Short mission in the Ruins. This unlocks the Stagecoach upgrade (more heroes per week).
2. Upgrade the Stagecoach network as soon as possible—recruiting more heroes gives you flexibility and replaces those who die or go mad.
3. Gather Heirlooms (Busts, Portraits, Deeds, Crests) to upgrade the Guild and Blacksmith. Prioritize the Guild first for skill upgrades.
4. Manage stress. After each mission, send stressed heroes to the Abbey or Tavern for relief (costs gold). Don't let stress reach 100—they'll develop afflictions or worse.
5. Learn to retreat. If a fight is going badly or your party is too stressed, retreat. You keep what you've looted (usually). Live to fight another day.
What to Do First and What to Avoid
Do First:
Avoid:
Early Resource Priorities
| Resource | Priority | Why |
|---|---|---|
| Gold | Medium-High | Needed for provisions, stress relief, and upgrades. Don't hoard—spend wisely. |
| Heirlooms | High | Only way to upgrade buildings. Focus on Deeds and Portraits first (Stagecoach upgrades). |
| Provisions | Low-Medium | Only buy what you need for the mission (shovel, torches, food). Avoid splurging on holy water, medicinal herbs, etc., until you know what they're for. |
| Trinkets | Low | Don't buy early. Equip what you find. Only buy key trinkets later when you have gold to spare. |
| Skills/Weapons/Armor | Medium | Upgrade skills first (they provide powerful new options). Weapons/armor upgrades cost a lot—wait until you have a favorite hero. |
Common Beginner Mistakes
1. Overconfidence. The game punishes hubris. Every mistake compounds. Always have a plan to retreat.
2. Ignoring the party's position. Heroes can only use certain skills from certain ranks. Keep your healer in the back, your tank in front.
3. Trying to heal stress in the dungeon. Stress relief is only effective in the Hamlet (bar, abbey). In dungeons, use camping (if available) or abilities like the Jester's "Battle Ballad" that reduce stress over time.
4. Not using the torch to increase light. Darkness makes enemies stronger and gives you less loot. Keep the torch up.
5. Blowing all your gold on stress relief. A moderate amount is fine, but you need gold for provisions and upgrades.
6. Failing to retreat when things go south. Pride gets heroes killed. If you lose one party member, consider retreating to save the rest.
7. Underestimating the importance of accuracy. A miss wastes a turn. Upgrade weapons and skills to boost accuracy.
Day-One Checklist
- [ ] Complete tutorial and watch intro.
- [ ] Receive starting four heroes (Plague Doctor, Highwayman, Vestal, Crusader).
- [ ] Recruit any free heroes from Stagecoach (if available).
- [ ] Accept the first Short mission in the Ruins.
- [ ] Buy provisions: 1 shovel, 2-4 torches, 2-4 food.
- [ ] Assemble your party (Vestal in back, Crusader in front).
- [ ] Enter dungeon, finish quest objective.
- [ ] Return to Hamlet (retreat if needed).
- [ ] Spend gold on stress relief for any hero above 50 stress.
- [ ] Upgrade Stagecoach network (if you have the heirlooms).
- [ ] Run one more Short Ruins mission to accumulate resources.
- [ ] Avoid any medium/long missions.
- [ ] End your session by dismissing severely broken heroes (those with many negative quirks) and replacing them new ones.
Remember: Darkest Dungeon is about managing a roster, not a single party. Embrace the grind, learn from failures, and keep your torch lit. The darkest depths await, but so do the greatest rewards. Good luck, adventurer.