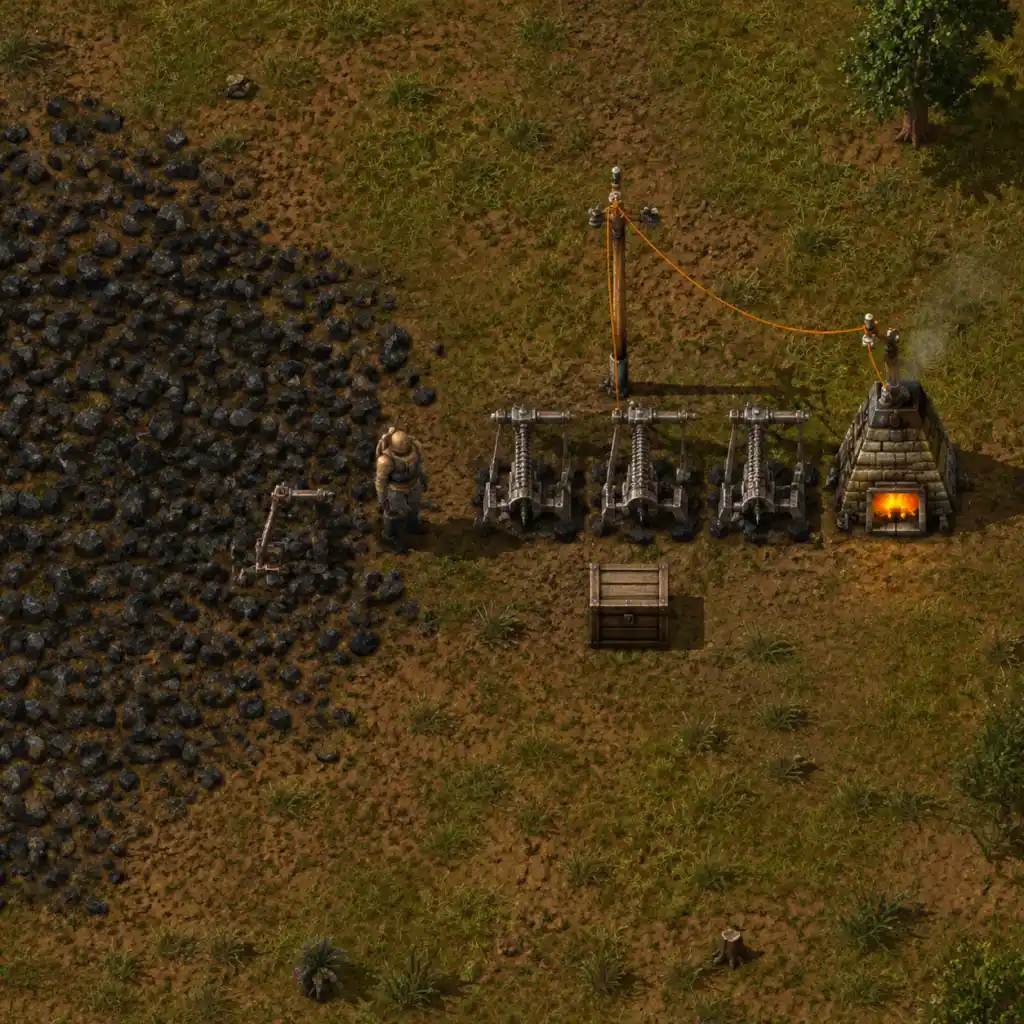
Getting Started
Getting Started
Overview
Factorio is a top-down factory simulation and automation game by Wube Software. You play as an engineer stranded on an alien planet, and your goal is to build increasingly complex factories to launch a rocket into space—while surviving hostile biters. The game is available on PC (Windows, macOS, Linux) and Nintendo Switch. There is no character creation; you start as a generic engineer. The core loop is: mine resources → smelt into plates → craft components → assemble machines → automate everything. This guide will help you survive the first hour and avoid common pitfalls.
Character Creation
Factorio has no character creation. You play as a default engineer with a blue jumpsuit. You can change your character's color in the game settings (under Interface) by toggling “Player color” to personal preference, but this is purely cosmetic and has no gameplay effect.
Controls (All Platforms)
| Action | PC (Keyboard & Mouse) | PC (Gamepad) | Nintendo Switch (Handheld/Docked) |
|---|---|---|---|
| Move | WASD | Left stick | Left stick |
| Interact / Pick up | Left click (on object) | A | A |
| Mine / Remove | Hold left click on resource/building | X (hold) | X (hold) |
| Open inventory | E | Y | Y |
| Craft menu | E + click tabs | D-pad left | D-pad left |
| Place blueprint / building | Q (to select) + left click | B (open build menu) + A | B (open build menu) + A |
| Cancel / Close | Right click / Escape | B | B |
| Rotate building | R | R shoulder | R |
| Pipette tool (copy building) | Q while hovering over a built machine | Right stick click | Right stick click |
| Run | Hold Shift + move | Hold left stick click | Hold left stick click |
| Toggle map | M | Select | Select |
- On PC, you can rebind keys in Settings → Controls. Gamepad is fully supported on PC.
- On Switch, motion controls can be enabled/disabled. Pro Controller works identically to Joy-Cons.
- Always check the Control menu for advanced shortcuts like crafting from filtered slots.
- Toolbar (hotbar): Bottom row of 10 slots (1-0). Right-click a slot to assign a filter (e.g., iron plate). Items placed here are quickly accessible via number keys.
- Quick panel: Above hotbar, shows items you can craft with current resources.
- Health & armor: Top-left, green bar is health. Grey bar is armor (if equipped).
- Mini-map: Top-right corner. Red dots = hostile biters, green = friendly, yellow = resources.
- Character screen: Press E to open. Left side shows equipment grid (armor, tools), right side is inventory (30 slots initially). Below inventory: crafting window with tabs (Logistics, Production, Intermediate Products, Combat, etc.).
- Main menu bar (PC only): At top of screen – Production stats (P), Technology (T), Map (M), Blueprints (B), etc.
- Notifications: Alerts at top center – e.g., “Biter attack detected” or “Research complete.”
- Goal 1: Automate iron plate production. Get at least 2-3 burner drills on iron ore, feeding into stone furnaces via belts.
- Goal 2: Automate copper plate production. Similar setup.
- Goal 3: Produce red science packs. Craft assembling machine 1 (or hand-craft). Aim for 1-2 labs continuously researching.
- Goal 4: Automate gear production. Hand-craft gears initially, but soon build a dedicated assembler.
- Goal 5: Set up coal mining. Coal is used as fuel for drills/furnaces and later for power. Have at least one drill on coal with a belt to your furnaces.
- Goal 6: Research Basic Automation. Unlocks more advanced recipes (green science later).
- Goal 7: Build a small wall (if needed). Only if biters are aggressive. Otherwise postpone.
- Scout your surroundings. Look for a lake or water near ore patches (needed for steam power later).
- Build everything close together initially. Walking long distances wastes time.
- Use burner inserters to feed fuel into boilers/steam engines later.
- Save often (F5 quicksave on PC, manual save on Switch).
- Don’t hand-mine for too long. The first thing you should do is place burner drills. Hand mining is inefficient after the first minute.
- Don’t build on ore patches. Keep resource fields clear for drills. Build factories next to them.
- Don’t ignore pollution. The game shows a red cloud on map; biters attack when pollution reaches them. Minimize early pollution by using efficiency modules? Not yet – just stay small.
- Don’t start with green science. Focus on red science first. Green science requires more complex infrastructure (inserters, belts) that you can hand-craft initially.
- Don’t build too many boilers/steam engines early. You don’t need electricity until you start using electric miners (research needed). Burner miners work fine for the first hour.
- Not using shift-click to quickly move items between inventories (works in chests, labs, furnaces).
- Running out of coal for furnaces. Always have a belt feeding coal to your furnaces. Use a splitter to share coal between iron and copper.
- Overbuilding belts before needing them. Start with a simple belt from drill to furnace; later you can expand.
- Crafting too many items by hand. Automate as soon as you have the resources. Hand-crafting is a time sink.
- Forgetting to fuel burner inserters. Burner inserters need coal to move items. Electric inserters are better but require power.
- Placing furnaces too far from drills. Keep them adjacent or short belt runs.
- Ignoring the map. Always know where biters are. Use radar (unlocked after red science) to reveal the area.
- Building a 'main bus' too early. Beginners often try a main bus (horizontal belts for multiple resources) before understanding ratios. For first hour, spaghetti is fine.
- [ ] Place 2-3 burner mining drills on iron ore.
- [ ] Place 1-2 burner mining drills on coal.
- [ ] Place 1-2 burner mining drills on copper ore.
- [ ] Build 4-5 stone furnaces (2 for iron, 2 for copper, 1 for stone).
- [ ] Feed coal to furnaces via belts and burner inserters.
- [ ] Craft a lab and place it near furnaces.
- [ ] Hand-craft 10 red science packs (5 copper plates + 5 iron gears).
- [ ] Research Automation technology.
- [ ] Set up a simple belt line from iron drill to furnace.
- [ ] Craft an assembling machine 1 (needs 3 iron plates, 5 iron gears, 6 circuits? Actually: cost is 3 circuits + 5 iron gears + 9 iron plates – but circuits require copper wire. Better to hand-craft red science packs until you have a circuit setup).
- [ ] Manually craft some ammunition (5 mags) and a pistol (if biters are visible).
- [ ] Find a water source (lake) within reasonable distance (for future power).
- [ ] Save the game (F5 on PC, press – on Switch and select save).
UI Overview
After spawning, you see the main game screen:
First Hour Walkthrough (Step-by-Step)
1. Spawn and assess your surroundings. You appear near your crash site. Look for iron ore, copper ore, stone, coal, and water. These are essential. The crash site itself contains some starter items (burner mining drills, stone furnaces, etc.).
2. Collect resources manually. Mine iron ore, coal, and stone by holding left click (PC) or X (Switch) on the resource patches. Also pick up any loose items (iron plates, gears) near the wreckage.
3. Place your first burner mining drill. Open inventory (E), go to “Logistics” tab, place a burner mining drill on an iron ore patch. Fuel it with coal (drag coal into its fuel slot). It will start mining automatically.
4. Build a stone furnace. Craft a stone furnace (costs 5 stone). Place it near the mining drill. Run a belt? Not yet – just feed iron ore from your inventory into the furnace by right-clicking it and adding ore.
5. Gather more resources. While the drill mines, manually mine copper and stone. Craft a second burner drill for copper.
6. Research automation. Click the Technology button (T) and start researching Automation (requires 10 red science packs). To craft red science packs: 1 copper plate + 1 iron gear wheel. You need a lab (craft from 10 iron plates + 10 iron gear wheels). Place the lab near your furnaces. Feed red science packs into it manually.
7. Expand your power (not needed yet). Early game, burner drills and furnaces only need coal fuel. Later you'll need steam engines. Ignore electricity for now.
8. Hand-craft basic items. Use the crafting window (E) to make: assembling machine 1 (needs for automation), inserters, belts, pipes.
9. Automate belt transportation. Craft transport belts and inserters. Place a belt line from your iron ore drill to the furnace, and an inserter to move ore from belt to furnace. This is the core of automation.
10. Defend yourself (if needed). If biters are near, craft a pistol and ammo (from iron plates + copper plates). Don’t overbuild walls yet.
Essential Early Objectives
What to Do First / What to Avoid
Do:
Avoid:
Early Resource Priorities
1. Iron ore – used for everything: plates, gears, pipes, structures.
2. Copper ore – for circuits, red science, later green science.
3. Stone – for furnaces, walls, and later for rails.
4. Coal – fuel for burner machines and later for plastic (but not in first hour).
5. Water – for steam power, not needed immediately but locate a source.
6. Wood – only useful for poles or early fuel. Not a priority; you can chop trees to clear space.
Priority order for automation: Iron plates → Copper plates → Coal → Red science packs.
Common Beginner Mistakes
Day-One Checklist
By following this checklist, you'll have a solid start and be ready to transition into the next phase: automating green science and scaling up.