Game Tips
Game Tips for Gears 5
Welcome! This comprehensive guide covers essential tips for mastering Gears 5. Tips are grouped by category and difficulty level (Beginner, Intermediate, Advanced).
---
General Tips
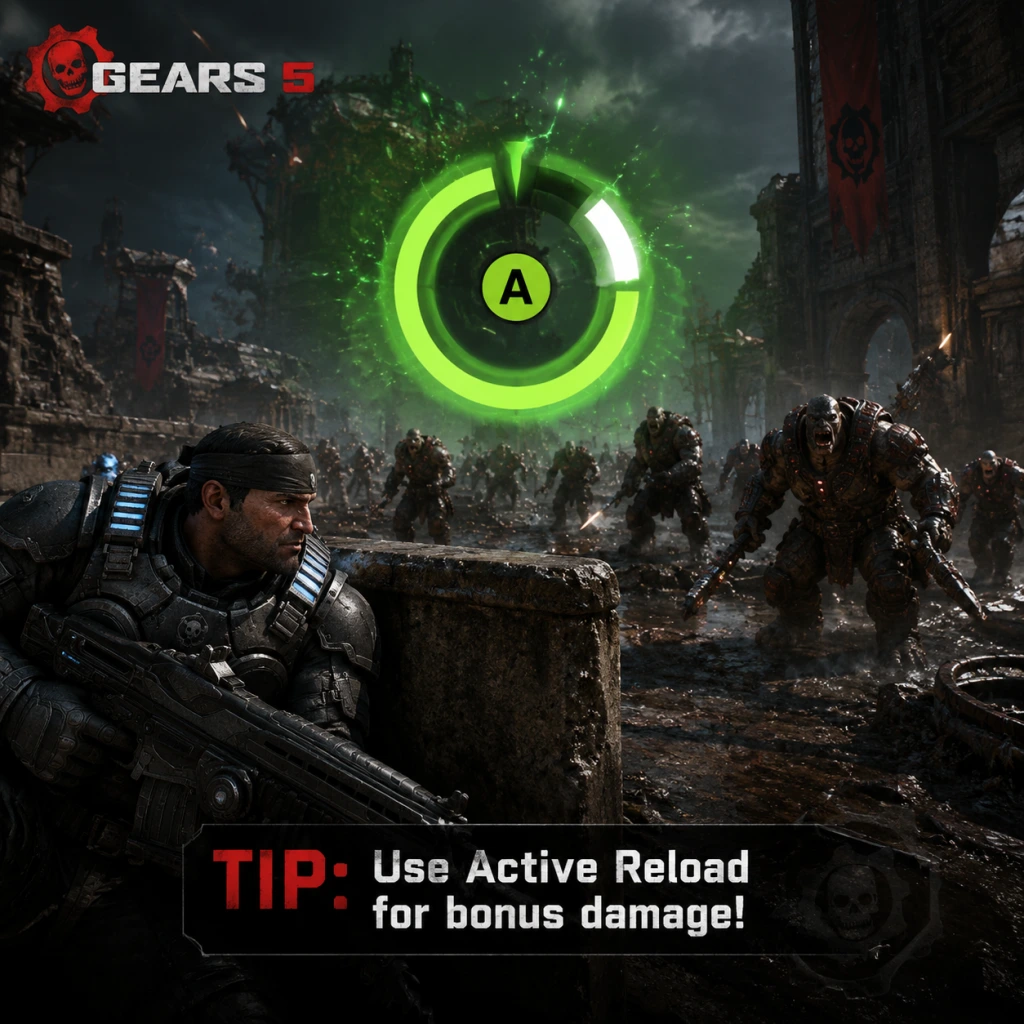
- Master Active Reload: Tap `RB` (or `R` on PC) when the reload indicator hits the white sweet spot. A successful Active Reload gives a temporary damage boost and faster fire rate. Practice this constantly—it’s a game-changer in every mode.
- Use the Tac-Com: Hold `LB` (or `Q` on PC) to see objective markers, enemy highlights, and weapon pickups through walls. In Campaign, this also marks collectibles and side missions. Always use it before entering a room.
- Slide and Cover: Hold `A` (or `Space`) to slide into cover; tap `A` to slide quickly between covers. Never stay in one cover spot for more than a few seconds—enemies flank.
- Melee to Stagger: A quick melee (`B` or `F`) staggers most enemies, allowing you to escape or execute a finishing blow. Use it to break away from a grab.
- Dodge Roll: Press `A` + direction while unholstered to roll. Use it to escape enemy fire or reposition, but avoid rolling in front of heavy weapons.
- Stay in Cover During Firefights: Never stand still in the open. Use cover to block shots and peek out to shoot. Pop out, fire a burst, then duck back.
- Shoot Drones in the Head: Headshots with most weapons instantly kill Swarm Drones. Aim for the head for quick kills.
- Use the Lancer’s Chainsaw Sparingly: The chainsaw is devastating but leaves you vulnerable during the animation. Only use it when enemies are close and unaware.
- Grenade Tagging: Hold `RB` (or `G`) to cook a grenade; release to throw. A stuck grenade on an enemy explodes after a few seconds, often killing nearby enemies. Perfect for grouped enemies.
- Flanking: In combat, don’t stay with your squad in the same cover. Circle around using side paths. Enemies focus on your allies, giving you clean shots from behind.
- Weapon Combos: Use the Lancer to down an enemy’s shield, then switch to a Gnasher shotgun for an instant kill at close range. This combo is effective against Scions and Elite Drones.
- Use Explosive Barrels: Red explosive barrels are everywhere. Shoot them when enemies are near to cause massive area damage. In Campaign, you can also kick them towards enemies.
- Execute Downed Enemies: When you down an enemy, execute them quickly (`X` or `E`) to prevent revival. In multiplayer, this denies the enemy team a revive chance.
- Weapon Swapping Mid-Combat: Keep two weapons: one for range (Lancer or Longshot) and one for close quarters (Gnasher or Overkill). Swap instantly with `Y` or `2`. Practice swapping during active reloads.
- Perfect Active Reload Timing: The damage boost from a Perfect Reload is significant. In high-difficulty Campaign, always reload before engaging a group to get the buff.
- Baiting Grenades: Fake a grenade throw to make enemies move from cover, then shoot them as they run. This works well against aggressive AI.
- Counter-Sniping: When facing sniper enemies (e.g., Snipers or Marksmen), use the Longshot from cover and time your shots between their shots. Follow a pattern: shoot, duck, reload, repeat.
- Follow the Main Path: In Campaign, the objective marker is clear. If lost, hold Tac-Com or check the map (`Tab` on PC, `View` on Xbox).
- Check Corners for Collectibles: Most collectibles (Dog Tags, COG Tags, Components) are in side rooms or dead ends. Always explore before moving on.
- Use Jack’s Abilities (Campaign): Jack can scan for secrets (`X` when in Jack mode). Use him to highlight hidden items and pathways.
- Skiff Navigation (Acts 2-4): The Skiff (wind-based vehicle) has limited oxygen; you can refill at beaches or by destroying poison pods. Plan routes to avoid storms.
- Side Missions: In open-world Acts, side missions appear as green icons. They provide skill points, components, and lore. Do them before main missions for better gear.
- Breakable Walls: Some walls are marked with cracks. Use a grenade or heavy weapon to blow them open for hidden areas.
- Time-Limited Areas: In certain locations, you have limited time before an enemy spawns or the area explodes (e.g., the sinking city). Prioritize looting and exit quickly.
- Hidden Paths: Look for ledges that can be mantled, or gaps that require a slide. These often lead to bonus chests or high-value components.
- Collect Components: These yellow items are used to upgrade Jack’s abilities. Pick up every one you see—they are valuable and often hidden.
- Don’t Hoard Credits: Credits (in-game currency) buy skill cards for Campaign and Horde. Spend them early on core cards (e.g., Ammo Regeneration, Weapon Damage).
- Salvage Components: In Horde mode, salvage is used to build fortifications and upgrade weapons. Collect it from fallen enemies and deposits.
- Prioritize Jack Upgrades (Campaign): Upgrade Jack’s Recon and Combat skill trees first. Recon reveals all collectibles on map; Combat gives offensive abilities like Stun and Zap.
- Crafting in Horde: Use the Fabricator to build barriers, turrets, and sentries. Build a few barriers early to funnel enemies, then upgrade to a turret for area denial.
- Skill Card Rarity: Skill cards have common, rare, epic, and legendary tiers. Equip cards that complement your playstyle (e.g., Sniper-focused cards for a long-range build). Re-roll duplicates at the Skill Card Forge.
- Scrap Duplicate Cards: When you have duplicate skill cards, scrap them at the Forge to earn Scrap, which can be used to level up other cards. This is the most efficient way to strengthen your builds.
- Power Management in Horde: Power is shared among teammates. Communicate who builds what. Typically, one player focuses on barrier upgrades, another on turrets, and a third on lockers.
- Gold Bars in Campaign: These rare collectibles are worth large credit rewards. They are often in hard-to-reach places. Use Jack’s high-jump to get them.
- Jack’s Skill Trees:
- Kait’s Weapons: Upgrade the Lancer and Gnasher first. The Longshot is optional—save components for Jack’s upgrades.
- Class Builds:
- Weapon Upgrade Priority: In Horde, upgrade your starting weapon first (usually Lancer) to level 4, then save for level 3 Gnasher. Turrets are more powerful than base weapons after round 10.
- Learn the Maps: Play private matches or watch killcams to learn spawn points, power weapons, and common routes. Knowledge is key.
- Stick with Teammates: Don’t lone-wolf. Follow a teammate, cross cover, and cover fires. Two players stacking cover is harder to flank.
- Use the Gnasher at Close Range: The Gnasher is the weapon of choice in Versus. For best damage, aim for center mass while moving towards the enemy. Body shots kill in 2-3 hits at close range.
- Wall Bouncing: This advanced movement technique involves rapidly sliding into and out of cover to confuse enemies. Practice in a custom game: slide into cover, then immediately press `A` in another direction. Use it to dodge bullets and close distance.
- Power Weapon Control: Power weapons (e.g., Boltok, Longshot, Boomshot) spawn at set times. Communicate with your team to secure them. Deny the enemy team the weapon by holding the area.
- Nade Placement: Place grenades on walls or floors near common choke points. When enemies walk past, the grenade detonates. Better than throwing because it stays hidden.
- Gibbing: In Versus, if you down an enemy and they are close to death, execute them with a melee or a shot to trigger a gib (explosion of gore). This denies any chance of revival and demoralizes opponents.
- Reading Enemy Patterns: Skilled players often use the same routes. Learn to predict where enemies will come from based on their team’s composition and previous engagements. Use Tac-Com to check for red outlines.
- Shotgun Trading: When two players both have shotguns, whoever aims higher wins. Fire while strafing left/right to avoid damage. If you miss, pop a smoke grenade to break line of sight.
- Save Power for Fabricator: Early rounds (1-10), spend power only on level 1 barriers and a single turret. Don’t waste on weapon lockers until later.
- Stay Together: The entire team should stay near the fabricator area. Splitting up gets you killed by Snipers and Boomshots.
- Kill the Scout First: Scout enemies (yellow glow) call in reinforcements. When you see one, prioritize them to reduce swarm spawns.
- Fortification Layout: Place barriers in a funnel shape leading to a kill zone. Place turrets behind cover or at elevated positions. Use the decoy to distract enemies while you shoot from the side.
- Weapon Lockers: Only build lockers when you have at least one maxed-out weapon. A level 4 locker costs significant power—invest in barriers first.
- Class Synergy: Combine a Demolitions (explosives) with a Mechanic (repair/faster build) and a Tactician (bonus damage to marked targets). This triples efficiency.
- Boss Wave Strategy: Boss waves (e.g., Warden, Matriarch) require special tactics. Save ultimate abilities for these. Use shock traps or sentries to slow them, then focus fire from a distance.
- Cycle Perks: In later rounds, use the Forge to upgrade your perk cards multiple times. Stack damage perks with defense adjustments as needed. For example, increase health perk if you’re being downed often.
- Map Exploits: On levels like "Blood Drive," enemies only come from 2-3 directions. Memorizing spawn points allows you to set up crossfires with minimal blind spots.
- FOV Settings (PC): Increase the Field of View to 90-100 for better peripheral vision. This helps in close quarters and when moving fast.
- Control Customization: Remap cover slide (`A`) to a paddle or mouse button for faster reactions. Many pros use quick slide configurations.
- Audio Cues: Enemies make distinct sounds: Snipers charge up, Boomshots have a loud whistle, and Grenadiers grunt before throwing. Use headphones to locate them.
- Invulnerability Frames: When performing an executed move (e.g., finishing a downed enemy), you are briefly invulnerable. Use this to survive attacks if you can guarantee the kill.
---
Combat Tips
#### Beginner
#### Intermediate
#### Advanced
---
Exploration & Navigation Tips
#### Beginner
#### Intermediate
#### Advanced
---
Resources & Economy Tips
#### Beginner
#### Intermediate
#### Advanced
---
Character Builds & Upgrades (Campaign / Horde)
#### Campaign
- Recon Tree: Prioritize Jack’s Scavenger ability (auto-pickup components) and Reveal All (highlights enemies and items). This makes exploration efficient.
- Support Tree: Flash Freeze and Repair abilities are great for defense and reviving teammates.
- Combat Tree: Zap and Stun are offensive but less useful on higher difficulties where Kait can kill quickly.
#### Horde
- Veteran: Use cards that boost Rifle damage and Active Reload. Good for all-around damage.
- Juggernaut: Focus on health, damage resistance, and heavy weapon damage. Great for tanking.
- Demolitions: Boost grenade damage and capacity. Use Explosive Jack skills for area denial.
---
Multiplayer (Versus) Tips
#### Beginner
#### Intermediate
#### Advanced
---
Horde Mode Tips
#### Beginner
#### Intermediate
#### Advanced
---
Advanced Optimizations
---
With these tips, you’ll improve your K/D ratio, clear Campaign on Insane difficulty, and dominate in Versus. Remember to practice, communicate with your team, and have fun!