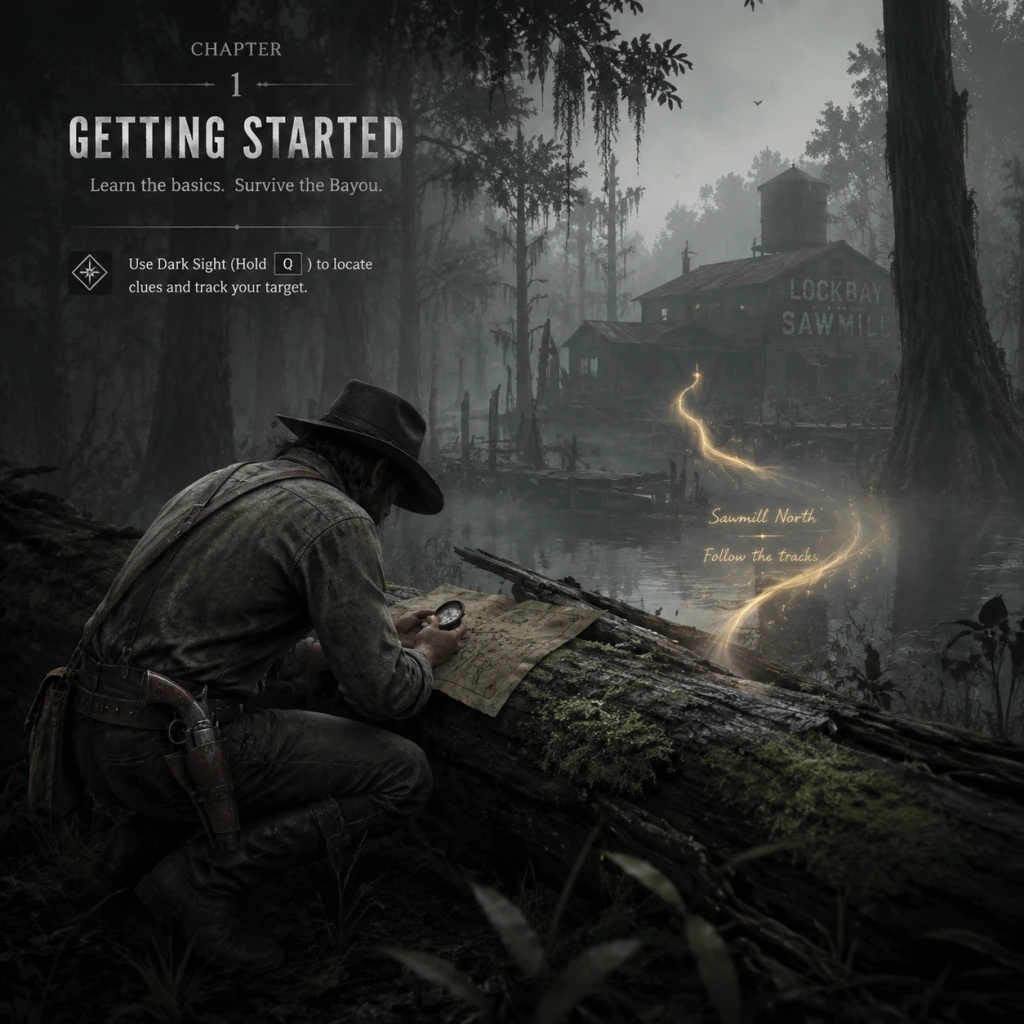
Getting Started
Getting Started Guide for Hunt: Showdown
This guide is designed to help brand-new players navigate their first few hours in Hunt: Showdown. We'll cover everything from initial setup and controls to early objectives, common mistakes, and a clear day-one checklist. By the end, you'll have the confidence to enter the bayou and survive.
First Steps & Your First Hour (Walkthrough)
1. Launch and Main Menu
After installation, launch Hunt: Showdown. You'll arrive at the main menu. The important tabs at the top are: Bounty Hunt (core mode), Quickplay (solo free-for-all), Trials (PvE challenges), Roster (manage hunters), Store (buy gear), and Settings.
2. Complete the Tutorial (Training)
Go to Trials → Training. This is a short, guided mission that teaches you movement, shooting, melee, using Dark Sight, finding clues, banishing a boss, and extracting. Complete it fully—you'll earn some Hunt Dollars (game currency) as a reward.
3. No Character Creation
There is no character creation. Instead, you recruit Hunters from the Roster screen. Each Hunter has random traits and starting gear. For your first match, use the "Free Hunter" button (located in the Roster screen). This gives you a randomly rolled Hunter with a stock loadout (usually a weak gun and minimal tools). Alternatively, you can spend $100–$200 to recruit a one-time random Hunter with better gear. For beginners, use Free Hunters until you understand the economy.
4. Enter Your First Match (Bounty Hunt)
From the main menu, click Bounty Hunt. Choose Random Team (if you want teammates), or Solo if you prefer to go alone. Matchmaking will place you into a bayou map with 12 players total. Your goal: locate clues, find and kill a boss monster, banish it, then extract with the bounty. You can also just survive and extract without the bounty—both give XP and rewards.
5. First Match Tips
- Stick to the edges of the map initially to avoid early fights.
- Follow the yellow clue beams. Interact with them until the map highlights the boss lair.
- Use Dark Sight (press the Dark Sight button) after picking up a clue—it reveals a red whisper direction towards the boss.
- Avoid shooting unless you have to; noise attracts other hunters.
- When you find the boss lair, consider waiting for another team to start the fight, then engage when they are weak. Or, if solo, try to kill the boss quietly.
- After the boss is banished, pick up a bounty token. Then head to an extraction point (shown on map as a wagon icon). Hold the extraction zone for a few seconds to extract.
- Even if you die, you may still get some rewards if you contributed to banishing or extracted with a token.
Controls (All Platforms)
The default control schemes vary by platform. You can rebind keys/buttons in Settings. Below are the essential controls:
| Action | PC (Keyboard & Mouse) | PlayStation | Xbox |
|---|---|---|---|
| Move | W, A, S, D | Left Stick | Left Stick |
| Look | Mouse | Right Stick | Right Stick |
| Shoot | Left Mouse Button | R2 | RT |
| Aim Down Sights | Right Mouse Button | L2 | LT |
| Melee | F (or V) | R3 (right stick click) or R1 | RS (right stick click) or RB |
| Reload | R | Square | X |
| Switch Weapon | Q | Triangle | Y |
| Use/Take/Interact | E | Circle | B |
| Dark Sight | Mouse Button 4 (or Middle Mouse) | Touchpad (click) | View Button (click) |
| Consumable (throw/use) | G | R1 (hold) | RB (hold) |
| Crouch | Ctrl | L3 (left stick click) | LS (left stick click) |
| Sprint | Shift | Move stick click (while moving) | Move stick click (while moving) |
| Map | M | Options/Start | Menu/Start |
| Ping | T | L1 | LB |
| Voice Chat | V (push-to-talk) or Open Mic | Built-in | Built-in |
- Use crouching often to move silently.
- The Touchpad on PS (or View button on Xbox) toggles Dark Sight—use it liberally.
- Console aim assist is very slight; practice aiming in the Training mode.
- Top-left corner: Health bars (chunks). White = healthy, red = missing, can be healed. Broken chunks (grey) require a Medkit or consumable to recover.
- Bottom-left: Stamina bar (yellow) – depletes when sprinting or doing melee attacks. Recovers over time.
- Bottom-right: Ammo counters for current weapon (left) and secondary weapon (right). Numbers in brackets are reserve ammo.
- Center bottom: Weapon/tool icons. Current tool highlighted.
- Top center: Clue count (0/3) and Dark Sight boost timer (after picking up a clue).
- Minimap: Bottom-right corner (can be opened fully with Map key). Shows your position, compounds, extracted hunters (skull icons), and loud noise events (red circles).
- Dark Sight: When activated, screen turns blue/grey. While looking at a clue your dark sight will show a red whisper direction. While holding a bounty token, you can see enemy hunters through walls as red silhouettes for a short duration.
- Extraction Point: A yellow wagon icon on the map. Stand in the glowing zone until timer completes.
- Roster: Shows all your recruited Hunters. Each has a name, level, traits (passive buffs), health, and a loadout. You can dismiss them or equip gear from your inventory.
- Store: Buy weapons, tools, consumables, and charms (cosmetic) with Hunt Dollars. Also sells legendary skins for Blood Bonds (premium currency).
- Inventory: Manage your pool of items. When you recruit a Hunter, you can equip items from your inventory.
- Blood Bond Store: Legendary weapons, hunters, and consumables. Spend real money or earn bonds through gameplay.
- Settings: Graphics, audio (important: enable "Sound mode" to stereo/headphones), controls, and gameplay options (e.g., aim assist, reticule).
- Use silent weapons when possible: silenced Winfield, crossbow, bow, or throwing knives/axes.
- Move from cover to cover. Never run in open fields.
- Check your surroundings (look behind you, listen for footsteps).
- Take cheap loadouts (e.g., Winfield C, medkit, knife, weak vitality shot).
- Play with random teammates; they can teach you callouts and tactics.
- Use the map to plan your route to extract.
- Making unnecessary noise – Don't sprint unless in combat. Don't shoot AI unless it's an emergency. Sound travels far and attracts both hunters and more AI.
- Standing still while aiming – Strafe slightly; you become an easy target if stationary.
- Engaging in prolonged fights – If you get pinned, retreat or flank. Peek-shooting against experienced players will get you killed.
- Using high-tier guns too early – Expensive weapons (like the Dolch, Mosin) are costly to replace. Stick to medium-tier until you understand the game.
- Wasting medkits on small damage – Use a weak vitality shot to heal missing small chunks; save medkits for broken chunks.
- Forgetting to bring a melee tool – A knife or knuckle knife is essential for quickly killing AI without spending ammo.
- Ignoring the clock – The match has a 60-minute timer, but extract points may be camped. Don't take too long.
- Blood Bonds (premium currency): Do not spend these early. Save them for legendary skins (cosmetic only) or later for hunter rerolls. Earn them through gameplay (challenges, daily quests).
- Hunt Dollars (main currency): Spend wisely. Prioritize:
- Upgrade Points: Unlock trait slots and traits in the progression tree. Traits like Lightfoot (quiet movement), Greyhound (faster stamina recovery), and Determination (passive health regen) are excellent for survival.
- Inventory Management: Keep a stock of cheap consumables. Don't hoard high-tier weapons—use them occasionally to practice.
- [ ] Download and install Hunt: Showdown on your platform.
- [ ] Launch the game and complete the Training tutorial (Trials → Training).
- [ ] Go to the Roster screen and click Free Hunter to claim a free random Hunter.
- [ ] Equip that Hunter: add a Knife or Knuckle Knife (if not already slotted) and at least a Medkit. If you have spare currency, buy a Weak Vitality Shot.
- [ ] Queue for your first Bounty Hunt match (select Random Team or Solo).
- [ ] In-match: locate the first clue (yellow beam), follow it, and use Dark Sight after pickup to find the boss direction.
- [ ] Avoid other players. Try to kill a few grunts for XP. If you find the boss, consider waiting for another team to engage.
- [ ] Extract with or without the bounty. Even just surviving yields XP.
- [ ] After the match, check your Roster. Your Hunter should still be alive (if extracted). Level up your Bloodline by earning XP.
- [ ] Optional: Play a second match, this time with a recruited Hunter (spend $100-200 for a better loadout).
- [ ] Watch at least one beginner tips video on YouTube (search "Hunt Showdown beginner tips 2024") to reinforce knowledge.
- [ ] Bind your control rebinds to comfort (e.g., change Dark Sight to a easy-to-reach button on PC).
UI Overview
In-Match HUD (Heads-Up Display):
Out-of-Match Screens:
Essential Early Objectives
1. Learn to kill AI quietly. Melee headshots are instant kills on most AI except Hives and Armored. Use a Knife or Knuckle Knife as a tool. Heavy melee attack (hold button) one-shots basic grunts.
2. Master following clues. Clues are glowing yellow locations. Interact with them (hold E/Interact). After 3 clues, the boss lair is revealed on the map.
3. Practice extraction. Without the bounty, you can still extract at any extraction point. Do this if you're hurt or low on ammo.
4. Learn the compounds. There are about 15 unique compounds on each map. Each has distinct layouts. In your early matches, memorize one compound's layout and nearby spawns.
5. Use Dark Sight after clues. It only lasts a few seconds, but it can show the direction of the boss, helping you navigate.
6. Prioritize survival. Your Hunter lives forever if they extract. If you die, that hunter and all their gear are lost. So focus on staying alive over getting kills.
What to Do First & What to Avoid
Do:
Avoid:
Early Resource Priorities
- Tools (always have a Medkit, a Knife/Knuckle Knife, and 1-2 consumables like Weak Vitality Shot and a blank fire decoy (for distractions) or a flare (to damage certain bosses)).
- Weapons: The Winfield 1873 C (or suppressed variant) is cheap and reliable. The Vetterli 71 Karabiner is a good mid-tier step up. Avoid shotguns as primary unless you plan to get close.
Common Beginner Mistakes
1. Over-reliance on sound cues: New players often crouch-walk everywhere to be quiet, but that makes you slow and easy to ambush. Walk normally; only crouch when you suspect nearby enemies.
2. Not using Dark Sight enough: After a clue, you have a short Dark Sight boost. Use it to check for enemies near the boss lair.
3. Forgetting to bring a melee tool: You cannot kill grunts silently without one. Throwing knives work but consume ammo; a knife is better.
4. Poor map awareness: Not checking the map regularly. Use the map every time you hear a distant gunshot or see a clue ping.
5. Peeking the same angle repeatedly: Experienced players will pre-aim. Move to a different window or flank.
6. Not burning downed hunters: If you kill an enemy hunter, you can burn their body with a flare or lantern to prevent revival. Beginners often forget this, and the enemy gets revived.
7. Extracting too early or too late: If you have no bounty and low on HP, extract. But don't extract at the nearest point if it's exposed; pick a far one if safe.
8. Buying expensive legendary hunters: Spend your early Hunt Dollars on gear, not cosmetic hunters.
Day-One Checklist
By following this guide and completing the checklist, you'll have a solid foundation to enjoy Hunt: Showdown and start improving. The bayou is harsh, but with patience and smart play, you'll quickly go from prey to predator. Good luck, hunter!