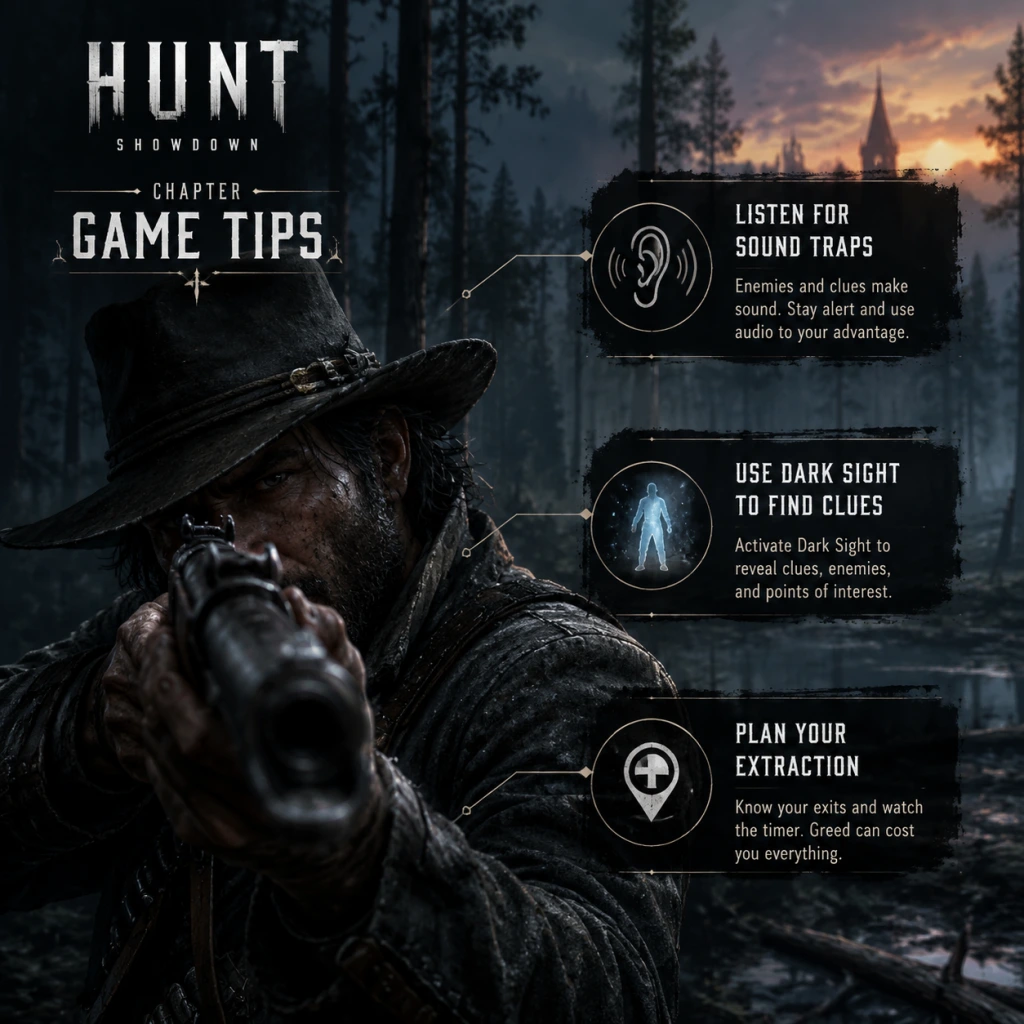
Game Tips
Game Tips for Hunt: Showdown
This guide provides a comprehensive collection of tips for Hunt: Showdown, organized by category. Whether you are a new hunter or a seasoned veteran, these strategies will help you survive the bayou and claim your bounties.
---
General Tips
#### 1. Sound is Your Most Important Sense
- Explanation: Every action you make produces sound: walking, sprinting, crouching, jumping, shooting, even ADS (aiming down sights) with certain weapons. Sound travels differently through different surfaces (water, mud, wood, metal). Use a good headset and listen carefully. Enemies can hear you from up to 100-150 meters depending on the action.
- Analysis: The game relies heavily on audio cues. Prioritize hearing over visual scanning. Crouch walking is nearly silent but very slow. Use it to sneak up on compounds or to rotate without alerting enemies. Learn the distinct sounds: a ladder creak, a dog kennel aggro, a horse neighing (horses are often near clue locations). This is the most critical skill to develop.
- Explanation: Sprinting creates a loud, distinct footstep sound and consumes stamina. Running inside a compound will alert everyone to your exact position. In open fields, you become an easy target.
- Analysis: Walk or crouch walk when approaching a compound you suspect has enemies. If you must cross an open field, use bushes or trees as cover and sprint only short distances between cover. The stamina bar is used for sprinting, melee, and jumping; keep it high for emergencies.
- Explanation: Dark Sight Boost is activated after you pick up a bounty and reveals all living hunters in a large radius (150m?) but for a limited duration (5 seconds per bounty token, usually 10 seconds for two). It also drains the bounty's health if you hold it too long.
- Analysis: Only use it to quickly check if enemies are near the extract or to scan while inside a building. Don't waste it early; save at least 4-5 seconds for the final push. Also, remember that you are visible to others when using dark sight because your character glows. Use it in short bursts behind cover.
- Explanation: Hunt: Showdown has realistic bullet travel and drop. Each weapon has a different muzzle velocity. For example, a Springfield 1866 has ~760 m/s while a Winfield Swift has ~400 m/s. Leading is essential at medium to long ranges.
- Analysis: Practice on the shooting range (available in the menu) to learn the feel of each weapon. For leads, aim roughly 1-2 player widths ahead at 50m with slower bullets. At 100m, lead more. For bullet drop, know that most rifles are zeroed to 100-150m; beyond that, aim slightly higher. Headshots are often one-hit kills but require precise aim. Use the compact ammo weapons for close-mid, long ammo for long ranges.
- Explanation: Meleeing a grunt or hive with a heavy attack is silent and doesn't alert players. Heavy attacks with a knife kill grunts in one hit; light attacks take two. Use a dusters for armored enemies (takes 3-4 heavy hits to the head).
- Analysis: Always clear AI silently when approaching a clue or compound. A gunshot will give away your position and potentially bait other hunters. Carry a knife or dusters. The heavy attack (hold left click) is more powerful. For bosses, use sticky bombs or axes, but otherwise avoid making noise.
- Explanation: When multiple teams converge on a boss lair, it's often wise to let them fight each other rather than rushing in. Wait outside, listen, and ambush the survivors.
- Analysis: This is a core PvPvE strategy. Park yourself 50-100m away from the compound in a bush or behind a ridge. Use a silenced weapon or a bow to pick off a straggler. When the fighting inside stops, the remaining team will be low on health and consumables. Wait for them to leave the building or banish the bounty, then strike. Patience wins games.
- Explanation: Clues are glowing blue points that narrow down the boss lair location. The first clue gives a general area (one of three zones), second clue narrows to a few compounds, third pinpoints the exact compound. A clue can be "banished" (greyed out) if another team already took it.
- Analysis: Move quickly to the center of the map first; clues are usually in fixed locations but can spawn anywhere. If you see a clue already taken, it means a team is ahead of you. Consider a more cautious approach or rotate to a different compound. Use the map to plan your route – avoid open fields and high-traffic areas. The map has many POIs (points of interest) like the Reeker, Healing Waters, etc. – these are good for looting but dangerous.
- Explanation: Each compound has unique buildings, windows, and roof access. Know where sniping spots are, where to hide inside, and where exits lead. For example, in Port Reeker, the lighthouse offers elevation but is a death trap if camped.
- Analysis: Spend time in Quickplay (Soul Survivor) to learn compounds without risk of losing your hunter. In Bounty Hunt, memorize the entrances, sound traps (horse, dog/chicken coops, metal scrap piles), and typical boss spawns. Use this knowledge to predict enemy movements. For instance, if you hear a dog kennel go off at a compound, you know someone just entered that area.
- Explanation: Compounds often have lootable ammo boxes, toolboxes, first aid kits, and cash registers (worth $200-$1000). Cash registers make a distinct high-pitched beep when nearby.
- Analysis: Looting is crucial for restocking consumables and earning money. Even if you are in a firefight, a quick stop at a toolbox might give you a medkit or dynamite. Cash registers are rare but always spawn in fixed spots inside compounds (like the church altar, bank vault, etc.). Memorize those spots. Also, looting dead hunters can yield their gear (weapons, consumables, money).
- Explanation: Your loadout should always include a medkit (preferably a large vitality shot) and a melee weapon (knife/dusters). Medkits heal 50 HP instantly (large) or slowly over time (small). Melee tools are essential for quiet AI kills.
- Analysis: Without a medkit, you are vulnerable to chip damage. A large vitality shot can save you in a fight by quickly healing after taking damage. Dusters are better against armored enemies than knives. Consider bringing a throwing knife or throwing axe for mid-range silent kills.
- Explanation: Common consumables: dynamite (stick, bundle, sticky), frag bomb, flash bomb, firebomb, decoys, concertina bomb, etc. Each has a different purpose. Dynamite is for area denial and killing bosses; flash bombs blind players for 3-4 seconds; firebombs block chokepoints.
- Analysis: Carry at least one explosive (dynamite or frag) to flush out campers. Sticky bombs are excellent for bosses (deals 1/3 of boss HP). Flash bombs are great for pushing into a building. Concertina bombs can block doors or create barriers. Decoys (like blank fire decoys) can mislead enemies. Manage your consumables: you start with two slots (more with traits like Packmule can give extra slots).
- Explanation: Choke bombs create a cloud that puts out fire. If a teammate is on fire (either from a firebomb or Hellhounds), throw a choke bomb on them to extinguish instantly. It also provides temporary cover.
- Analysis: Always bring at least one choke bomb for teamplay. It can save a teammate from burning to death. Also, choke bombs can be used to silence sound traps (like dog kennels) for a short duration. Very versatile.
- Explanation: Some traits are universally useful. The core four are:
- Analysis: Doctor is essential for any loadout because healing is so important. Frontier and Greyhound help with repositioning. Lightfoot makes you silent, which is invaluable for flanking. Other great traits: Fanning (for single-action revolvers), Levering (for lever-action rifles), Serpent (for interacting with clues/banishes from distance), Beastface (makes animals ignore you).
- Explanation: Carry a primary and a secondary that cover different ranges. Common combos:
- Analysis: Your primary should be your main damage dealer. Your secondary should cover its weakness. For example, a Sparks LRR (long ammo, high damage, slow fire rate) pairs well with a fast-firing compact pistol for close range. Romero (shotgun) is powerful at close range but weak at range, so pair with a medium or long rifle. Never use two long-range weapons (like two scoped rifles) because you'll be helpless up close.
- Explanation: Each hunter has up to 150HP divided into health chunks (small: 25HP, medium: 50HP). When you die and are revived, you lose a small chunk permanently for that match (unless you use a Bounty token at extraction). You can also lose health chunks from being downed multiple times.
- Analysis: It is better to have large health chunks (50HP each) than many small ones because you won't lose as much total HP per death. The maximum health is 150, which can be achieved with 1x50 + 1x50 + 1x50 or 2x50 + 1x25 + 1x25, etc. Ideally, aim for a configuration of 50+50+50 (three large bars). That way, each death loses only 50HP, leaving you with 100HP. If you have small bars, you lose 25HP per death, making you more fragile. Use health packs to heal faster. The trait "Greyhound" helps you move faster to avoid damage.
- Explanation: The main way to earn Hunt Dollars is to extract with a bounty (either a boss bounty from a boss kill or a soul bounty from other dead hunters). Bounty tokens are worth $100-200 each, plus extraction bonuses. You also get money from looting hunters, cash registers, and completing challenges.
- Analysis: Focus on survival over kills. A single bounty extraction with a token gives you $200+; killing a team but failing to extract gives nothing. If you are low on money, play Quickplay (free hunter) to earn cash without risking your own hunter. Always try to extract with at least one bounty. Additionally, the weekly challenges reward XP and money.
- Explanation: Free hunters have random loadouts (usually Tier 1 equipment). They are free to recruit and cost nothing. Use them to learn weapons or take risky plays without fear of losing money.
- Analysis: If you die with a free hunter, you lose nothing. Use them to test new guns or practice in Bounty Hunt. When you have a good Legendary hunter or a highly-geared hunter, be more cautious. Also, the free hunter's loadout often includes a medkit and duster, which are decent.
- Explanation: Bloodline XP is earned by killing enemies, looting, and extracting. As you level up, you unlock new weapons, tools, and consumables. Leveling from 1-100 is the main progression path. After 100, you prestige (reset) for a skin.
- Analysis: Focus on completing the "Book of Weapons" (kill 100 hunters with each weapon type) to permanently unlock those weapons for future generations. Also, prioritize unlocking the Sparks LRR (rifle) and Romero 77 (shotgun) early, as they are very effective. Don't rush to prestige if you want to keep all unlocks; prestige resets everything except skins and bloodline.
- Explanation: Every weapon excels at a certain range. For example, a Lebel 1886 (long ammo) is deadly at 100m+, but useless at melee range. A Romero hatchet (shotgun) kills at 10m but can't hit at 30m. Choose your fights based on your loadout.
- Analysis: If you have a long-range rifle, keep distance and force enemies to push into open areas. If you have a shotgun, get inside compounds and use corners. Never engage at a range where your weapon is ineffective. If enemies are far, reposition closer or wait for them to come to you. Use the environment: run through forests to close distance with a shotgun, or use roof tops for sniper rifles.
- Explanation: When two teams are fighting, you can often attack from an unexpected direction. The combatants are focused on each other, making them vulnerable to a flank attack.
- Analysis: Listen for prolonged gunfights. Approach carefully, staying out of the main line of fire. Use silenced weapons or bows to pick off distracted enemies. The best time to attack is when one team is reviving a downed mate. Throw a dynamite into the building or use a frag bomb. After the chaos, you can pick off the survivors.
- Explanation: Set traps with concertina bombs, poison bombs, or trip mines (if available). Lure enemies into your kill zone by making noise (like shooting near a choke point).
- Analysis: Place a concertina bomb at a doorway you expect enemies to come through. Then stand at a safe distance and fire a shot to bait them. When they run through, they get slowed and damaged, making them easy targets. Poison mines are great near clue locations because players often use dark sight. Trip mines are rare but devastating.
- Explanation: If you are playing Duos and one teammate is down, the remaining player can pick up a bounty and use dark sight to see enemy locations. This can help identify where the enemy is hiding to revive a teammate.
- Analysis: This is risky because you are holding the bounty and can be tracked by others. But if you are confident, grab the bounty quickly (if the boss is banished) and give a brief scan. Communicate the enemy positions to your downed teammate. Then try to revive. Alternatively, if both enemies are visible, you can engage more effectively.
- Explanation: In Trios or Duos, call out enemy positions using compass directions (e.g., \"Enemy north, inside the church, on the balcony\"). Use cardinal directions (N, S, E, W) relative to your position.
- Analysis: Clear callouts prevent confusion. Describe what you hear: \"I hear a dog kennel south\", \"Someone is burning a teammate at the barn\". Use the ping system (Q) to mark locations. Combine audio with visuals: \"I saw a flash behind the hay bale, pinged.\"
- Explanation: Move as a team within 20-30 meters of each other. If you are too far, you can't support each other in fights. If too close, one explosive can kill all of you.
- Analysis: Maintain spacing such that you can cover each other's angles. For example, one player watches left, another right when entering a compound. When fighting, don't all peak the same window. Try to get crossfires on the enemy. If a teammate is downed, the others should provide covering fire or smoke while the revive happens.
- Explanation: If you kill an enemy, sometimes it's better to not loot immediately. Instead, use their body as bait – camp it and wait for teammates to revive.
- Analysis: If you kill one enemy, the other teammate(s) will likely try to revive. Set up an ambush near the body. Wait for them to attempt a revive, then kill them. This is particularly effective if you have a silenced weapon or a long-range angle. Be patient; enemies may wait a long time before reviving. Use sound to your advantage: if you hear footsteps near the body, you know they are close.
- Running everywhere: Sprinting constantly makes you loud and stamina-drained. Walk more.
- Fighting every AI: AI can be avoided or killed silently. No need to shoot every grunt.
- Not using cover: Always be near a tree, rock, or wall. Never stand in the open.
- Peeking the same window: Enemies will predict that. Change positions after firing.
- Staying too long in a compound: Once you have your clues, move out. Looting is fine but don't linger.
- Reviving immediately without checking: Always scan or listen before reviving a downed teammate.
#### 2. Never Sprint Indoors or in Open Fields
#### 3. Use the Dark Sight Boost Sparingly
---
Combat Tips
#### 4. Master the Lead and Bullet Drop
#### 5. Use Melee for Silent Kills on AI
#### 6. Bait and Switch: Let Others Fight First
---
Exploration & Map Knowledge
#### 7. Understand the Clue System and Compound Rotation
#### 8. Learn Compound Layouts and Vantage Points
#### 9. Always Check for Loot and Cash Registers
---
Resources & Consumables
#### 10. Always Carry a Medkit and a Melee Tool
#### 11. Consumables: Choose Based on Playstyle
#### 12. Use Choke Bombs to Extinguish Teammates
---
Hunter Builds & Traits
#### 13. Traits: Prioritize the "Core Four"
- Doctor: Reduces health gain delay and improves healing effectiveness.
- Frontier: Increases movement speed while aiming down sights.
- Greyhound: Increases movement speed while crouching.
- Lightfoot: Reduces noise made when walking and falling.
#### 14. Weapon Loadout Synergies
- Rifle + Handgun (e.g., Sparks LRR + Conversion Pistol)
- Shotgun + Long ammo rifle (e.g., Romero 77 + Vetterli Karabiner)
- Compact rifle + Medium pistol (e.g., Winfield + Pax)
#### 15. Hunter Health: Should You Lose Bars?
---
Economy & Progression
#### 16. Earn Money by Extracting with Bounties
#### 17. Use Free Hunters as Disposable Tools
#### 18. Upgrade Your Bloodline to Unlock Better Gear
---
Advanced Strategies
#### 19. Control the Engagement Range with Weapon Choice
#### 20. Use the "Third Party" to Your Advantage
#### 21. Master the Art of the Bait and Ambush
#### 22. Use the "Bounty Skip" in Duos
---
Team Play Tips
#### 23. Communication is Key: Call Out Everything
#### 24. Stick Together but Not Too Close
#### 25. Use the "Body Trade" Tactic
---
Beginner Mistakes to Avoid
---
Conclusion
These tips cover the fundamentals of survival in Hunt: Showdown. Practice, learn map layouts, and always listen. Every death is a lesson. Good luck, hunter!