Getting Started
Overview
Little Nightmares II is a dark puzzle-platformer adventure developed by Tarsier Studios and published by Bandai Namco Entertainment. It is the sequel to the critically acclaimed Little Nightmares (2017) and expands the series' signature eerie atmosphere, tense stealth, and physics-based puzzles. You control Mono, a young boy with a paper bag over his head, who must navigate a nightmarish world while guiding the AI companion Six (from the first game) through dangerous environments. There is no character creation—Mono is fixed. The game is a pure linear experience with no upgrades, inventory, or dialogue choices.
First Hour Walkthrough (Spoiler-Free)
The first hour introduces core mechanics gradually:
1. Opening Cutscene (0-2 min): Mono wakes up in a forest, hears a voice (Six), and begins walking toward a faint light. Move forward and learn basic movement.
2. Forest & First Puzzles (2-10 min): Follow the path, climb over logs, push a rolling ball to reach a high ledge. Encounter your first interactive object: a shoe to pick up and throw to distract a dog-like creature. Learn running and crouching.
3. Entering the Hunter’s Cabin (10-20 min): Approach a dilapidated cabin. Inside, find Six hiding. She will follow you automatically. Solve a simple puzzle: pull a table, climb onto a shelf, open a door. Learn grabbing (hold and release) and climbing.
4. The Kitchen Puzzle (20-30 min): In the kitchen, avoid the Hunter (first enemy). He patrols with a shotgun. Use hiding spots (lockers, under tables). Key objective: find a key on the counter while the Hunter’s back is turned. Give it to Six who unlocks a door. Here you learn cooperative puzzle solving with Six.
5. Exiting the Cabin & First Chase (30-45 min): After unlocking the door, the Hunter spots you. A scripted chase sequence begins: run, jump over obstacles, slide under gaps. Six will help by kicking down a plank. You escape into a dark tunnel.
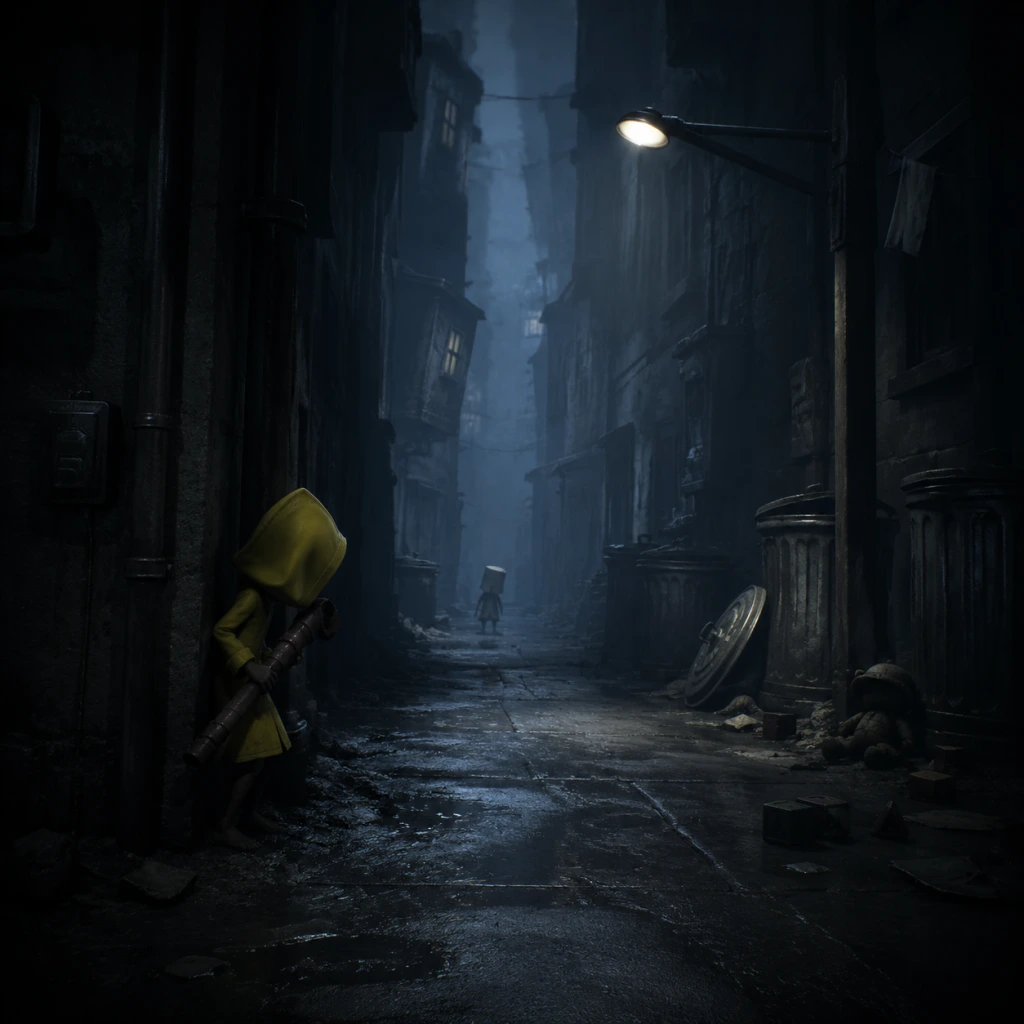
6. The Pale City (45-60 min): Exit into a rainy city street. The first hour ends as you approach a large building with flickering lights. You now have a solid grasp of movement, stealth, and interaction.
Controls (All Platforms)
Little Nightmares II uses simple controls. Below are the default inputs. Customization is available on PC; console players can remap buttons via system settings.
| Action | PlayStation (4/5) | Xbox (One/Series) | PC (Keyboard & Mouse) | Switch |
|---|---|---|---|---|
| Move | Left Stick | Left Stick | WASD | Left Stick |
| Look | Right Stick | Right Stick | Mouse | Right Stick |
| Run | Hold L3 (click left stick) | Hold L3 | Hold Shift | Hold L3 |
| Crouch/Sneak | Hold R3 (click right stick) | Hold R3 | Hold Ctrl | Hold R3 |
| Interact/Pick up | R1 or X (on PS4/5) | RB or A | E or Left Mouse Button | R or B? (Check) |
| Drop/Grab Release | R1 again or Triangle? | RB again or Y? | Q or Right Mouse Button | L or Y? (Check) |
| Pull/Push objects | Hold Interact + Move | Hold Interact + Move | Hold E + Move | Hold Interact + Move |
| Jump | Cross (PS) | A | Space | B |
| Climb (auto) | (hold move toward ledge) | Same | Same | Same |
| Slide (run + crouch) | (run then crouch) | Same | Shift + Ctrl | Same |
| Pause/Options | Options button | Menu button | Esc | + |
UI Overview
The game has a minimal UI—no health bar, stamina, or inventory. The only persistent HUD elements are:
- Control prompts (bottom center): Appear when near an interactive object (e.g., "Press E to pick up").
- Torch/Item indicator (top-left corner): Shows if you’re holding an item (e.g., a flashlight or key). Only one item can be held at a time.
- Six’s position (no icon): She follows automatically; if she lags behind, she may call out. Keep moving forward to keep her close.
- Loading screen tips: Occasional hints appear during loading.
- Find all collectible hats (Mono can wear paper hats; they are hidden throughout levels. First one: inside a hollow log early in the forest).
- Complete without dying on first playthrough is not recommended—dying is part of learning.
- Explore every corner: The game rewards curiosity with lore glimpses and hidden paths. Look behind where you came from before moving on.
- Learn to run + jump: Essential for chase sections. Practice in the forest (open area).
- Observe enemy patterns: The Hunter has a fixed patrol route. Watch for 10 seconds before acting.
- Use Six as a tool: She can push objects, hold buttons, or stand on switches. If a puzzle requires two people, wait for her to auto-position.
- Throw objects to distract: Picking up a shoe, bottle, or brick and throwing it (aim with camera, release interact) will make noise and lure enemies away.
- Don’t rush into dark areas without listening. Enemies emit breathing or footsteps.
- Don’t jump into pits unless you see a platform. Many drops are instant death.
- Don’t run constantly: Running makes noise and attracts enemies. Only sprint when absolutely necessary (chases).
- Don’t ignore Six: If she stops moving, there is likely a puzzle nearby. Wait for her prompts.
- Don’t hoard items: You can only carry one at a time. Use items immediately or drop to pick up something else.
- Items: Keys, tools (wrench, axe), light sources (flashlight, lighter). Always pick up a key when you see it. Keys are single-use for specific doors.
- Enemy attention: Use thrown items strategically. A broken bottle can be used as a sharp tool to cut ropes (later in the school level).
- Checkpoints: You don’t control them, but note that progression is saved automatically after major events. If you quit, you resume at the last checkpoint.
- [ ] Play through the first 60 minutes (ends at city entrance).
- [ ] Fully master the control scheme (try each action: run, crouch, jump, slide, interact, drop).
- [ ] Learn the Hunter’s patrol pattern in the kitchen; practice stealth.
- [ ] Find the first collectible hat (in a hollow log after the rolling ball puzzle).
- [ ] Die at least once (to understand respawn mechanics and reduce fear).
- [ ] Complete the cabin chase without pausing.
- [ ] Save at the first checkpoint after the tunnel (exit to city).
- [ ] Adjust settings: Set brightness as recommended (adjust until the image is barely visible to match intended atmosphere).
- [ ] Optionally, watch the intro cutscene again from main menu for missed details.
- Play with headphones: Audio cues (enemy footsteps, breathing, Six’s whispers) are crucial for survival.
- Take breaks: The atmosphere is tense; don’t marathon for hours. The game is best in 1-2 hour sessions.
- There are no consequences for dying—checkpoints are generous. Experiment freely.
- If stuck on a puzzle, observe the environment for 30 seconds. The solution is almost always visible.
- The game respects your intelligence. There is no handholding beyond early prompts. Trust yourself.
No ammo, health, or score. If you die, you respawn at the last checkpoint (automatic, frequent).
Essential Early Objectives
Your primary goal in the first hour is to reach the Pale City. To do that, you must:
1. Find Six (occurs automatically in the forest).
2. Get past the Hunter by solving the kitchen key puzzle.
3. Escape the cabin during the chase sequence.
4. Survive the dark tunnel (avoid traps like bear traps on the ground—indicated by subtle metal glints).
5. Exit to the city streets.
Secondary objectives (for achievement hunters):
What to Do First / What to Avoid
Do First
What to Avoid
Early Resource Priorities
There are no traditional resources (health, mana, currency). The only "resources" are:
Common Beginner Mistakes
1. Trying to fight enemies: You cannot attack. Solve puzzles and run. The Hunter will one-shot you if you stand in front of him.
2. Ignoring Six's hints: She points or vocalizes when near a hidden item or puzzle element. If she makes a sound, look around.
3. Standing in the open: Use crouch to stay quiet and hide in lockers, under beds, or inside boxes. Enemies have poor vision but excellent hearing.
4. Forgetting to drop an item before jumping: You cannot climb while holding a large object. Release it first (press drop button) then jump.
5. Pulling instead of pushing: Some objects require pushing. Experiment with both directions if stuck.
6. Overlooking climbable surfaces: Walls with handholds (cracks, pipes, chains) are marked by a slight white outline when you get close. Look up!
Day-One Checklist
For a smooth first session, complete these steps in your first hour:
Final Tips
Welcome to the Pale City. Good luck, Mono.