Getting Started
Getting Started Guide for Monster Hunter: World (Newcomers)
Welcome to the New World! Monster Hunter: World is an action RPG where you hunt giant monsters, craft gear, and explore vast ecosystems. This guide focuses on your first hours, the biggest pain points for beginners, and everything you need to survive your first day.
First Hour Walkthrough: What to Expect
Step 1: Character Creation (10-15 mins)
- Customize your hunter (appearance, voice, gender). This does not affect stats.
- Choose a Palico (cat companion) appearance. Your Palico is invaluable in combat.
- Both can be changed later with special items (but that's endgame). Take your time.
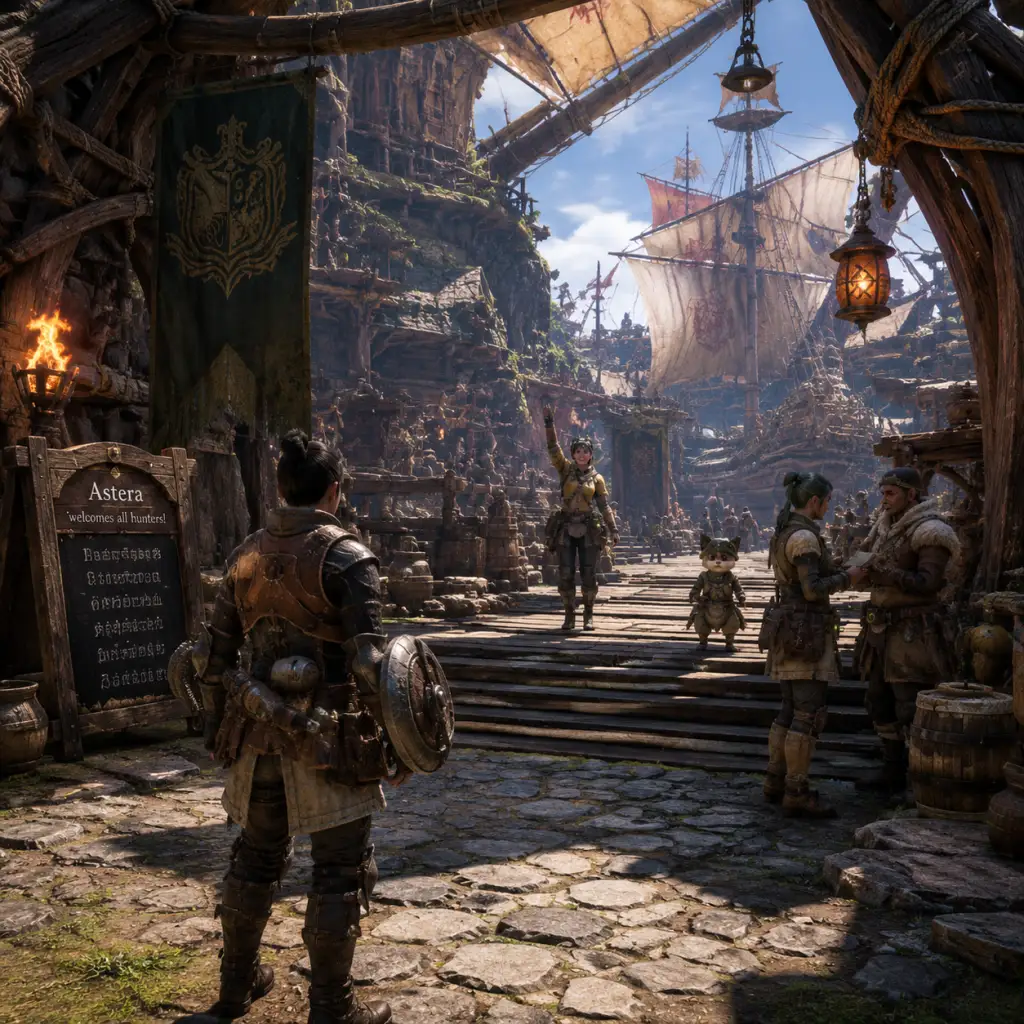
- You wake up in a ship arriving at Astera (the main hub). Follow the tutorial prompts.
- Learn to move: Left stick moves, right stick controls camera. R3 (click right stick) locks on to monsters.
- Pick up items on the ground (bones, herbs, mushrooms). Press Triangle/Y to gather.
- Speak to the quest giver (a woman with an exclamation mark) at the Research Base.
- Your first quest is to hunt small Jagras in the Ancient Forest. You start with basic equipment (Iron Sword & Shield or equivalent depending on weapon choice).
- Follow the scoutflies (green particle trails) to the monster. Attack with R2/RT (light) and Triangle/Y (heavy).
- Kill 5 small Jagras. Use the carving knife after each kill to gather materials.
- Return to camp and report to complete the quest. You earn experience and ingredients.
- Astera has several facilities:
- Accept optional quests from the Quest Board (Exclamation marks on map).
- Craft the Leather Armor set (low cost from early bones) for defense.
- Eat a meal at the Canteen before each hunt (use the Chef's Choice for balanced buffs).
- Stock up on Potions and First Aid Meds from the box in your room or the Provisions NPC.
- No wrong choices – appearance is purely cosmetic.
- Palico: Choose armor color and pattern (affects not stats, but Palico gadgets unlock later).
- Voice can be changed at the in-game item shop (Face/Barber).
- Body type: Preset options only (cannot adjust height/weight beyond presets).
Step 2: Opening Cinematic & Basic Movement (5 mins)
Step 3: First Quest – \"The Great Journey Begins\" (15-20 mins)
Step 4: After First Quest – Explore Astera (10 mins)
- Resource Center (blue icon): Bounties, investigations, and research points.
- Smithy (anvil icon): Craft and upgrade weapons/armor.
- Canteen (fork/knife icon): Eat before hunts for stat boosts.
- Provisions NPC: Buy basic items (potions, rations).
Step 5: Equip & Eat (5 mins)
Character Creation Details
Controls on All Platforms
#### PlayStation 4 (PS4)
| Action | Button |
|---|---|
| Move | Left Stick |
| Camera | Right Stick |
| Light Attack | R1 |
| Heavy Attack | R2 |
| Special Ability (weapon) | Circle |
| Evade/Sprint | X (hold) |
| Sheath/Use Item | Triangle |
| Target Lock | R3 (click right stick) |
| Interact/Gather | Square |
| Item Wheel (Hold) | L1 + left stick choose, release to use |
| Action | Button |
|---|---|
| Move | Left Stick |
| Camera | Right Stick |
| Light Attack | RB |
| Heavy Attack | RT |
| Special Ability | B |
| Evade/Sprint | A (hold) |
| Sheath/Use Item | Y |
| Target Lock | R3 |
| Interact/Gather | X |
| Item Wheel (Hold) | LB + left stick choose, release to use |
| Action | Key |
|---|---|
| Move | W/A/S/D |
| Camera | Mouse |
| Light Attack | Left Mouse Button |
| Heavy Attack | Right Mouse Button |
| Special Attack | Spacebar (while weapon drawn) |
| Evade | Ctrl (hold) or Spacebar (single tap) |
| Sprint | Shift (hold) |
| Sheath/Use Item | E |
| Interact/Gather | F |
| Item Wheel | Q (hold) + mouse move, release to use |
| Target Lock | Middle Mouse Click |
UI Overview (Essential Elements)
HUD (heads-up display):
- Top-left: Health (green), Stamina (yellow). Stamina depletes when sprinting/dodging. Eat rations to refill.
- Below health: Sharpness bar (melee weapons only). Keen weapons bounce less.
- Top-right: Mini-map with scoutflies, monster icons (eye open = monster sees you; eye closed = it doesn't).
- Bottom-left: Item bar (quick-select with directional pad on consoles, number keys on PC).
- Bottom-center: Weapon specific gauges (e.g., for Switch Axe, Charge Blade, etc.).
- Map: Shows whole area, can set waypoints.
- Equipment: Equip weapons, armor, charms, decorations.
- Items: Manage consumables, crafting materials.
- Craft List: Craft potions, traps, ammo from gathered materials.
- Hunter Notes: Monster weaknesses, ecology info.
- Eat before every quest (Canteen).
- Collect everything you see: herbs, honey, ore, bones.
- Accept bounties from the Resource Center (they reward armor spheres for defense upgrades).
- Upgrade your armor early (especially the chest piece).
- Use the Training Area to practice combos.
- Use the "Rest" option in camp to skip night cycles if you prefer daytime (some monsters are nocturnal).
- Sell materials – You need them for crafting/upgrading. Only sell excess (e.g., extra bones after you've made armor).
- Ignore the canteen – Meals give 50+ health and stamina, attack/defense buffs.
- Charge into large monsters without learning patterns – Observe first, then attack.
- Use the Defender weapon or Guardian armor (if you have Iceborne DLC). These are overpowered and will skip the learning curve, making the base game trivial but later content frustrating. Save them for NG+ or speedrunning.
- Farm the same monster endlessly – Progression is about variety. But do repeated hunts for specific rare drops.
- Herbs → Potions (healing)
- Honey → Mega Potions (more healing)
- Ore (Iron Ore, Earth Crystal) → Upgrade weapons
- Bones (Monster Bone S, M) → Craft armor
- Monster parts (scales, claws, fangs) → Gear upgrades
- Fire Herb, Ivy, Spider Web → Early traps (pitfall, shock)
- Potions (herb)
- Mega Potions (potion + honey)
- Antidote (antidote herb)
- Rations (well-done steak later for stamina)
- Paintballs (track monsters)
- Basic traps (for capturing monsters – capture rewards more parts)
- Early game: Leather set (easy to make, decent defense). Then upgrade to Bone or Alloy set.
- Focus on skills like Health Boost, Attack Boost, or Defense Boost.
- [x] Complete character creation (hunter + Palico).
- [x] Finish the tutorial quest (kill 5 small Jagras).
- [x] Explore Astera: Talk to every NPC with an exclamation mark.
- [x] Unlock the Resource Center bounties (talk to the cat near the exit to Ancient Forest).
- [x] Craft Leather armor set and upgrade with Armor Spheres.
- [x] Eat at the Canteen once.
- [x] Gather herbs, honey, and ore in the Ancient Forest during a free roam.
- [x] Complete first large monster hunt: Great Jagras.
- [x] Learn your chosen weapon's basic combos in Training Area (at least 10 minutes).
- [x] Set up your radial menu (Item Wheel) with potions, antidotes, and traps.
- [x] Save the game (auto-saves often but manual save after significant progress).
- Patience is key. You will cart (faint) – it's fine. Learn from each cart.
- Watch the monster – Every attack has a telegraph (wind-up, roar, body movement).
- Use the environment – Vine traps, falling rocks, and even other monsters can help you.
- Join a Session – Playing with others reduces pressure. Use the SOS flare or join low rank quests.
- Read Hunter Notes – They show monster weaknesses (element, part breakability).
Menu Screens (Options/Touchpad):
Essential Early Objectives (First 2-3 Hours)
1. Complete the first 3 assigned quests (Low Rank 1-3 stars). They unlock the base camp, farm cultivation, and the ability to use the equipment box.
2. Unlock the Botanical Research (through optional quests from the chief botanist). Grow herbs, honey, and mushrooms for potions and antidotes.
3. Craft a weapon from a monster – Kill Great Jagras to get its hide/claw. Upgrade your weapon at the Smithy.
4. Learn your weapon's combos – Practice in the Training Area (talk to the cat in your room). Pick one weapon and stick with it for a while.
5. Use the SOS Flare – If stuck on a tough monster, fire an SOS flare from the menu (when in a quest). Other players can join to help.
What to Do First (And What to Avoid)
DO:
DO NOT:
Early Resource Priorities
Materials to hoard:
Items to craft first:
Armor priority:
Common Beginner Mistakes (And How to Avoid)
1. Greedy attacks – Monster Hunter punishes over-commitment. Attack 1-2 times, then dodge.
2. Wrong weapon for the fight – Try all 14 weapons in Training Area. Some weapons have different matchups (e.g., hammer vs. flying monsters is hard; use ranged or use flash pods).
3. Not using items – Potions, traps, flash pods, dung pods (to escape from a second monster) are essential. Bind them to quick access.
4. Ignoring the environment – Use wedge beetles to mount monsters, falling boulders for extra damage, and smoke/water for ambushes.
5. Not upgrading gear – Armor spheres are easy to get from bounties. Upgrade armor to reduce damage substantially.
6. Not capturing – Capturing a monster ends the hunt faster and gives extra rewards. Use a shock trap + tranq bombs when the monster limps or has a skull icon on the map.
7. Not eating before a hunt – End up with low health/stamina, making fights harder.
8. Running away too far – Staying near the monster but at a safe distance lets you learn attacks. Running far away wastes time.
Day-One Checklist (First Play Session)
Final Advice for New Hunters
Now go forth, hunter! The New World awaits. Happy hunting!