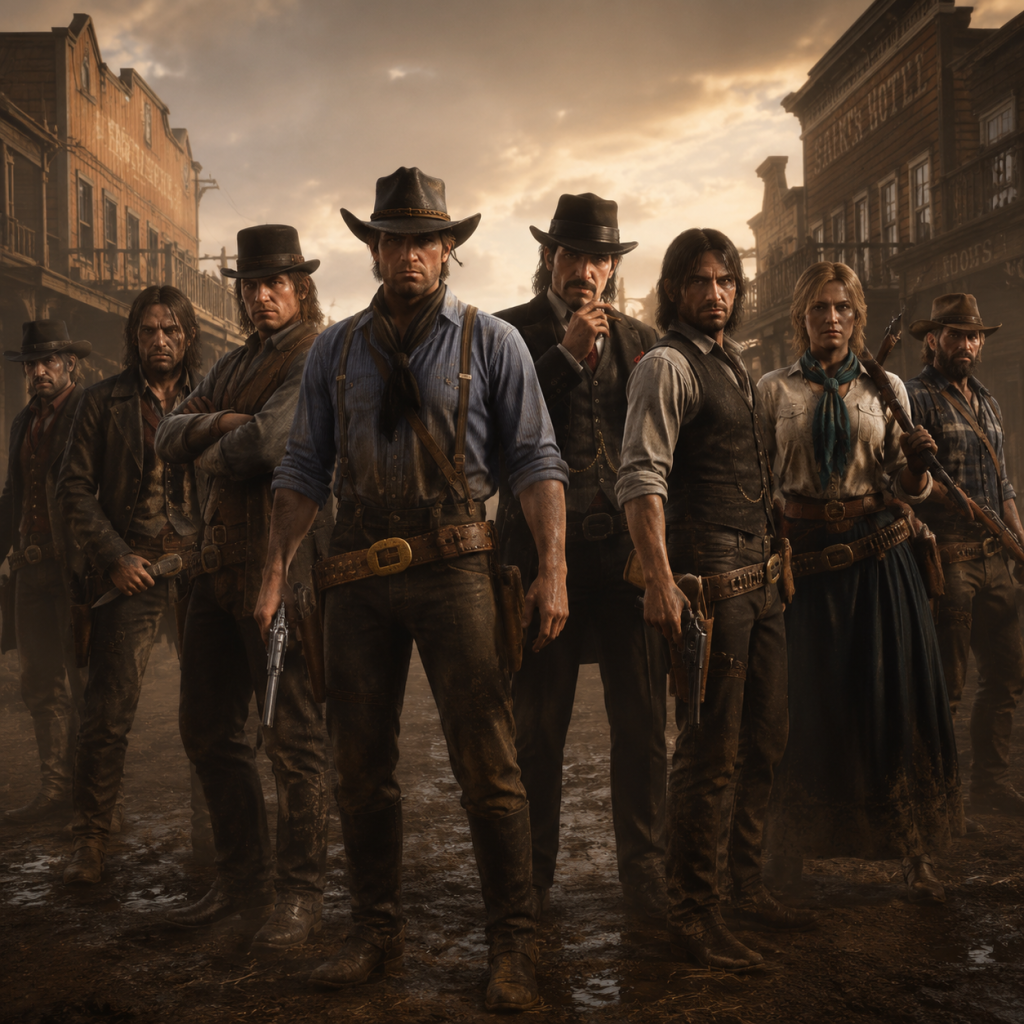
Characters & Roles
Characters & Roles
This guide covers all playable characters in Red Dead Redemption 2 (Story Mode) and all five specializations (Roles) in Red Dead Online. Each entry includes background, strengths, weaknesses, playstyle notes, unlock conditions, recommended equipment or builds, and team synergy where applicable.
---
Story Mode Playable Characters
#### Arthur Morgan
- Background: Arthur Morgan is the main protagonist of Story Mode. A senior member of the Van der Linde gang, he is a seasoned outlaw, gunslinger, and enforcer. Arthur is deeply loyal to Dutch and the gang but begins to question their path as the story unfolds.
- Strengths: High health and stamina; versatile in combat (can use any weapon); dead eye ability improves as the game progresses; can hunt, fish, and craft effectively. Arthur’s high honor choices yield discounts and unique story interactions.
- Weaknesses: Low honor leads to negative reactions from NPCs and law enforcement; cannot swim in deep water (though this is a minor limitation). Arthur’s story arc is finite (ends at Chapter 6).
- Playstyle: Play Arthur as a rugged, all-round outlaw. Focus on gunslinging (revolvers, repeaters, rifles), brawling, and exploration. Use Dead Eye for slow-motion targeting. Engage in main missions to progress the story, but also free-roam to build supplies, upgrade camp, and complete side content.
- Unlock Conditions: Available from the start of the game (Chapter 1). No unlock required.
- Recommended Equipment:
- Team Synergy: Arthur leads most missions alone, but can have temporary partners (e.g., Dutch, Hosea, Sadie, John). His high combat stats make him the best choice for direct confrontation. In stranger missions, his dialogue varies with honor level.
- Background: John Marston is a former gang member turned rancher and family man. He becomes the protagonist during the Epilogue (after Chapter 6). John is the central character of the original Red Dead Redemption.
- Strengths: Similar stats to Arthur (maxed health/stamina after Epilogue); can access all weapons; Dead Eye improves to level 8 (identical to Arthur). John has unique dialogue and interactions in the Epilogue world.
- Weaknesses: John’s main story is limited to the Epilogue (about 20% of total game content). He cannot progress Arthur’s camp upgrades (those are lost). John also cannot use the satchel from Arthur’s game (but can craft a new one).
- Playstyle: John plays identically to Arthur in combat. The Epilogue focuses on ranching, building a house, and eventually confronting the remaining enemies. Playstyle is more about rebuilding life and completing the story. John’s honor also affects NPC interactions.
- Unlock Conditions: Unlocked automatically at the start of the Epilogue (after completing Chapter 6).
- Recommended Equipment:
- Team Synergy: John works with his family (Abigail, Jack) and occasionally Sadie Adler and Charles Smith. He is less involved with the gang; his missions are more personal.
- Background: Become a licensed bounty hunter and hunt down wanted criminals across the five states. Work with Sheriff’s offices and the legendary bounty hunter, Trelawny.
- Strengths: High action and combat; fast gold and cash earnings (especially with bounties); fun PvE and PvP bounties; unlocks items like reinforced lasso, bolas, and unique clothing.
- Weaknesses: Requires active hunting (not passive); high risk (can die and lose the bounty); long travel times to deliver bounties.
- Playstyle: Use tracking skills, lasso, and guns to capture or kill targets. Use horse for chases. Use Eagle Eye to track clues. Bounties can be completed solo or in a posse.
- Unlock Conditions: Spend 15 Gold Bars to purchase the Bounty Hunter License from any Sheriff’s Office or the Bounty Board.
- Recommended Equipment:
- Team Synergy: Good for posse play—multiple players can split up to find and capture targets. High synergy with Trader (use bounty earnings to buy supplies) and Collector (find collectibles while traveling).
- Background: Run a trading business with Cripps. Hunt animals and produce goods at your camp, then sell them for profit.
- Strengths: Passive income generation over time (once supplies are gathered and processed); large payouts for long-distance deliveries; unlocks hunting wagon, medium/large delivery wagons, and camp upgrades.
- Weaknesses: Requires significant time investment to gather materials (hunting); vulnerable to attacks during deliveries; limited by camp location.
- Playstyle: Hunt animals, donate carcasses and pelts to Cripps, who produces goods. Once goods are ready, sell locally or long-distance (more money, but risk). Focus on hunting efficiency (use rifles for perfect pelts).
- Unlock Conditions: Purchase the Trader Role from Cripps at your camp for 15 Gold Bars.
- Recommended Equipment:
- Team Synergy: Partner with a Bounty Hunter (who can provide protection during deliveries) or a Collector (who can find materials along the way). A posse can help defend the wagon during long-distance runs.
- Background: Seek rare collectibles across the map for Madam Nazar. Use her maps or search manually for tarot cards, flowers, arrowheads, lost jewelry, coins, and fossil eggs.
- Strengths: Best XP and money per hour when using collector maps; no combat risk (mostly peaceful); unlocks unique items like the Metal Detector, Shovel, and rare clothing; can be done solo.
- Weaknesses: Repetitive (cycle through locations); relies on daily cycles and Madam Nazar’s location which moves daily; no combat benefits (aside from role unlocks like reinforced lasso? No).
- Playstyle: Use a collector’s bag to store items. Buy maps from Madam Nazar or find items using your metal detector and shovel. Complete entire sets for maximum value. Explore thoroughly.
- Unlock Conditions: Purchase the Collector’s Bag from Madam Nazar for 15 Gold Bars.
- Recommended Equipment:
- Team Synergy: Collector pairs well with Bounty Hunter (travel to new regions) and Trader (sell goods for cash to buy maps). Solo activity but posse members can share collectible locations if they know the cycle.
- Background: Run a moonshine operation under the guidance of Maggie Fike. Produce and sell flavored moonshine while avoiding law enforcement and rival bootleggers.
- Strengths: High passive income after initial investment; fun story missions and bootlegger missions; unlocks moonshine shack (social hub), unique bar upgrades, and special recipes.
- Weaknesses: Requires a large upfront gold investment (25 Gold Bars total: 1 Trader role required, then 25 for Moonshiner); production takes time (48 minutes per batch); delivery can be risky (players and NPCs attack).
- Playstyle: Buy ingredients (fruits, herbs), start production, and deliver moonshine. Avoid breakage (slow travel, no jumping). Upgrade still and equipment for higher profits. Complete missions to reduce mash cost.
- Unlock Conditions: First purchase Trader role (15 Gold), then purchase Moonshiner Role from Maggie at the Emerald Ranch fence for 25 Gold Bars.
- Recommended Equipment:
- Team Synergy: Best with a posse of 4 to guard the wagon and fend off attackers. Works well with Trader (shared camp proximity) and Collector (gather ingredients).
- Background: Study and protect wildlife with Harriet Davenport (a conservationist) or hunt legendary animals with Gus Macmillan (a trapper). Sample animals, learn behaviors, and unlock wilderness camp fast travel.
- Strengths: Unique items (legendary animal coats, trinkets), new ability to tame wild horses, access to wilderness camp, role XP through sampling. Provides a peaceful alternative to hunting.
- Weaknesses: Conflicts with Trader role (sampling vs. killing); Harriet will spray you if you kill too many animals; legendary animal hunts require special sedative rounds; role is less profitable initially.
- Playstyle: Use sedative rounds (Varmint Rifle with sedative ammo) to sample animals. Use binoculars and tracking to study. Complete free roam events (Animal Tagging, Protect the Legendary Animal). Buy legendary animal missions from Harriet (every 45 minutes).
- Unlock Conditions: Purchase Naturalist Role from Harriet Davenport at Strawberry or any other location for 25 Gold Bars.
- Recommended Equipment:
- Team Synergy: Naturalist can provide legendary animal materials for Trader (via Gus) or for sale. Works well with Bounty Hunter (travel together) and Collector (exploration). Not ideal to have a Trader in the posse who kills many animals (they conflict with Naturalist’s sampling).
- All Roles have 20 regular ranks and, for some, an optional Prestigious upgrade (e.g., Bounty Hunter Prestigious, Trader Prestigious, Collector Prestigious, Moonshiner Prestigious, Naturalist Prestigious). Prestigious licenses cost an additional 15-20 Gold Bars and offer 10 extra ranks with unique rewards.
- Roles can be active simultaneously; players can switch between role activities whenever they wish. However, roles have separate XP and progress tracks.
- Ability Cards (see Character Skills guide) are independent of roles and can be swapped freely.
- For recommended builds, focus on a single role at first to maximize rewards, then branch out.
- Weapons: Schofield Revolver (balanced damage/accuracy), Lancaster Repeater (fast fire rate), Bolt Action Rifle (for hunting and long range), Pump-Action Shotgun (close quarters).
- Items: Binoculars, bow (for stealth), knives (for hunting/skinning).
- Horse: Arabian or Turkoman (high speed/stamina).
- Outfits: Wear the "Legendary Bear" outfit (gives protection) or similar warm/heavy clothing in cold regions.
#### John Marston
- Weapons: Same as Arthur; John can find the same weapons (e.g., the Rare Rolling Block Rifle).
- Items: Satchel upgrades (buy from trapper or craft), improved horse.
- Horse: The same breeds available (including Buell from Hamish quest).
---
Red Dead Online Roles
Red Dead Online allows players to pursue specialized professions called Roles. Each Role is unlocked by purchasing a license from a specific vendor. Roles provide unique gameplay loops, unlock items, and rank-based rewards.
#### Bounty Hunter
- Weapons: Lasso (reinforced lasso for tighter holds), Bolas (ranged immobilization), Repeater (e.g., Lancaster), Revolver with high damage (e.g., Navy Revolver).
- Items: Bounty Hunter Wagon (to transport multiple targets), Improved Bow and Tracking Arrows (for non-lethal? Actually, lethal is fine).
- Horse: Any fast horse like the Missouri Fox Trotter.
#### Trader
- Weapons: Rolling Block Rifle or Carcano Rifle for long-range clean kills (perfect pelts), Bow with small game arrows for small animals (perfect carcasses), Varmint Rifle for small game (e.g., rabbits, birds).
- Items: Hunting Wagon (store multiple carcasses), Medium or Large Delivery Wagon.
- Horse: Any moderate stamina horse (e.g., Hungarian Halfbred).
#### Collector
- Weapons: Any, but no special combat needs. Bow or Varmint Rifle for self-defense.
- Items: Metal Detector (unlocks at Collector rank 5), Shovel (rank 1), refined binoculars (for Eagle Eye).
- Horse: Any, but a fast horse helps cover ground.
#### Moonshiner
- Weapons: Shotguns (combat with revenues), repeaters, sidearms. Defensive loadout.
- Items: Moonshine Shack upgrades (still, bar, band), strong moonshine recipe (e.g., Poison Poppy), polished rock for bar decor (optional).
- Horse: Strong, brave horse (e.g., Ardennes) to handle combat during deliveries.
#### Naturalist
- Weapons: Varmint Rifle with Sedative Rounds (for sampling), Bow with Poison Arrows (for self-defense), any firearm for predators (if attacked).
- Items: Animal Reviver (to revive penned animals for honor), Legendary Animal Pheromones (from Harriet), fast travel pamphlet (from Naturalist role).
- Horse: Any calm horse that doesn’t spook easily (e.g., American Paint).
---
Notes on Roles
This concludes the Characters & Roles overview for Red Dead Redemption 2.