Core Gameplay
Core Gameplay Guide: Red Dead Redemption 2
This guide explains the main gameplay loop, combat/interaction systems, progression, exploration, missions, economy, character/build growth, and endgame structure. It is organized by player progression tiers: Early Game, Mid Game, Late Game, and Endgame.
---
Early Game (Chapters 1-2: Colter to Horseshoe Overlook)
Main Gameplay Loop: During the early game, the loop revolves around surviving the harsh mountain environment, establishing a foothold in the Heartlands, and learning the basics of movement, shooting, and interaction. Key activities: completing story missions, hunting for food and materials, maintaining cores (health, stamina, dead eye), and bonding with your horse.
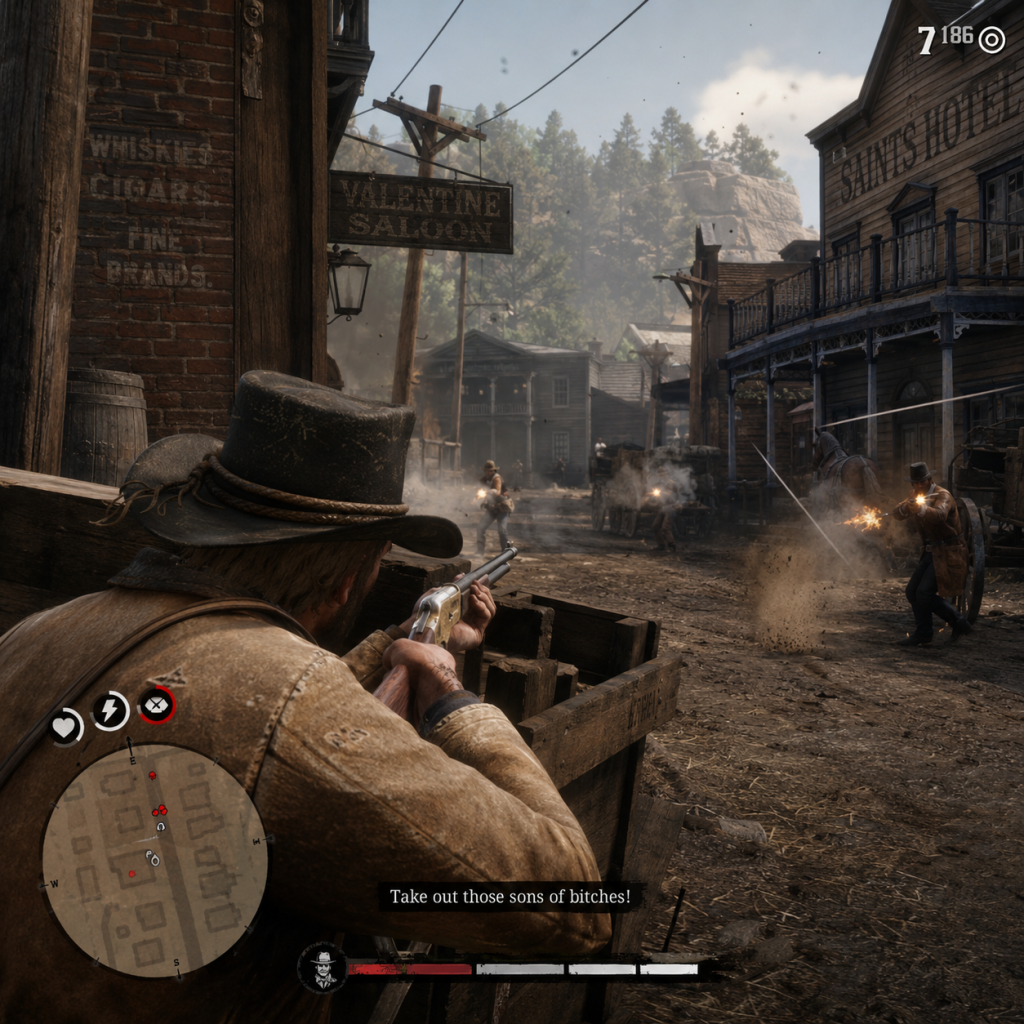
Combat/Interaction Systems: You start with limited weapons (revolver, carbine repeater, bow). Cover system is essential—press L2 (or right-click on PC) to take cover behind objects. Dead Eye is introduced slowly; at first you can only manually target it. Interaction with NPCs uses the radial menu (L1/LB or Tab on PC). Greet/Antagonize options affect honor. Early game teaches melee combat (punching, tackling) and the lasso for hogtying.
Progression: Progression is heavily story-gated for the first few hours. You gain access to the camp ledger (donations, upgrades), fast travel via stagecoaches and trains (after Chapter 2), and the satchel system. Honor starts neutral. The main objective is to survive the blizzard and reach Valentine.
Exploration: Limited to the snowy region (Ambarino) and later the Heartlands. You can explore on foot or with the temporary horse from the intro. Fast travel is unavailable until after the mission "Exit, Pursued by a Bruised Ego" in Chapter 2. Collectibles like cigarette cards and dinosaur bones are present but difficult to reach.
Quests/Missions: Linear story missions available from allies. Side activities include hunting (legendary animals via stranger missions after Chapter 2), Stranger encounters (e.g., Mary-Beth’s book), and camp chores. The first free-roam mission is "The Aftermath of Genesis" – then you get a horse and basic gear.
Economy: Very tight. You start with little money ($10-$20). Sell pelts and meats to butchers or trappers. Robbing trains or coaches is risky early on. Invest in a reliable knife, bow, and small game arrows. Camp donations improve morale but cost resources.
Character/Build Growth: Core stats (health, stamina, dead eye) improve through use (e.g., running increases stamina, shooting increases dead eye). Outfits provide no stat bonuses but affect temperature regulation. Early game focuses on strengthening Arthur’s bond with his horse (feeding, brushing).
Endgame Structure (Early): Not applicable—this tier ends around Chapter 2.
---
Mid Game (Chapters 3-4: Clemens Point to Rhodes, Shady Belle)
Main Gameplay Loop: The loop expands to include gang camp management, robbery planning, and more complex missions. You balance story progress with side activities (fishing, treasure hunting, tracking bounties). Dead Eye upgrades to manual tagging (paint targets) after Chapter 3.
Combat/Interaction Systems: You now have access to repeaters, shotguns, and rifles (e.g., Springfield Rifle, Pump-action Shotgun). Improved Dead Eye allows marking multiple targets. Melee finishers and combat rolling become more effective. Use stealth mechanics (cover, distracting animals) more freely. The bounty system escalates; you can pay off bounty or serve time to reset.
Progression: Honor can shift significantly through player choices. Camp upgrades become crucial (fast travel map, better provisions). Unlock boat upgrades at Shady Belle. You can purchase better horses (Arabian, Turkoman) from stables. Your satchel capacity increases with Pearson’s upgrades.
Exploration: The entire map opens—New Hanover, Lemoyne, West Elizabeth (Blackwater is restricted until later). Legendary animals, gang hideouts, and random encounters become more frequent. Treasure maps (Jack Hall Gang, Poisonous Trail) yield gold bars worth $500 each. Fast travel via camp map or trains is reliable.
Quests/Missions: Story missions are interwoven with optional robberies (e.g., train robbery with John, coach robbery with Micah). Side quests: Dr. Valiant’s sea shells, Sister Calderón / Reverend Swanson. Stranger missions become more complex (e.g., The Inevitable Truth with Mary Linton). Bounty hunting is available (posters at post offices).
Economy: Mid game sees a surge in income from heists (train robbery nets ~$5,000 but requires planning) and treasure maps. Bulk selling big game meat and perfect pelts yields steady cash. The trapper sells unique clothing and trinkets (e.g., Bear Head Hat, Buck Antler Trinket). Donate to camp or buy supplies.
Character/Build Growth: Maximum stamina and health reach high levels through continued use. Dead Eye rank increases to 6-7 (allows slow-motion marking). Crafting at campfire: potent tonics, special ammo (express, explosive). Bond Level 4 horse unlocks rearing, drifting, and sliding. Arthur’s stats directly affect hunting (bow draw speed, lasso throw range).
Endgame Structure (Mid): N/A – mid game ends around Chapter 4.
---
Late Game (Chapters 5-6: Guarma to Beaver Hollow)
Main Gameplay Loop: High-stakes survival with escalating law enforcement and gang tension. The loop shifts from expansion to confrontation. Story missions become morally complex, and the open world responds to Arthur’s deteriorating health (coughing, low stamina). Side activities remain available but urgency increases.
Combat/Interaction Systems: Full Dead Eye level 8 (manual paint/auto-mark). Enemies are tougher (Bounty hunters in groups, Pinkertons). You can craft volatile dynamite, fire bottles, poison throwing knives. Stealth is harder due to enhanced AI. The honor system heavily influences ending cutscenes.
Progression: Arthur’s physical decline is scripted—during free roam, you may need to rest frequently. Honor can be redeemed with good deeds. Camp morale drops; upgrades are less useful. The game pushes toward the final mission choices. Unlock the ability to bond with a war horse (rare).
Exploration: The open world is fully accessible (including Blackwater, New Austin, but John unlocks New Austin later). Legendary animals and fish remain collectible. Guarma is a temporary location (missable collectibles like parrots, boas). Side quests like The Veteran (Hamish Sinclair) and The Widow (Mrs. Downes) appear.
Quests/Missions: Story missions heavily feature gang raids (Bank of Rhodes, Bronte mansion), shooting set pieces, and moral choices (e.g., helping a sick family). Honor missions: helping Sister Calderón, releasing debtors. Stranger missions with John (The Marriages). The final mission chain includes "Red Dead Redemption" (if low honor) or "The Fine Art of Conversation" (if high honor).
Economy: Money becomes abundant from story heists (e.g., Saint Denis bank robbery nets $2,500). Legendary animal parts sold at trapper yield high prices. However, Arthur can no longer buy new outfits or weapons after Chapter 6. Bounty forgiveness is recommended before the final missions.
Character/Build Growth: Arthur’s cores are capped (maximum level 8 for all stats). Bond Level 4 horse available. Crafting allows potent miracle tonics, special archery. No further stat improvement possible. Focus on acquiring all weapon variants (e.g., High Roller Revolver from Dr. Manic). Honor final transition (knights of the round table influence).
Endgame Structure (Late): After Chapter 6, you control John Marston in free roam. The post-game is considered Endgame.
---
Endgame (Epilogue: Pronghorn Ranch to Beecher’s Hope)
Main Gameplay Loop: After the main story, you play as John Marston. The loop focuses on building a new life—ranch chores, buying property, completing side content, and tying up loose ends. Story missions are replaced with epilogue quests leading to the final credits.
Combat/Interaction Systems: Same as late game with John. John has slightly different stamina/health stats but plays identically. All weapons carry over from Arthur’s playthrough (except unique mission items). Honor is reset to neutral (can be changed again). Bounty and law system remains.
Progression: Unlock the ability to purchase and upgrade Beecher’s Hope house (via Abigail and Uncle). John can buy new outfits, horses, and equipment. The trapper inventory is shared with Arthur’s progress. The “American Lumber” mission tree is available. After finishing the epilogue, you can visit Arthur’s grave for a cutscene.
Exploration: Full access to all states except Guarma (gone). Every location is now accessible – New Austin’s gang hideouts (Fort Mercer, Tumbleweed) spawn again. Legendary animals and fish can be collected. Treasure maps (e.g., Elemental Trail) still work. The poker table in Saint Denis is open.
Quests/Missions: No main story missions left. Side content: all Stranger missions persist (e.g., The Scientist, The Photographer). Bounty hunting now has a reward board at every post office. Random encounters (e.g., snake oil salesman) continue indefinitely. Legendary hunts and fish remain completable.
Economy: Money flows easily from bounties (up to $200 each), robbery missions (e.g., "The Bank Job"), and hunting. No camp expenses. You can buy everything – clothing, horses, fast travel. The Del Lobo gang hideouts respawn quickly.
Character/Build Growth: John reaches maximum stats through use (similar to Arthur). No new perks. Horse bonding resets but can be raised again. Outfits are cosmetic only. Completionist goals: skin all animals, find all dreamcatchers, achieve 100% game completion.
Endgame Structure: The game technically has no traditional endgame after the epilogue. Players can continue free roaming indefinitely. There is no New Game Plus. The only definitive ending is the main story; post-epilogue offers a sandbox to complete collector challenges, bounties, and miscellaneous tasks. A soft “end” is reaching 100% completion, which unlocks a special cutscene at the train station in Blackwater.
---
Summary Table: Key Differences by Tier
| Aspect | Early Game (Ch1-2) | Mid Game (Ch3-4) | Late Game (Ch5-6) | Endgame (Epilogue) |
|---|---|---|---|---|
| Dead Eye | Manual, slow | Manual + auto paint | Full manual paint | Same as late |
| Weapons | Revolver, carbine, bow | Rifles, shotguns, repeaters | All + explosives | All + explosive rounds |
| Economy | Tight (under $100) | Moderate ($500-2000) | Abundant ($2000+) | Infinite (bounties) |
| Horse | Temporary horse, slow bonding | Stables, bond 4 possible | Bond 4 achieved | Bond 4 again |
| Exploration | Ambarino, Heartlands | All states (except New Austin) | Full map (New Austin locked) | Full map with New Austin |
| Honor | Neutral | Can change significantly | Affects ending | Reset to neutral |
| Camp | Colter, Horseshoe Overlook | Clemens Point, Shady Belle | Beaver Hollow | Beecher’s Hope |
This guide covers the core gameplay of Red Dead Redemption 2 through meaningful tiers. Adjust your playstyle as you move from a vulnerable outlaw to a legendary gunslinger to a settled rancher.