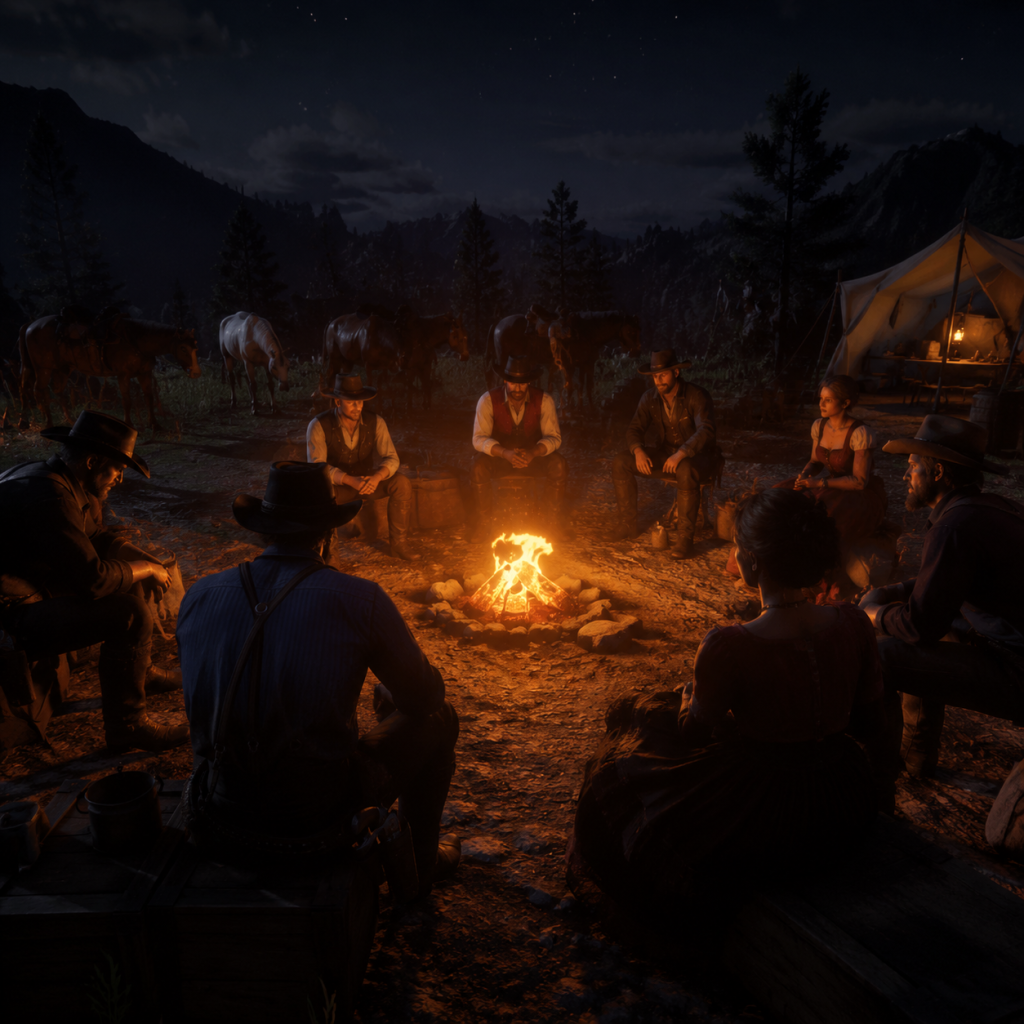
Getting Started
Getting Started with Red Dead Redemption 2: A Beginner's Guide
Welcome to the sprawling, unforgiving world of Red Dead Redemption 2 (RDR2). This guide will walk you through your first hours, explain the controls, and help you avoid common pitfalls so you can enjoy the journey as Arthur Morgan.
First Hour Walkthrough: The Prologue & Chapter 1
No Character Creation: RDR2 does not feature character creation. You play as Arthur Morgan, a seasoned outlaw. Your appearance and stats are fixed, but you can later customize Arthur's outfits, hair, and beard through barbers and clothing stores.
Chapter 1: Colter (Snowy Mountains)
Your first hour is a tutorial-heavy prologue set in a blizzard. Follow these steps:
1. Follow Dutch and the gang. Keep moving forward; you can't get lost. The game introduces movement, camera, and basic interaction.
2. Horseback basics: On your horse, you'll learn to ride, gallop, and calm your horse (L3/LS click on most platforms). Press the left stick repeatedly to pat your horse when it gets scared.
3. Shooting tutorial: During a shootout, you'll learn to aim (L2/LT), fire (R2/RT), and use Dead Eye (R3/RS click). Dead Eye slows time and lets you mark targets – a crucial mechanic.
4. Hunting and skinning: You'll track a deer, kill it, and skin it. Loot the carcass for materials. This teaches you how to collect food and animal parts.
5. Return to camp: Follow the marker back to camp. You'll learn to donate items to the camp ledger.
6. Chapter 1 ends after a train robbery cutscene. You'll then be in Chapter 2: Horseshoe Overlook, where the open world truly opens up.
Controls Overview (All Platforms)
The controls are complex. Here's a quick reference for the main actions:
| Action | PS4/PS5 | Xbox One/Series | PC (Default Keyboard) | PC (Xbox Controller) |
|---|---|---|---|---|
| Move | Left Stick | Left Stick | WASD | Left Stick |
| Look | Right Stick | Right Stick | Mouse | Right Stick |
| Run | Hold X | Hold A | Shift | Hold A |
| Interact/Loot | Triangle | Y | E | Y |
| Jump | Square | X | Space | X |
| Aim Weapon | L2 | LT | Right Mouse Button | LT |
| Fire | R2 | RT | Left Mouse Button | RT |
| Dead Eye | R3 (click right stick) | R3 | Middle Mouse Button | R3 |
| Call Horse | Up on D-Pad | Up on D-Pad | H | Up on D-Pad |
| Map | Touchpad | View Button | M | View Button |
| Weapon Wheel | L1 | LB | Tab | LB |
| Item Wheel | Right on D-Pad | Right on D-Pad | Q | Right on D-Pad |
UI Overview: The HUD and Menus
- Health, Stamina, Dead Eye cores: Top left. Solid rings are your current levels; icons inside show core drain rates. Keep cores full by eating, sleeping, or using tonics.
- Mini-map: Top right. Icons are explained in the legend. White dots are allies; red dots are enemies; yellow markers are mission start points.
- Bounty/Wanted: Appears when you commit crime. Evade the law icon to lose wanted status.
- Weapon wheel (L1/LB): Hold to slow time and select weapons, items, or horse commands.
- Satchel Menu (Tab on PC, D-Pad down?): Hold the appropriate button to open your satchel – contains provisions, materials, tonics, valuables, etc.
- Progress Menu: (Hold Start button/View) – check story progress, challenges, compendium, and settings.
- Loot every body and container – ammo, money, collectibles are everywhere.
- Pet your horse often and brush it (hold L2/LT + square/X on horse). Bonding increases stamina and health.
- Eat regularly – your cores deplete over time. Buy canned food or hunt game.
- Save manually often (pause > Story > Save). Autosaves can be overwritten.
- Accept stranger missions (white icons) for extra cash, honor, and unique items.
- Don't rush main missions – explore first. The game punishes no side content.
- Don't commit crimes without planning – bounties grow quickly. Avoid killing civilians or stealing horses unless necessary.
- Don't ignore your horse's health – if it dies, it's gone unless you reload a save. Feed it and avoid cliffs.
- Don't sell unique items (e.g., gold bars, treasure maps) – you'll need them later for crafting or high-value sales.
- Don't skip the tutorials (controls, hunting, fishing) – they explain core mechanics.
- Money: Earned from missions, looting, selling pelts/herbs, and treasure maps. Don't waste it on cosmetics early.
- Food & Medicine: Loot provisions and health tonics. Purchase snake oil (deadeye) and bitters (health).
- Ammo: Always replenish at gunsmiths or loot dead enemies.
- Perfect Pelts: Essential for satchel upgrades and trapper outfits. Use correct weapons: Varmint rifle for small game, rolling block rifle for large game, bow for animals you want clean kills.
- Herbs & Flowers: Gathered from the wild – craft tonics and sell for small profit. Use Eagle Eye (click both sticks) to highlight collectible plants.
- [ ] Complete Chapter 1 and reach Chapter 2.
- [ ] Do at least one story mission at Horseshoe Overlook.
- [ ] Buy a second rifle (Springfield recommended) from Valentine's gunsmith.
- [ ] Hunt one perfect deer pelt (use rifle, aim for head).
- [ ] Upgrade Arthur's satchel once (requires perfect deer pelt at camp leatherworking tools).
- [ ] Save the game manually (optional but recommended).
- [ ] Pet and brush your horse to bond level 1.
- [ ] Loot all bodies in early missions – you'll find a gold bar on the train (it's there!).
Essential Early Objectives (Chapter 2)
Once you reach Horseshoe Overlook (Chapter 2), the world opens. Prioritize:
1. Do the main story missions first (yellow icons). They unlock new features: hunting, fishing, camp upgrades, and better weapons.
2. Visit a gunsmith to buy/clean your weapons. Use the gun oil found in loot to keep weapons from jamming.
3. Purchase the Springfield Rifle or Varmint Rifle from a gunsmith for hunting (perfect pelts require specific weapons).
4. Fully upgrade your satchel at camp. This increases item carry capacity dramatically. You need perfect pelts from hunting.
5. Complete the "Money Lending and Other Sins" missions to earn cash and unlock the camp ledger (for upgrades).
What to Do First & What to Avoid
DO:
DON'T:
Early Resource Priorities
Your top resources in the first few hours:
Common Beginner Mistakes
1. Not saving manually – you can lose progress if you die or get arrested.
2. Ignoring horse bonding – lower bonding means your horse bucks you off and runs away.
3. Using wrong weapons for hunting – ruins pelts. Use binoculars to study animals, check compendium for weapon requirement.
4. Trying to fight multiple lawmen head-on – it's suicide early on. Flee, hide, or pay bounties.
5. Skipping camp upgrades – Arthur's quarters, horse station, and fast travel map (requires money and materials) save time.
6. Not reading tutorials – many players miss Dead Eye manual marking or how to fish.
Day One Checklist
Before you end your first session (roughly 2-3 hours), ensure you've done:
Final Tip: Take your time. RDR2 is a slow burn – enjoy the scenery, greet strangers, and immerse yourself in Arthur's story. The world is reactive: if you help people, honor increases; if you murder, the law and civilians will treat you differently. Good luck, partner.