Game Tips
Red Dead Redemption 2 – Game Tips Guide
This guide provides a comprehensive collection of tips for Red Dead Redemption 2 (RDR2), grouped by category. Each tip includes an explanation and analysis of why it works. Tips are labeled as Beginner, Intermediate, or Advanced to help you prioritize.
Combat Tips
#### 1. Master Dead Eye (Advanced)
- Explanation: Dead Eye allows you to slow time and mark multiple targets. Upgrade it by completing story missions and using it frequently. Once fully upgraded, you can manually target weak spots (head, heart) for instant kills.
- Why it works: Headshots are one-shot kills with most weapons. Using Dead Eye outside of combat (e.g., scouting enemies) lets you plan shots. Activate Dead Eye just before peeking around cover to get a full view.
- When to use: Always against groups of enemies or when you need precise shots. Use it sparingly early game; later, it recharges quickly with tonics.
- Explanation: Press the cover button (Q on PC, RB on controller) near walls, rocks, or trees. While in cover, you can aim and fire without exposing your whole body.
- Why it works: RDR2 enemies are accurate. Standing in the open gets you killed fast. Peeking reduces your hitbox. Fire in bursts and duck back to reload.
- When to use: In every firefight against human enemies, especially at medium range.
- Explanation: Revolvers have fast draw speed but lower accuracy. Repeaters (e.g., Lancaster) offer good rate of fire and accuracy. Rifles (e.g., Bolt Action) have high damage and range but slow fire.
- Why it works: Choose based on engagement distance. Close quarters: dual-wield sawed-off shotguns or revolvers. Medium: Lancaster Repeater with express rounds. Long range: Rolling Block Rifle with scope.
- Example: Against bounty hunters on open plains, use a scoped rifle from max distance. In a bar fight, switch to fists or a revolver.
- Explanation: Thrown explosives can clear groups or force enemies out of cover.
- Why it works: Enemies bunched up behind a wagon? One dynamite stick kills multiple. Molotovs cause panic and area denial.
- When to use: When facing 3+ enemies clustered together, or when you need to flush an enemy from behind a barricade.
- Explanation: Weapons degrade over time from dirt, blood, and mud. Clean them regularly using gun oil from general stores or loot.
- Why it works: A dirty weapon has a larger reticle and more bloom (inaccuracy). Clean weapons maintain tight aim.
- When to use: After every major fight or when you notice the reticle spread. Check weapon condition in the weapon wheel (holding Tab on PC).
- Explanation: To get perfect pelts, you need to use the correct weapon and hit a clean kill on a three-star animal. Study animals with binoculars to see star rating. Use a rifle for large game (deer, bear), a varmint rifle for small game (rabbits, foxes), and a bow with small game arrows for birds.
- Why it works: Perfect pelts are required for upgrading your satchel at the Trapper, which increases carrying capacity. Also needed for certain clothing and camp upgrades.
- When to use: Whenever you encounter a three-star animal. Always carry a varmint rifle and a bow. Hunt in the early morning or late afternoon when animals are more active.
- Explanation: The minimap can be expanded to full map (hold M or Start). Legend shows icons for towns, camps, points of interest.
- Why it works: RDR2’s world is huge. Fast travel is limited (only from camp or by buying train/coach). Understanding the map saves time.
- Example: Set a waypoint marker on your map; a trail appears on the minimap. Follow it while staying on main roads for fastest travel, but take shortcuts through open terrain if you want random encounters.
- Explanation: White blips on the map indicate side missions, random encounters, and hidden locations. Talk to strangers marked with a white question mark.
- Why it works: These often reward unique items, money, honour boosts, or unlock new opportunities (e.g., gunslinger missions). They also add depth to the story.
- When to use: Explore when you have free time between story missions. Many stranger missions are time-sensitive or only appear during certain chapters, so check your map frequently.
- Explanation: Many mountains, towers, and rock formations have unique viewpoints. Climb them and you may find hidden loot, dreamcatchers, or a complete map of the area.
- Why it works: High ground gives you a tactical advantage against enemies and reveals hidden paths. Some collectibles (like dinosaur bones or rock carvings) are only spotted from above.
- When to use: When you see a distinct outcrop or tower on the map. Use your horse to approach steep slopes then dismount and climb on foot.
- Explanation: Tonics restore health, stamina, Dead Eye, and cores. You can craft them from herbs (e.g., ginseng, sage) or purchase from doctors.
- Why it works: Combat and wilderness survival drain cores quickly. Having 20+ health tonics prevents death from ambushes or predator attacks.
- When to use: Always keep at least 5 of each tonic. Craft them by holding Tab and selecting “Crafting” when you have ingredients. Prioritize “Potent” versions.
- Explanation: Ammo is sold at gunsmiths and general stores. Hunt animals for meat that you can cook at campfires to restore cores.
- Why it works: Running out of ammo mid-mission is frustrating. Cooked meat is free and effective. Large game meat (venison, prime beef) restores more health than small game.
- Example: After hunting 3 deer, skin them, cook the meat (3 pieces per deer), and store in satchel. Always resupply ammo before leaving town.
- Explanation: The Legend of the East satchel (crafted from perfect pelts) increases carrying capacity to 99 for most items, including herbs, tonics, and meat.
- Why it works: Without it, you’ll constantly hit inventory caps and need to discard valuable loot. The satchel upgrades are a game-changer for inventory management.
- How to do: Complete Pearson’s requests at camp. Hunt perfect pelts for each satchel type (e.g., opossum, badger, raccoon, deer, cow). The final satchel requires a perfect panther pelt—hunt in the Bayou at night.
- Explanation: Treasure maps lead to gold bars worth $500 each. You find maps from purchase (fence) or loot from random events (e.g., a treasure hunter’s corpse).
- Why it works: Gold bars are the fastest way to earn large sums early. $500 can buy all weapons and camp upgrades.
- When to use: Immediately after Chapter 2. The “Jack Hall Gang” treasure map is obtainable from a stranger in Limpany or from Madame Nazar (online) but in story mode, find maps in the world.
- Explanation: Different buyers give different prices. Fences buy stolen goods, jewelry, and gold bars. Trappers buy pelts and craft clothing. Doctors buy herbs and tonics. General stores buy everything else.
- Why it works: You maximize profit. For example, selling a perfect wolf pelt to the trapper yields $4.50, while selling to a general store yields only $2.25. Always check price.
- When to use: Whenever you have valuables. Keep a mental note: fences for rare items, trappers for pelts, doctors for herbs.
- Explanation: After battles, methodically loot every body. Press the search button (E on PC, Square on PS) to find cash, ammo, tonics, and sometimes treasure maps.
- Why it works: Even small amounts add up. You may find gold wedding rings worth $7 each, or collectible jewelry that sells for more. Also loot horses' saddlebags for minor items.
- When to use: After every gang camp clearance, bounty hunter attack, or random ambush.
- Explanation: The camp ledger allows you to buy provisions, ammo, fast travel (Arthur’s tent upgrade), and cosmetic upgrades. Donation to the camp fund increases honour but doesn’t directly benefit you.
- Why it works: The fast travel map from Arthur’s tent upgrade (requires $220 and chapter 2) is a huge time saver. Donate small amounts regularly for honour but keep most cash for yourself until you have a comfortable stock.
- When to use: After you have at least $500 and a good weapons set, then upgrade the tent and buy fast travel. Then focus on upgrading Pearson’s crafting tools for better satchels.
- Explanation: Honour affects NPC reactions, shop prices, and story outcomes. High honour gives discounts and opens certain cutscenes. Low honour gives different interactions and a darker tone.
- Why it works: Honour is binary but not limiting; you can switch easily by greeting people (+honour) or robbing/killing (-honour). Play how you want, but be aware that very low honour attracts bounty hunters more often.
- When to use: If you want the “good” ending, maintain high honour. For pure chaos, low honour is fine. Use honour as a roleplaying tool.
- Explanation: You increase core levels by performing related actions: health from taking damage or fistfights, stamina from running/swimming, Dead Eye from killing with headshots. Your cores level up periodically when you reach thresholds (e.g., health will level up after earning 300 XP in that category).
- Why it works: Higher cores mean more survivability, longer sprints, and slower drain of tonics. Max cores make you a tank.
- When to use: Actively seek opportunities to improve them. For stamina, go for long rides. For health, duel with NPCs or fight bears. For Dead Eye, practice headshots on animals.
- Explanation: You can carry only a limited number of long weapons on your horse (2 rifles, 2 repeaters, 2 shotguns) and a few pistols/revolvers. You cannot swap mid-combat from horse unless near it.
- Why it works: Customize your loadout based on mission type. For open-field combat, take a scoped rifle and repeater. For urban missions, take a sawed-off shotgun and revolver. For stealth, use bow and throwing knives.
- Example: Before the “Blessed Are the Peacemakers” mission, equip a repeater and a shotgun since it involves close-quarters fighting in Valentine.
- Explanation: If you accidentally ruin a perfect pelt (e.g., used wrong weapon, got attacked by predator while hunting), reload a recent manual save to retry. The animal spawns again on reload.
- Why it works: Perfect pelts are rare; losing one wastes hours. Save before attempting difficult kills (e.g., panthers or cougars).
- When to use: When pursuing a legendary animal or a rare perfect pelt for a specific satchel upgrade. Manual saves are done from the pause menu.
- Explanation: While in combat, holding Tab (PC) or the weapon wheel button (L1 on PS) slows time. You can swap weapons, choose ammo type (regular, high velocity, express, explosive), and even throw weapons.
- Why it works: You can adapt to a changing situation without dying. If you run out of ammo in a repeater, switch to revolver instantly.
- When to use: Bind shortcuts for your favorite weapons in the settings. Practice in low-stakes fights.
- Explanation: Bonding with your horse (by feeding, brushing, patting, and riding) increases its stats (speed, stamina, health) and unlocks abilities like rearing on command or sliding stops. Get to Bonding Level 4 for maximum benefit.
- Why it works: A bonded horse is faster and less likely to throw you during a predator encounter. It also responds quickly to navigation commands.
- How to do: At camp, brush and feed your horse every time you return. When riding, calm it (press G on PC) during predator encounters. The bond increases slowly over time.
- Explanation: In addition to fast travel, camp upgrades provide quality-of-life improvements: the medical table unlocks recipe for special tonics, the wagon upgrades allow fast travel from any camp (with mod), and the Provisions Wagon offers free food.
- Why it works: Upgrading camp makes long treks easier and provides passive benefits.
- Prioritize: Arthur’s Tent (fast travel) > Pearson’s Tools (satchel upgrades) > Medical Wagon (potent tonics) > Decorations (cosmetic). Donate to camp funds only when you have excess cash.
- Explanation: Many side quests reward unique items or weapon variants. For example, “The Noblest of Men, and a Woman” yields a rare revolver and treasure. “Arcadia for Amateurs” lets you photograph animals and eventually get a unique hat.
- Why it works: These items can be sold for high prices or used as trophies. They also provide enjoyable content.
- When to use: Explore every white icon on the map, especially during Chapter 2-4 when the world is most open.
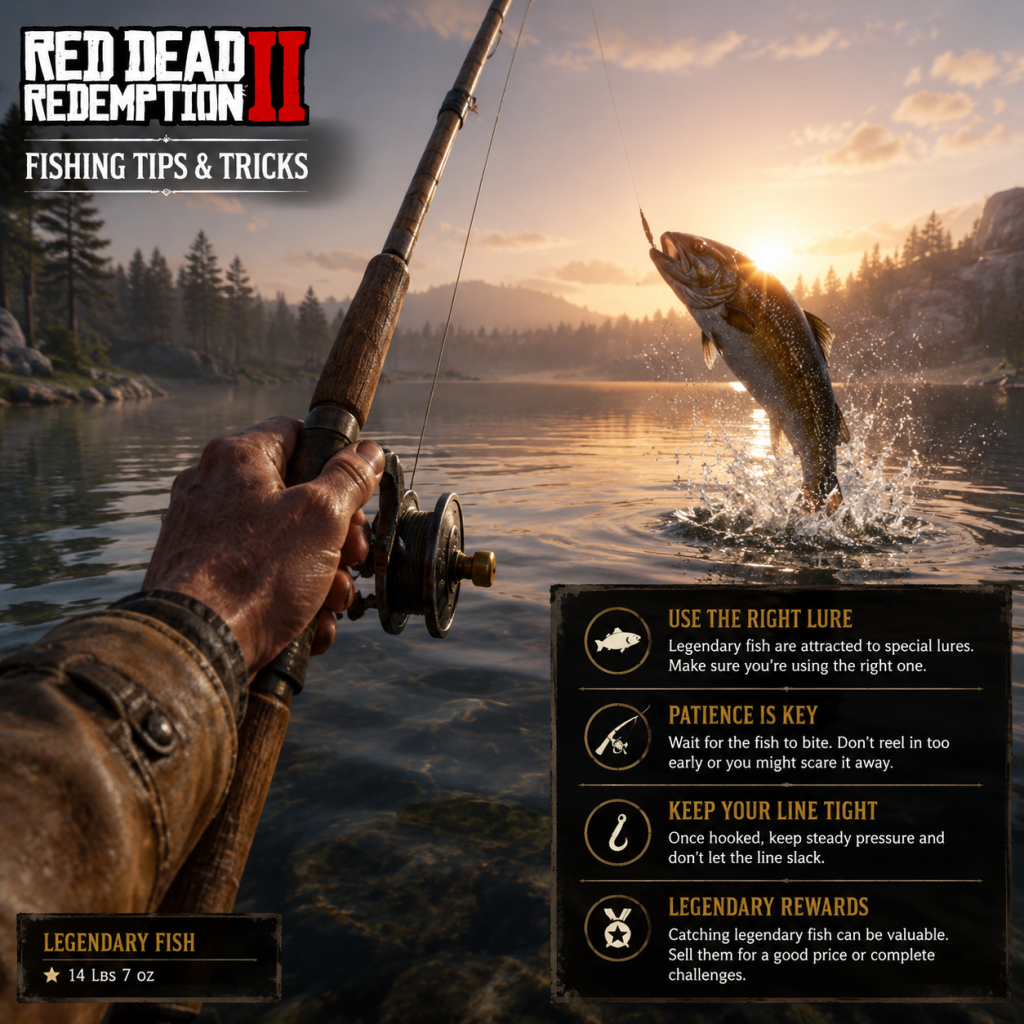
- Explanation: Each legendary animal (bear, wolf, elk, panther, etc.) is marked by a question mark on the map but requires study and tracking. Killing them yields a legendary pelt that can be sold to the Trapper for exclusive clothing items.
- Why it works: Legendary pelts are always perfect (no weapon requirement) and grant unique outfits with stat bonuses (e.g., bear coat gives 10% cold resistance). The Trapper’s legendary gear is some of the best in game.
- How to do: Use Eagle Eye to track clues. Approach the area with caution—the animal will attack. Kill with a high-powered rifle or explosive ammunition.
- Manual Saves: Make manual saves before risky missions or major purchases. Autosave often overwrites; manual saves let you revert mistakes.
- Camp Greetings: Greet strangers in towns to boost honour quickly. In Saint Denis, you can greet dozens of people in a few minutes for a huge honour boost.
- Dual Wielding: Unlock by purchasing an off-hand holster from the gunsmith. Dual revolvers or pistols double your fire rate but reduce accuracy.
- Horse Whistle: Whistle (hold H on PC) calls your horse even from far away. Use it often to keep your horse near.
- Weather Effects: Cold weather drains health and stamina cores. Wear appropriate clothing (check the temperature indicator on the HUD). Hot weather requires light clothing. Always carry a change of clothes.
- Train Robbery: To rob a train, first cut the baggage car lock or stop the train in a tunnel to avoid detection. Looting the safe yields cash and gold.
- Poker & Gambler Challenges: If you need money, play poker at saloons. You can also complete Gambler challenges for money and honour.
- Photo Mode: Use the in-game photo mode (activate via pause menu) to capture stunning landscapes. It helps you appreciate the world.
#### 2. Use Cover and Peak Firing (Beginner)
#### 3. Revolvers vs. Repeaters vs. Rifles (Intermediate)
#### 4. Use Dynamite and Molotovs for Crowd Control (Intermediate)
#### 5. Improve Weapon Accuracy with Cleanliness (Beginner)
Exploration Tips
#### 1. Always Hunt for Perfect Pelts (Intermediate)
#### 2. Utilize the Compass and Map Legend (Beginner)
#### 3. Discover Points of Interest and Stranger Missions (Intermediate)
#### 4. Climb High Points for Vistas and Collectibles (Advanced)
Resource Management Tips
#### 1. Fill Your Satchel with Tonics (Beginner)
#### 2. Stock Up on Ammunition and Cook Meat (Intermediate)
#### 3. Upgrade Your Satchel ASAP (Advanced)
Economy & Money Making Tips
#### 1. Focus on Treasure Maps (Intermediate)
#### 2. Sell to the Right People (Beginner)
#### 3. Loot Every Enemy (Advanced)
#### 4. Invest in the Camp Ledger Only After Priorities (Intermediate)
Character Build & Progression Tips
#### 1. Balance Honour and Outlaw Actions (Beginner)
#### 2. Upgrade Health, Stamina, and Dead Eye Cores (Intermediate)
#### 3. Choose Your Weapons Wisely (Advanced)
Advanced Optimizations & Exploitation of Mechanics
#### 1. Save Scum for Perfect Pelts (Advanced)
#### 2. Use the Weapon Wheel to Quickly Switch Between Loadouts (Intermediate)
#### 3. Exploit Horse Bonding (Beginner)
#### 4. Plan Your Camp Upgrades (Intermediate)
Exploration & Side Activities Tips
#### 1. Participate in Stranger Missions for Unlockable Bonuses (Intermediate)
#### 2. Find Legendary Animals for Rare Items (Advanced)
Final General Tips
This guide covers the essentials. As you play, remember that RDR2 rewards patience and exploration. The more you immerse yourself, the more you’ll discover.