Getting Started
Dead by Daylight: Getting Started Guide
Welcome to Dead by Daylight (DbD). This guide will walk you through your first hour, explain the controls on every platform, break down the UI, and give you a day-one checklist to avoid common pitfalls. Whether you plan to play as a Survivor or a Killer, the tips here apply to both roles.
First Hour Walkthrough
0–5 Minutes: Tutorials
- Complete both Survivor Tutorial and Killer Tutorial from the main menu. They teach basic movement, generator repair, hook saves, and basic chase mechanics.
- Do not skip them—they unlock the "Adept" achievement/trophy for each role and give you free Bloodpoints.
- You start with only two Survivors (Meg Thomas, Dwight Fairfield, Claudette Morel, Jake Park) and three Killers (Trapper, Wraith, Hillbilly).
- For Survivors: Claudette is best for beginners because her perk Empathy lets you see injured teammates, teaching you map awareness.
- For Killers: Wraith has a simple stealth-and-surprise playstyle, ideal for learning map pressure.
- Load into a match as Survivor. Objectives:
- Don't try to loop the Killer yet—just hide and run when necessary.
- Select Wraith.
- Use "Cloak" (right-click on PC) to move faster and become invisible. Uncloak near Survivors to hit them (M1).
- Your primary goal: injure and down Survivors, then carry them to a hook.
- Do not camp the hook—move away to find other Survivors.
- After a few matches, you'll have Bloodpoints (BP). Go to the Bloodweb (in the main menu) for your chosen character.
- Prioritise spending on one Survivor to unlock Teachable Perks (Tier 1) first. Recommend: Claudette for Self-Care or Meg for Sprint Burst.
- Avoid buying cosmetic items early—they don't affect gameplay.
- Dead by Daylight does not have character creation. You choose from a roster of predefined characters (Survivors and Killers) each with unique backstories and three teachable perks.
- To unlock new characters, spend Iridescent Shards (earned via leveling) or real money in the in-game store.
- Tip: Your first purchased character should be one with strong perks that fit your playstyle. For Survivors: Feng Min (Lithely, Technician) or David King (Dead Hard). For Killers: Leatherface (Barbecue & Chili) or Hillbilly (already owned).
5–15 Minutes: Choose Your Role
15–30 Minutes: First Public Match (Survivor)
1. Find a generator (glowing yellow lights on tall structures).
2. Press and hold `Action` (default: M1 on PC) to repair.
3. If you hear a heartbeat (terror radius), hide in a locker, behind a wall, or crouch in tall grass.
4. Once a generator is complete, a large yellow progress bar shows on screen.
30–45 Minutes: First Public Match (Killer)
45–60 Minutes: Spend Bloodpoints
Character Creation
Controls on All Platforms
PC (Mouse & Keyboard)
| Action | Survivor | Killer |
|---|---|---|
| Move | W/A/S/D | W/A/S/D |
| Look | Mouse | Mouse |
| Action / Attack | LMB | LMB |
| Secondary Ability | Space (vault/sprint) | RMB (Killer power) |
| Sprint | Hold Shift | Hold Shift |
| Crouch | Ctrl | Ctrl |
| Drop / Pallet | Q | Q |
| Heal/Interact | E | E |
| Scoreboard | Tab | Tab |
PlayStation (PS4/PS5)
| Action | Survivor | Killer |
|---|---|---|
| Move | Left Stick | Left Stick |
| Look | Right Stick | Right Stick |
| Action / Attack | R2 | R2 |
| Secondary Ability | L2 (vault/sprint) | L2 (Killer power) |
| Sprint | Hold R1 | Hold R1 |
| Crouch | L1 | L1 |
| Drop / Pallet | Circle | Circle |
| Heal/Interact | Square | X |
| Scoreboard | Touchpad | Touchpad |
Xbox (One/Series X|S)
| Action | Survivor | Killer |
|---|---|---|
| Move | Left Stick | Left Stick |
| Look | Right Stick | Right Stick |
| Action / Attack | RT | RT |
| Secondary Ability | LT (vault/sprint) | LT (Killer power) |
| Sprint | Hold RB | Hold RB |
| Crouch | LB | LB |
| Drop / Pallet | B | B |
| Heal/Interact | X | A |
| Scoreboard | View button | View button |
Switch
| Action | Survivor | Killer |
|---|---|---|
| Move | Left Stick | Left Stick |
| Look | Right Stick | Right Stick |
| Action / Attack | ZR | ZR |
| Secondary Ability | ZL (vault/sprint) | ZL (Killer power) |
| Sprint | Hold R | Hold R |
| Crouch | L | L |
| Drop / Pallet | B | B |
| Heal/Interact | X | A |
| Scoreboard | - (not mapped) | - |
UI Overview
Survivor HUD (bottom of screen)
- Health State: Four pips (healthy → injured → downed → hooked/killed).
- Auras: Yellow outlines show teammates (when within range), generators, and hooks.
- Status Effects: Icons for bleed, exhaustion, etc., appear on the right.
- Score (top right): Your current Bloodpoint score for the match.
- Generator Count (top left): Number of generators completed / total (5/7).
- Killer’s Terror Radius (heartbeat sound): Grows louder as Killer approaches.
- Power Gauge: Shows cooldown/recharge of your unique ability.
- Auras: Survivors shown when within 16 meters or revealed by perks.
- Hook Count: How many times survivors have been hooked.
- Generator Damage: A bar showing regression from kicking generators.
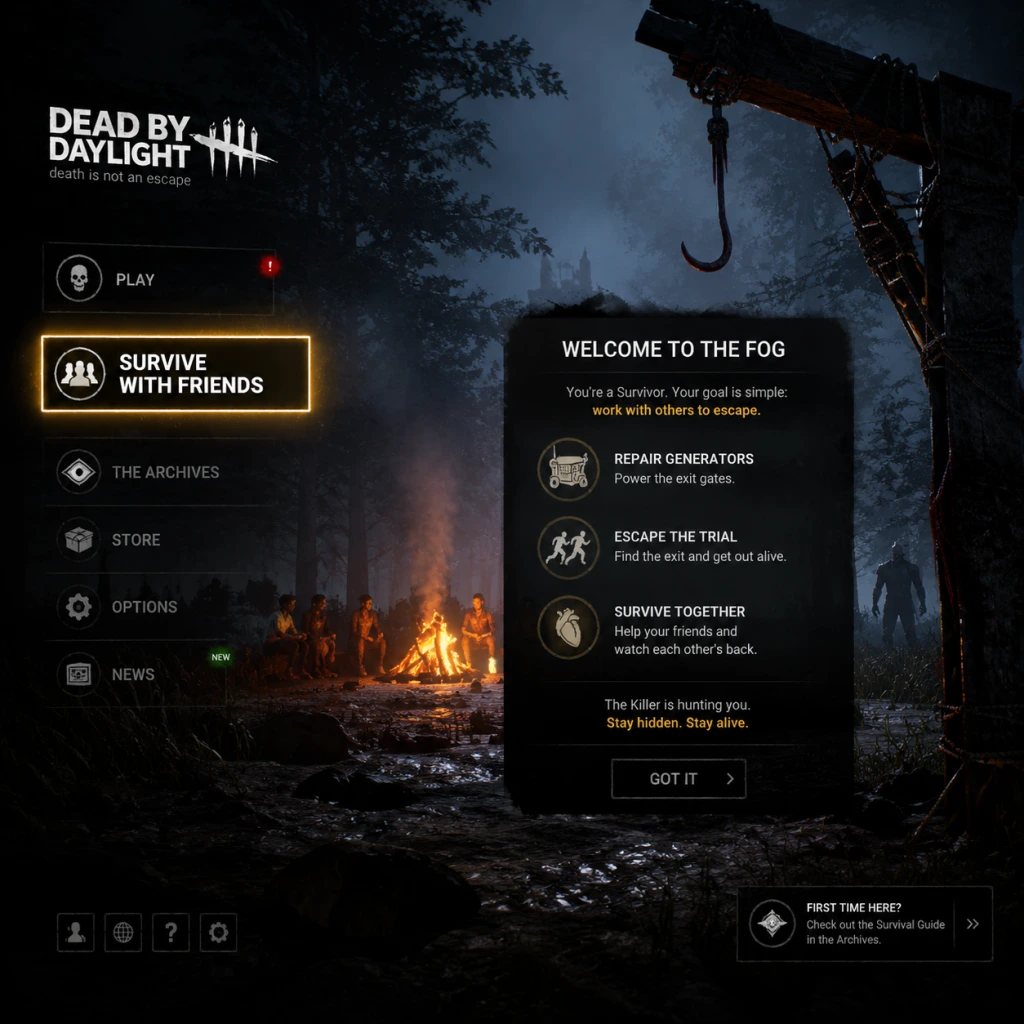
- Play: Queue for Survivor or Killer.
- Bloodweb: Spend Bloodpoints to level characters and unlock perks, items, and add-ons.
- Customize: Change outfits, charms, and weapon skins.
- Store: Buy characters, cosmetics, and DLC.
- Archive: Complete daily and weekly challenges for bonus Bloodpoints.
- Don't hide all game – This helps no one and you'll lose Bloodpoints.
- Don't run everywhere as Survivor – Running leaves scratch marks that the Killer sees.
- Don't stand still in the open – Killers will spot you immediately.
- Don't camp hooks as Killer – It's considered toxic and wastes time; you miss out on chasing other survivors.
- Don't burn rare items in your first few games – Save them for when you understand maps.
- Don't use offerings that change the map – They confuse navigation and can backfire.
- Don't ignore the bloodweb – Spend BP as soon as you have enough to unlock new nodes (prestige later).
Killer HUD (bottom of screen)
Main Menu
Essential Early Objectives
Survivor
1. Repair Generators – The primary win condition. Always be doing something that progresses the objective.
2. Unhook Teammates – Safely rescue from hooks when the Killer is not nearby.
3. Heal Others – Injured survivors make a lot of noise and slow progress.
4. Complete Glyph/Challenge Rifts (if active) – Earn extra rewards.
Killer
1. Find Survivors – Patrol generators, listen for footsteps, look for crows.
2. Down and Hook – Injure survivors then carry them to a hook.
3. Pressure Generators – Kick generators to regress progress, but don't become obsessed with kicking.
4. Prevent Escape – Block exit gates or close the hatch if it opens.
What to Do First (First 10 Games)
1. Play both tutorials – they reward Bloodpoints and teach basics.
2. Unlock all base Survivor perks – level Claudette, Meg, Dwight, and Jake to at least level 40 to get their teachable perks.
3. Watch a 5-minute guide on looping – YouTube has beginner-friendly videos.
4. Set your objective: For Survivor: “Complete 5 generators and escape.” For Killer: “Get 4 sacrifices.”
5. Use in-game chat (PC) or voice chat with friends – Coordination helps immensely.
What to Avoid
Early Resource Priorities
| Resource | How to Get | Priority | Use |
|---|---|---|---|
| Bloodpoints (BP) | Playing matches, daily rituals, archives | ★★★★★ | Level up bloodweb for perks, items, add-ons. |
| Iridescent Shards | Leveling up player level (not character) | ★★★☆☆ | Buy new survivors/killers in the store. Never spend on cosmetics early. |
| Add-Ons & Offerings | Bloodweb nodes | ★★★★☆ | Keep good add-ons for Killers (e.g., increased speed). Offerings help with BP bonuses. |
| Perk Slots | Leveling characters to 5, 10, 15, etc. | ★★★★★ | Unlock more perk slots via prestige or leveling – crucial for builds. |
| Character Prestige | Leveling a character to 50 then prestiging | ★★★☆☆ | Grants cosmetic unlocks and makes other characters unlockable perks cheaper. |
Common Beginner Mistakes
Survivor Mistakes
- Failing to check surroundings before vaulting – The Killer can be nearby.
- Using Self-Care (Claudette’s perk) in the Killer's terror radius – Slow healing wastes time.
- Hiding in lockers – Gives Killer an easy grab. Only use lockers to avoid The Pig or Executioner.
- Running to a teammate when injured – The Killer follows your trail.
- Not using the map – It’s a consumable; you can use it to locate objectives.
- Chasing the same survivor for too long – If a chase lasts over 30 seconds, break off and patrol gens.
- Kicking generators unnecessarily – Only kick if you see a survivor or if progression is high (e.g., 50% or more).
- Ignoring the hatch – The hatch spawns when only one survivor remains; always check for it.
- Not using your power – Every Killer has a unique ability; practice it in the tutorial first.
- Focusing only on one survivor – Spread pressure to keep all Survivors busy.
- [ ] Complete Survivor Tutorial (approx. 10 minutes).
- [ ] Complete Killer Tutorial (approx. 10 minutes).
- [ ] Play 1 public match as Survivor (try to repair 1 generator and escape).
- [ ] Play 1 public match as Killer (try to hook at least 2 survivors).
- [ ] Spend all earned Bloodpoints on Claudette (or Meg) in the Bloodweb.
- [ ] Unlock Claudette’s teachable perk Empathy by leveling her to 30 (level 1-5 for first perk slot).
- [ ] Read the in-game Help section (Options > Help > Manual).
- [ ] Join the official DbD Discord or subreddit (r/deadbydaylight) for beginner tips.
- [ ] Watch one beginner guide video (e.g., “DbD for Dummies”).
- [ ] Adjust controls to your liking (e.g., invert aim, rebind sprint).
- Patience is key: You will die or get hooked a lot. That's normal.
- Learn from each match: After a death, ask: “What could I have done differently?”
- Play both roles: Understanding Survivor helps you as Killer and vice versa.
- Have fun: DbD is chaotic; enjoy the chases, the scares, and the thrill of escape or sacrifice.
Killer Mistakes
Day-One Checklist
Final Advice
Good luck, and see you in The Fog!