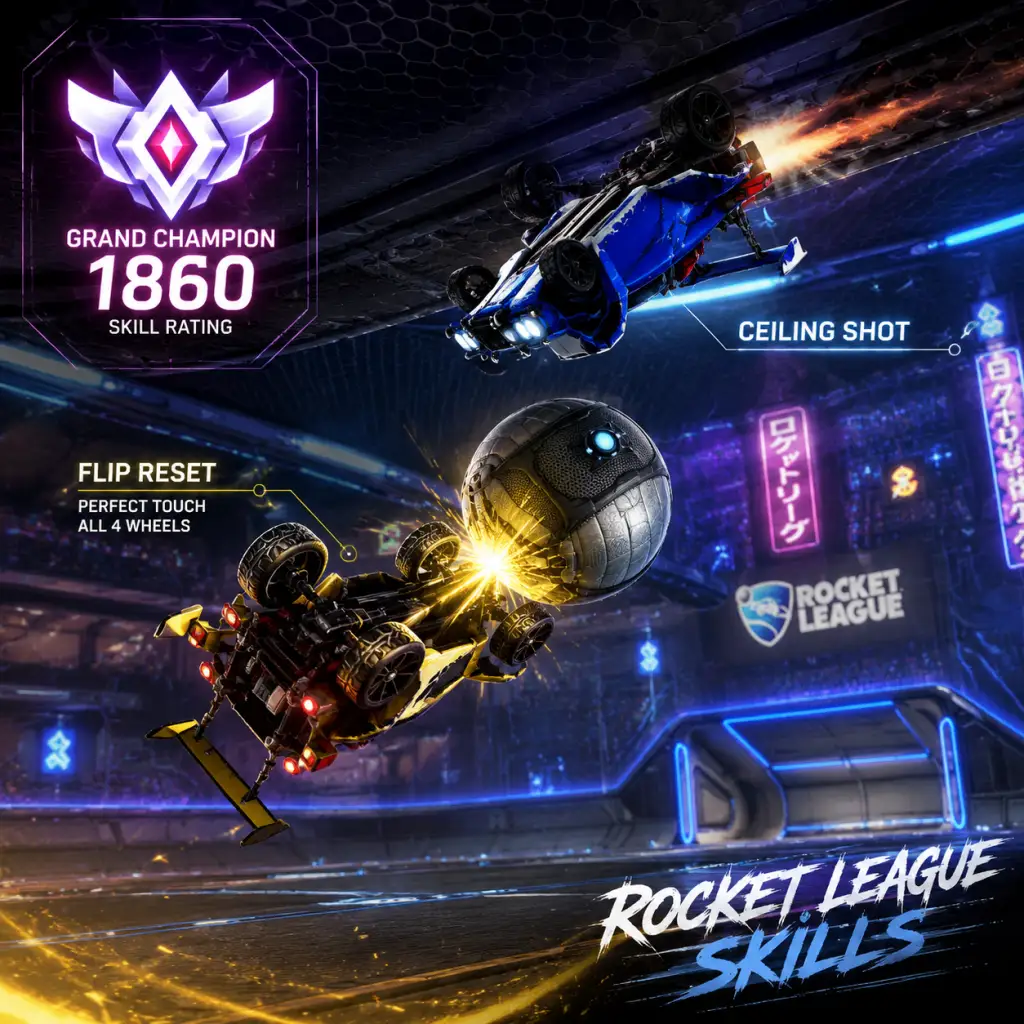
Character Skills
Character Skills Guide for Rocket League
Rocket League does not feature traditional playable characters, classes, or roles. All players control a rocket-powered car, and every car (regardless of body or hitbox type) shares exactly the same core set of abilities and mechanics. There are no character-specific spells, talents, or special moves. However, what the game lacks in traditional RPG skill trees, it more than makes up for with a deep, physics-based skill system that players can learn, practice, and master over hundreds of hours. This guide covers every fundamental and advanced skill in the game, treating each as a learnable ability with effects, execution steps, optimal usage, combos, synergies, and recommended setups.
Core Movement Skills
All movement skills are performed with the analog stick and the corresponding buttons/triggers. Timing and precision are critical.
#### 1. Drive & Reverse
- Effect: Moves the car forward or backward on the ground. Speed cap at 80 km/h (forward) and 20 km/h (reverse).
- Execution: Press the accelerator (default RT/R2/⬆) to drive forward; press brake/reverse (default LT/L2/⬇) to reverse.
- When to Use: Always on the ground. Use reverse sparingly—it is much slower than turning around.
- Upgrades: None; speed is fixed. Boost can accelerate beyond normal speed.
- Combos: Reverse into a powerslide to quickly change direction (reverse powerslide).
- Synergies: Crucial for all ball touches, positioning, and recoveries.
- Effect: Allows the car to rotate quickly on the ground while maintaining small forward momentum. Essential for sharp turns.
- Execution: Hold the powerslide button (default X/Square/LB) while turning with the analog stick.
- Cooldown: None; can be held indefinitely.
- When to Use: Any time you need to turn sharply, especially when rotating back on defense or chasing the ball at speed.
- Upgrades: None, but mastering drift control allows for tighter turns.
- Combos: Start a powerslide, then jump and dodge into a wavedash for instant speed recovery.
- Synergies: Pairs with boost to maintain high speed through corners.
- Effect: Launch the car into the air. You have two jumps per ground contact (a single jump and then a dodge or second jump).
- Execution: Press the jump button (default A/Cross/Space).
- Cooldown: None, but you must touch the ground (or reset via a wall/ceiling touch) to regain both jumps.
- When to Use: Starting aerial plays, blocking shots, jumping for 50/50s, dodging demo attempts, and initiating any airborne mechanic.
- Upgrades: The timing between first and second jump matters—fast aerial (double jump with boost) is core.
- Combos: Jump + boost = aerial. Jump + dodge = flip. Jump + tilt + second jump = high aerial.
- Synergies: Essential for all advanced mechanics.
- Effect: After the first jump, a second jump can be performed. If you tilt the analog stick before the second jump, the car performs a front, back, or side flip. This allows a powerful dodge in any direction, sending the ball toward your target.
- Execution: Jump once -> tilt analog stick -> jump again within 1.5 seconds. If no tilt, you simply double jump straight up.
- Cooldown: Must touch ground or wall/ceiling to regain both jumps.
- When to Use: Dodging into the ball for a powerful shot or clear, dodging out of ball path, or recovering with a wavedash.
- Upgrades: Speed flip (side flip cancel) for faster kickoffs, half-flip for quick 180 turns.
- Combos: Front flip + boost = speed burst. Backflip cancel into half-flip.
- Synergies: Use with boost to maintain momentum after dodge.
- Effect: Collect small (12) or large (100) boost pads scattered on the field. Managing boost is a skill in itself.
- Execution: Drive over any pad. Small pads are scattered; large pads appear at corners and center side, respawning every 10 seconds.
- When to Use: Always collect small pads when rotating. Learn routes that grab pads without slowing down.
- Upgrades: None, but develop a mental map of pad locations.
- Combos: Boosting while air rolling to feather boost efficiently.
- Synergies: Essential for aerial plays, fast recoveries, and sustained pressure.
- Effect: Tapping boost instead of holding it to conserve boost while still gaining speed.
- Execution: Tap boost button rhythmically. Each tap gives a burst; holding drains continuously.
- When to Use: When approaching supersonic (83 km/h), feather to maintain speed with minimal boost consumption. Also during aerial car control to adjust trajectory precisely.
- Upgrades: Not applicable.
- Combos: Feathering while air rolling for controlled aerials.
- Synergies: Critical for long aerial plays and recovery.
- Effect: A technique to reach high balls quickly by jumping and boosting simultaneously, then tilting back and jumping again.
- Execution:
- When to Use: Any time you need to challenge a high ball, especially on defense near your goal or on offense for backboard reads.
- Upgrades: Practice to get consistently fast execution.
- Combos: Fast aerial into air dribble, or fast aerial to block a shot.
- Synergies: Essential with directional air roll (below) for car control.
- Effect: Rotates the car in the air. Free air roll (default LB/L1/LShift) allows arbitrary rotation. Directional air roll (Air Roll Left/Right) gives consistent spin.
- Execution: Hold air roll button + move analog stick. Or press directional air roll button and the car spins automatically.
- When to Use: Adjust car angle for ball touches, recoveries, and advanced mechanics like air dribbles.
- Upgrades: Practice air rolling continuously to maintain control while tilting.
- Combos: Air roll + boost feather = pinpoint aerial targeting.
- Synergies: Must be mastered for any aerial play.
- Effect: Carry the ball on top of your car while airborne, using boost and air roll to keep the ball on your nose.
- Execution:
- When to Use: As a 1v1 offensive weapon, or to force the opponent to commit in 2s/3s.
- Upgrades: Add flicks at the end of the air dribble (air dribble flick).
- Combos: Often started from a ceiling shot setup or a wall pop. Can be followed by a reset for a flip reset.
- Synergies: Flip reset allows an extra dodge during the air dribble for an unpredictable shot.
- Effect: Drive up the wall, fall off the ceiling, and then use a dodge for a powerful shot.
- Execution:
- When to Use: In high-level offense to create unpredictable angles. Risky.
- Upgrades: Add a flip reset before the shot for extra options.
- Combos: Ceiling shot into double tap (hit the backboard then score).
- Synergies: Works best with a teammate providing a pass or distraction.
- Effect: Touch all four wheels to the ball, resetting your double jump, allowing an extra dodge in the air.
- Execution:
- When to Use: In high-level aerial plays to add a shot after an air dribble or to score from difficult angles.
- Upgrades: Musty flick (flip reset variant) where you shoot the ball from behind.
- Combos: Air dribble > flip reset > Musty flick.
- Synergies: Requires excellent car control and boost management.
- Effect: Carry the ball on top of your car while driving on the ground.
- Execution:
- When to Use: In 1v1 or when you have space. Great for baiting opponent.
- Upgrades: Add flicks (front, side, back, 45°, etc.).
- Combos: Dribble > flick > goal. Or dribble > cut > low shot.
- Synergies: Use a car with good ball control hitbox (Octane preferred).
- Effect: Quickly launch the ball from your roof with a flip, in a chosen direction.
- Execution: While dribbling, jump and dodge in the desired direction. For a Musty flick, jump, let the ball fall slightly behind, then front flip.
- When to Use: To get the ball over a defender or quickly shoot with power.
- Upgrades: Each flick type requires separate practice.
- Combos: Flicks can be chained with other moves (e.g., fake flick into low 50/50).
- Synergies: Mix with powerslide cuts to confuse defenders.
- Effect: Quickly reverse your car's facing direction in one fluid motion.
- Execution:
- When to Use: Recovering from overcommit, rotating back quickly, or avoiding a demo.
- Upgrades: Speed flip half-flip (faster).
- Combos: Essential for fast recoveries after a whiff or to chase down a ball.
- Synergies: Use with boost to maintain speed.
- Effect: Positioning yourself between the opponent with the ball and your own goal, mirroring their movements without taking the ball immediately.
- Execution: Drive backward or sideways, keep net covered, and wait for opponent to make a move. Read their intention.
- When to Use: In 1v1 and 2v2 when you are the last defender.
- Upgrades: Learn to fake challenge or delay.
- Combos: Shadow > challenge when opponent flicks or loses control.
- Synergies: Use small pads to maintain boost while shadowing.
- Effect: Proper goalkeeping: timing jumps, using power, and aiming clears.
- Execution: Position near goal line, anticipate shot, jump and boost to meet the ball, dodge into it for power.
- When to Use: Whenever the ball is coming toward your net.
- Upgrades: Learn backboard reads, fast aerials for high shots, and reverse saves.
- Combos: Save > immediate pass to teammate for counterattack.
- Synergies: Rotate back quickly after a save to regain boost.
- Effect: Systematic cycling of positions (attack, support, defense) to maintain presence and boost.
- Execution: After a touch or challenge, rotate to back post via the far side of the field, while teammate moves in.
- When to Use: Always in 2v2/3v3.
- Upgrades: Faster rotations with wavedashes and half-flips.
- Combos: Rotation + passing plays.
- Synergies: Essential for team play; communication helps.
- Effect: Hitting the ball intentionally to a teammate's position, often off the backboard or across the goalmouth.
- Execution: Aim for the area where teammate is expected to be; read their rotation.
- When to Use: When you have no shot and a teammate is open.
- Upgrades: Learn redirect passes and air roll passes.
- Combos: Wall pass followed by an aerial teammate.
- Synergies: Works with committed teammates.
- Effect: A ground-recovery technique that gives instant speed when landing.
- Execution: As you land from a jump or aerial, tilt the car and press jump + dodge just before touch down.
- When to Use: After a fast aerial, after a delay, or to maintain speed on landing.
- Upgrades: Chain multiple wavedashes.
- Combos: Wavedash into a powerslide turn.
- Synergies: Boosts recoveries dramatically.
- Effect: A variant of the side flip that allows a very fast, low-angle dodge forward, used on kickoffs and for speed gains.
- Execution: Very precise: diagonal flip canceled by pulling opposite direction and air roll to keep car straight.
- When to Use: Kickoffs (fastest option), chases.
- Upgrades: Consistent execution needed.
- Combos: Follow with a wavedash after landing.
- Synergies: Requires training in freeplay.
- Octane hitbox: Best all-rounder; easiest for dribbling, flicks, and 50/50s. Recommended for most skills.
- Dominus hitbox: Longer, lower; better for powerful shots and flicks. Aerials may feel different.
- Plank hitbox (e.g., Batmobile): Very long; excellent for 50/50s and powerful clears, harder for dribbling.
- Hybrid hitbox: Versatile, balanced between Octane and Dominus.
- All skills are possible with any hitbox, but handling nuances exist.
- Field of View (FOV): 100-110 (wider to see more)
- Distance: 260-280 (balance between ball view and field)
- Height: 100-110 (higher gives better perspective)
- Angle: -3 to -5 (slight downward)
- Stiffness: 0.35-0.60 (controls camera responsiveness)
- Swivel Speed: 3.0-6.0 (for quick looks)
- These settings help with aerials and ball control.
- Air Roll Left: L1/LB/Q
- Air Roll Right: R1/RB/E
- Powerslide: L1/LB (same as air roll left) or separate button
- Boost: Circle/B/Right Mouse Button (or preferred)
- Jump: X/A/Space
- Custom binds can improve wavedash and half-flip execution.
#### 2. Powerslide
#### 3. Jump
#### 4. Double Jump & Flip Dodge
Boost Management Skills
Boost is a resource that regenerates only through boost pads. It is not unlimited (except freeplay).
#### 5. Boost Pickup & Conservation
#### 6. Boost Feathering
#### 7. Fast Aerial
1. Press jump and boost at the same time.
2. Tilt the car backward (pull analog stick down).
3. Quickly press jump again while still holding boost.
4. Continue boosting and adjusting with air roll.
Aerial Skills
Airborne maneuvers are Rocket League's highest skill ceiling.
#### 8. Air Roll (Free & Directional)
#### 9. Aerial Dribble
1. Hit the ball off a wall or ground for a pop.
2. Jump and boost to match ball speed.
3. Tap boost and air roll to keep ball centered on car roof.
4. Control direction to dribble toward goal.
#### 10. Ceiling Shot
1. Drive up the wall at non-ball side.
2. Jump off wall toward ceiling.
3. Let car stick to ceiling, then drop off.
4. Use air roll to orient, then air dribble or dodge into the ball.
#### 11. Flip Reset
1. Launch ball into the air (e.g., off wall).
2. Jump and boost to get above the ball.
3. Air roll so the bottom of your car faces the ball.
4. Lightly touch the ball with your wheels (gently tap).
5. Now you have a fresh flip to use.
Ball Control Skills (Ground)
#### 12. Ground Dribble
1. Catch the ball by matching its speed and letting it settle on your roof.
2. Use slight adjustments with the analog stick and feathering boost to keep the ball centered.
3. Change direction to fake or flick.
#### 13. Flick (Front, Side, 45°, Back, Musty)
#### 14. Half-Flip
1. While driving forward, press reverse + jump.
2. Immediately tilt analog stick up (front flip) then cancel it by pulling down and pressing air roll button.
3. Land driving backward or forward depending on skill.
Defensive Skills
#### 15. Shadow Defense
#### 16. Save & Clear
Teamplay Skill
#### 17. Rotation
#### 18. Passing
Advanced Mechanics
#### 19. Wavedash
#### 20. Speed Flip
Recommended Builds
Although there are no skill trees, players can optimize their car choice, camera settings, and control bindings to better execute these skills.
#### Car Hitbox Selection
#### Camera Settings (for skill execution)
#### Control Bindings (common pros)
Conclusion
Rocket League's skill system is entirely player-driven. There are no abilities to unlock or levels to gain; every mechanic described above is available to every player from the moment they start. Mastery comes through deliberate practice in Free Play, custom training packs, and ranked matches. Focus on one skill at a time, use the in-game training modes, and watch replays to identify weaknesses. The skills are deeply interconnected: good boost management enables aerials, wavedashes improve recovery, and rotations create passing opportunities. Enjoy the journey – the skill ceiling is virtually infinite.