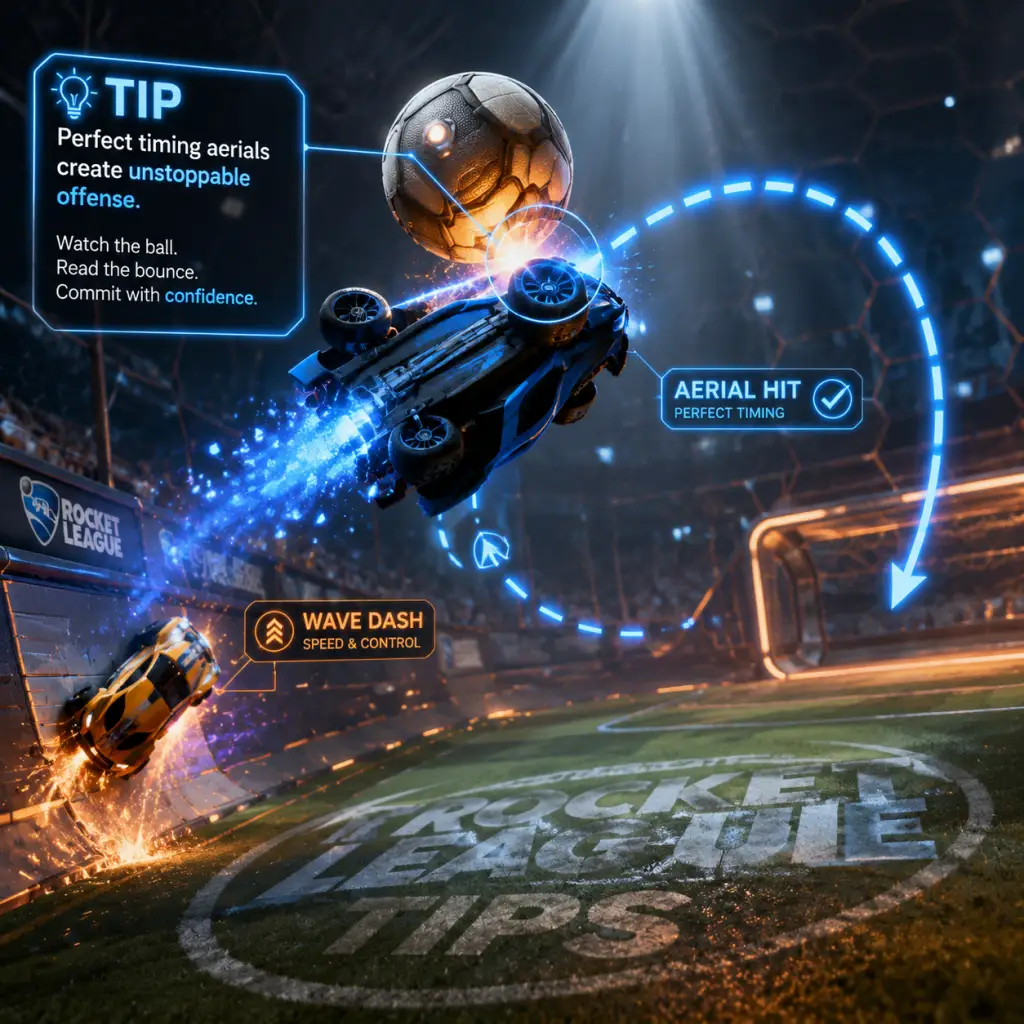
Game Tips
Game Tips for Rocket League
This guide covers essential tips from beginner to advanced levels, grouped by gameplay category. Each tip explains why it works and when to apply it for maximum effectiveness.
---
Beginner Fundamentals
#### 1. Use Ball Cam Mode (Mostly)
- Tip: Toggle ball cam with the default key (Triangle on PS, Y on Xbox) and keep it on 90% of the time. Switch to car cam only when dribbling or rotating back.
- Why it works: Ball cam keeps the ball centered on your screen, giving you constant awareness of its position and trajectory. Without it, you’ll lose track of the ball easily.
- When to use: Always during general play; car cam when you need precise car control (e.g., dribbling on top of the car) or when rotating back to see if you have boost pads ahead.
- Tip: To jump high quickly, press jump, then immediately tilt back and jump again while boosting. This is a “fast aerial.” Practice until it’s smooth.
- Why it works: A single jump takes you low; double-jumping without tilt wastes upward potential. Fast aerial lets you reach high balls faster than opponents who jump normally.
- When to use: Any time the ball is above the height of your car and you want to challenge or clear it. Especially important for saves and aerial shots.
- Tip: Hold powerslide (default: Square on PS, X on Xbox) while turning to maintain momentum. Release immediately after the turn.
- Why it works: Powersliding lets your car rotate faster without losing speed. It prevents oversteering and helps you face the correct direction quickly.
- When to use: Sharp turns in the corner, after landing awkwardly, or when rotating back to goal. Practice in free play until you can do a full 180 with minimal speed loss.
- Tip: Always be aware of teammates’ positions. If two teammates are near the ball, rotate back to a defensive position instead of joining the crowd.
- Why it works: Cluster plays leave the goal open. One player hits the ball, another should be ready for the pass or rebound, and the third should be last man back. Breaking the ball-chasing habit prevents easy counter goals.
- When to use: Any time you see two teammates ahead of you. Rotate toward your own goal and look for a clear path to collect boost or defend.
- Tip: While driving backward, press jump, tilt analog stick forward (or backward depending on input), then air roll to land on your wheels facing the opposite direction.
- Why it works: A half flip is the fastest way to reverse direction without losing forward momentum. It’s crucial for recovering from a whiffed aerial or getting back to goal quickly.
- When to use: When you overshoot a challenge or are caught facing backward while rotating. Practice until it becomes reflexive (sub-1 second execution).
- Tip: Balance the ball on your car’s hood by tapping the accelerator slightly and steering gently. Once stable, jump and tilt forward to flick the ball.
- Why it works: Dribbling lets you control the ball’s path, making you unpredictable. Flicks can launch the ball over defenders or into the goal quickly.
- When to use: When you have space ahead and no immediate pressure. Flicks are effective in 1v1 situations or when an opponent is charging you. Practice in free play with the “Dribbling Challenge 2” custom map if possible.
- Tip: While air rolling, use the left stick to adjust your car’s orientation. Practice aerialing to all points of the ball (top, sides, bottom) using air roll to flip your car.
- Why it works: Air roll allows you to angle your car for more precise touches – e.g., a side roll to hit the ball downward or a backflip to redirect it. Advanced players use constant air roll to make micro-adjustments.
- When to use: In any aerial challenge. Start with simple aerial hits, then incorporate air roll for power/accuracy. For recovery, air roll to land on all four wheels and hold powerslide.
- Tip: Drive up the wall, jump off, then use air roll to align your car upside-down on the ceiling. When you drop off, you can use your flip again (flip reset). Combine with a shot.
- Why it works: A flip reset gives you an extra dodge in the air, allowing deceptive maneuvers like delayed shots or passes. Ceiling shots are hard to save because of the unpredictable trajectory.
- When to use: Only when you have mastered basic aerials and air roll. Use in free play extensively before trying in matches. Ideal for solo plays or unexpected offensive moves.
- Tip: In any 3v3, mentally assign roles: one player challenges (front), one supports at mid-field (middle), one stays deep as last man (back). Rotate clockwise or counter-clockwise as the play moves.
- Why it works: This prevents overcommitment. The last man can always cover a mistake, the middle can follow up, and the front applies pressure. Rotation keeps the team balanced.
- When to use: Always in 3v3 (and adapt to 2v2 with two roles: attacker and support). If you are last man, never leave the goal vulnerable. Let teammates rotate through you.
- Tip: When defending alone against an opponent dribbling, stay between them and your goal but at a distance. Drive backward or slowly toward your goal while watching their car.
- Why it works: Shadow defense forces the opponent to make a move. You stay close enough to challenge if they flick, but far enough to react to a low shot. It cuts off angles.
- When to use: Any 1v1 defensive situation (breakaway in 2s or 3s). Do not ball-chase; let them commit, then intercept. Master this to save many goals.
- Tip: When rotating to defend, always rotate to the far post (back post) of your goal. Wait there while scanning the field.
- Why it works: The backpost gives you the best view of the play and allows you to react to shots from any angle. If the ball goes high, you can jump from the backpost to save top corners.
- When to use: Every time you return to goal. Rotate wide and drive to the backpost, then turn to face the ball once you are positioned. Avoid standing at the front post (near the play) – it leaves the far side open.
- Tip: Learn the locations of the 12 small boost pads (12 each side). Drive over them when rotating to keep boost above 30-40 without going for full big boosts.
- Why it works: Big boosts create predictable paths; opponents may camp them. Small pads keep you mobile and boost efficient. Collecting 2-3 small pads equals a big boost.
- When to use: Any time you are rotating back or repositioning. After using 30+ boost, scoop a small pad to keep your reserve. Avoid leaving the play for a big boost unless you are low on boost and safe.
- Tip: If you are up a goal in the last minute, take the opponent’s corner boost after a clear. Also, steal the big boost in their half when they are slow to rotate.
- Why it works: Limiting opponent’s boost reduces their offensive threat. They cannot aerial well or challenge effectively if they have <30 boost.
- When to use: When you have ball possession advantage and can safely drive over their big boost pads. Do not overcommit; only steal boost if you are the last man or the play is in their half.
- Tip: Demolitions (when a supersonic car hits an opponent) remove a player for 3 seconds. Use them to create temporary 2v1 or 1v0 situations.
- Why it works: Removing a goalie or defender creates an open net for your teammate. Demos are not toxic if used strategically; they are part of high-level play.
- When to use: When an enemy is stationary (e.g., in goal, waiting for a pass) and you have supersonic speed. Aim for the back of their car for a demo. Avoid chasing demos constantly – only when opportunity arises.
- Tip: Instead of shooting directly at a heavily defended net, pass the ball across the goal or high up for a teammate to finish.
- Why it works: The defense moves to block your shot, leaving space for a teammate. A pass can be unexpected and open a scoring chance. In 2v2, a pass off the backboard is extremely effective.
- When to use: When you see a teammate in a scoring position (near opponent’s goal) and the net is guarded. Learn to read their position before committing to a shot.
- Tip: If you are last man and your team loses possession, immediately rotate back and face your goal. Do not try to keep the play alive if the ball is deep in your half.
- Why it works: The opposition will likely counter-attack. By rotating early, you give your team a chance to reset defensively instead of overextending.
- When to use: As last man, if the ball is cleared over you or your teammate loses the challenge, turn and boost to the backpost. Do not turn back into the play.
- Tip: Download or create custom training packs for specific skills: saves, backboard clears, redirects, air dribbles. Use the built-in browser (Options -> Training -> Custom -> Browse).
- Why it works: Repetition in controlled scenarios builds muscle memory. For example, a pack with 50 random high saves will improve your aerial save speed.
- When to use: Spend 10-15 minutes daily on a pack. Focus on skills you struggle with in matches. Popular codes: Aerial pack “Aerials – Redirects” (code 6EB1-79B2-33B8-681C) or Goalie pack “Goalie – All Ranks” (code 84C9-3080-035A-6D4B).
- Tip: Enter free play and practice hitting the ball hard off the wall, dribbling, and recoveries. Use unlimited boost to focus on mechanics.
- Why it works: Free play has no pressure. You can repeat actions instantly. Drilling wall reads and power shots in free play translates to match situations.
- When to use: 20-30 minutes daily. Try specific exercises: shoot 100 power shots off the wall into the goal, then practice 50 fast aerials from the ground.
- Tip: After a loss, save the replay and watch it from the opponent’s point of view. Note where you were out of position or made a slow rotation.
- Why it works: It reveals weaknesses you didn’t notice during the match. You might see that you double-jumped too early or rotated ball-side instead of net-side.
- When to use: For every ranked loss, especially if you felt outplayed. Set aside 5 minutes to review 2-3 key goals against you.
- Tip: Use a camera distance of 260-270, height 100-110, angle -3 to -5, stiffness 0.35-0.50, swivel speed 6-8, transition speed 1.0-1.2. Disable camera shake.
- Why it works: These settings give a wide field of view while keeping the ball prominent. Too close reduces awareness; too far reduces precision. Many pros use similar values.
- When to use: Adjust these in Settings -> Camera. Experiment in free play and matches until comfortable.
- Tip: Set air roll left and air roll right to L1/R1 (or LB/RB). This allows you to air roll without interfering with boost (R2/RT) or jump.
- Why it works: Separating air roll from the left stick gives you finer control. You can boost, jump, and air roll simultaneously. Most high-rank players use this setup.
- When to use: Change in controller bindings. Then practice aerials and recoveries with the new bindings for at least a few hours until muscle memory adapts.
- Tip: Set controller deadzone to 0.05-0.10 and dodge deadzone to 0.50-0.70. Disable “Toggle Ball Cam” (keep it hold if possible) for instant switching.
- Why it works: Lower deadzone reduces input lag, making small adjustments easier. Higher dodge deadzone prevents accidental flips when you want to fast aerial.
- When to use: In Settings -> Controls -> Deadzone. Test in free play: if you feel twitchy, increase slightly; if unresponsive, lower.
- Tip: Use the walls and ceiling for setups. Hoops has a smaller ball and no goal – placement is key. Practice double-touch shots off the backboard.
- Why it works: Hoops requires precision aerial control. The ball bounces differently (higher) than standard. Wall plays are common because the court is narrow.
- When to use: Play Hoops to improve aerial consistency. Use standard rotation principles but expect more vertical play.
- Tip: Save power-ups for key moments. Plunger + Spike + Boot = easy goals. Use the Disruptor (blue electricity) before a teammate’s big shot.
- Why it works: Power-ups can turn a losing play into a goal if used at the right time. For example, a Tornado can lift the ball for an easy aerial.
- When to use: Rumble is chaotic; focus on collecting boost and positioning normally. Use power-ups defensively if needed (e.g., Freezer to stop a counter-attack).
- Tip: When you and an opponent arrive at the ball at the same time, jump before the contact (pre-jump) to get a better angle for the 50/50.
- Why it works: Pre-jumping makes your car taller and allows you to win the ball toward your teammates or net. If you stay on the ground, you lose to an approaching jumper.
- When to use: Any 50/50 scenario, especially in midfield. Time your jump so you hit the ball with your car’s roof after flipping.
- Tip: Drive toward the ball as if you will hit it, then brake or turn away at the last second. Opponents will dodge or panic, leaving them out of position.
- Why it works: It forces an opponent to commit early. Then you can collect the free ball or pass to a teammate. It’s a mind game that disrupts flow.
- When to use: When defending a dribbler – fake a challenge to make them flick early or low. Also on offense to create space for a shot.
- Tip: In 2v2, after a teammate shoots, drive into the opponent goalie to bump them, even if you miss the ball. This clears the net for your teammate’s follow-up.
- Why it works: A bump removes the goalie for a split second – enough for a goal. It’s a low-risk play because you are already rotating out.
- When to use: Whenever your teammate has a shot and the goalie is positioned directly in front of the net. Aim to drive through the goalie’s position.
#### 2. Learn to Fast Aerial (Beginner Version)
#### 3. Master Basic Powerslide
#### 4. Stop Ball-Chasing
---
Advanced Mechanics
#### 5. Half Flip
#### 6. Dribbling and Flicks
#### 7. Aerial Car Control (Air Roll & Recovery)
#### 8. Celling Shots and Flip Resets (Advanced)
---
Positioning & Rotation
#### 9. The 3-System: Last Man, Middle, Front
#### 10. Shadow Defense
#### 11. Backpost Rotation
---
Boost Management
#### 12. Collect Small Boost Pads
#### 13. Boost Starvation (Advanced)
---
Game Sense & Strategy
#### 14. Understand When to Demolish
#### 15. Pass the Ball to Teammates
#### 16. Recognize When to End the Play
---
Training & Practice
#### 17. Use Custom Training Packs
#### 18. Free Play Drills
#### 19. Watch Replays from Opponent’s Perspective
---
Customization & Settings
#### 20. Optimize Your Camera Settings
#### 21. Bind Air Roll to L1 (or Left Bumper)
#### 22. Adjust Deadzone Settings
---
Special Game Modes
#### 23. Hoops (Basketball Mode)
#### 24. Rumble Mode Tips
---
Advanced Tactics
#### 25. Pre-Jumping for 50/50s
#### 26. Fake Challenges
#### 27. Bump and Demo Tactics for Solo Queue
---
Conclusion
Rocket League mastery comes from consistent practice, smart positioning, and game sense. Start with the beginner fundamentals, then gradually add advanced mechanics. Use training packs and free play daily, watch your replays, and adjust settings for comfort. Rotate, communicate (with quick chat “I got it!” / “Defending…”), and stay positive. Good luck on the pitch!