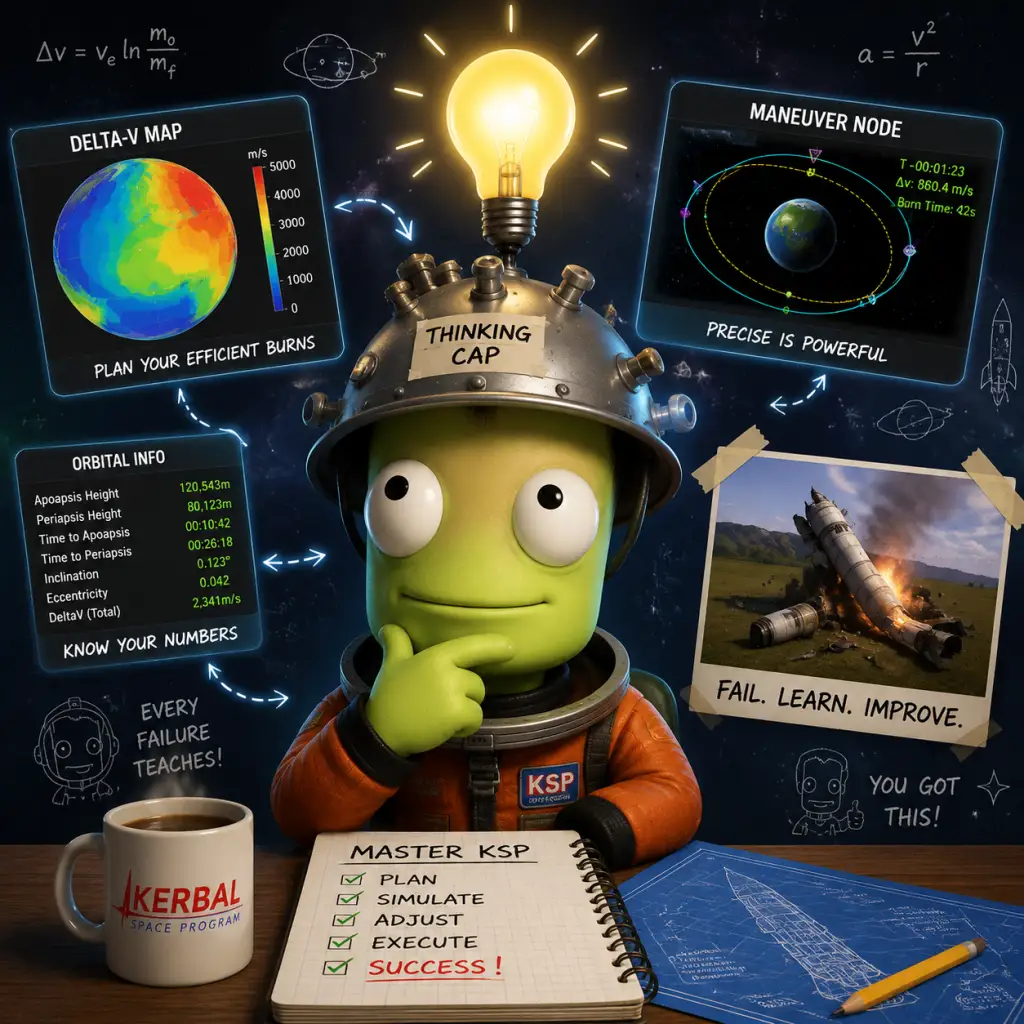
Game Tips
Game Tips for Kerbal Space Program
Introduction
Mastering Kerbal Space Program (KSP) requires a blend of creativity, physics intuition, and patience. Below are hundreds of actionable tips organized by category, from getting your first rocket off the launch pad to executing interplanetary missions. Each tip includes an explanation of why it works and when to apply it.
---
Basic Building & Physics (Beginner/Intermediate)
1. Keep it simple for your first rocket – Use the smallest parts: a Mk1 Command Pod, a FL-T400 fuel tank, and an LV-T30 Swivel engine. Add a parachute on top and fins at the bottom. This teaches you basic staging and stability without overwhelming complexity.
- Why: Simpler rockets are easier to control and troubleshoot. Fins provide aerodynamic stability, preventing flips.
2. Always check the center of mass (CoM) vs. center of lift (CoL) – In the VAB/SPH, enable the CoM/CoL markers. Ensure the CoL is behind and slightly below the CoM for stable flight. If not, add fins or move fuel.
- When: Designing any aircraft or rocket that flies through atmosphere. For space-only ships, this matters less.
3. Use the “Auto-Strut” feature – In the VAB, right-click a part (e.g., fuel tank) and enable Auto-Strut (to root part, heaviest part, or grandparent). This prevents wobbly rockets without adding a dozen struts.
- Why: Eliminates physics flex that can cause catastrophic failure. Use on large rockets or space stations.
4. Put parachutes on every crewed stage that returns – Even if you plan to land propulsively, a backup parachute can save Kerbals. Set deployment altitude high (≥1000 m) for safe opening.
- When: All manned missions; also useful for recovering expensive boosters.
5. Angle your fins slightly – In the VAB, rotate fins 5–10 degrees (using Q/E keys) to impart a gentle spin. This stabilizes the rocket passively during ascent.
- Why: Spin stabilization reduces the need for active SAS correction, saving battery and reaction wheel torque.
---
Maneuvering & Orbital Mechanics (Intermediate/Advanced)
6. The golden rule of orbits: prograde to go higher, retrograde to go lower – Burning prograde (direction of travel) increases your orbit’s altitude on the opposite side; retrograde decreases it. Memorize this for all burns.
- Why: Fundamental to rendezvous, transfers, and landing. Misunderstanding leads to wasted delta-V.
7. Perform Hohmann transfers for efficient orbit changes – To go from a low orbit to a higher one, burn prograde at the periapsis (lowest point) of the current orbit. This raises the apoapsis. Then circularize at the new apoapsis.
- When: Moving from LKO to Mun or higher orbits. It’s the most fuel-efficient two-burn maneuver.
8. Use maneuver nodes to plan burns – Click on your orbit in Map View to create a node. Drag the radial/antinormal handles to adjust. The burn indicator tells you how long to burn (half before the node, half after).
- Why: Eliminates guesswork. Experiment with nodes before committing fuel.
9. For rendezvous, aim for a 0° relative inclination – At the ascending/descending node, burn normal (blue triangle pointing up) or anti-normal (down) until the relative inclination reads 0.0°. Then it’s much easier to catch up.
- When: Docking, station assembly, or crew transfer. Skipping this step wastes delta-V chasing a target.
10. Match speeds at closest approach – When you’re near the target, switch to Target mode on the navball. Burn retrograde relative to target until velocity reaches near zero. Then use translational controls to dock.
- Why: Simulates real docking procedures. The navball’s target velocity readout is your best friend.
---
Exploration & Science (All Skill Levels)
11. Always bring multiple Science Jr. units on crewed missions – A single unit can be used multiple times (reset it after each experiment) if you have a scientist aboard. This yields immense science points from biomes.
- Why: Science jr. is compact and gives high science value. Max out your experiments per biome.
12. Transmit vs. recover? – For cheap, low-science experiments like Crew Reports, transmit (especially with antenna upgrades). For high-value results (e.g., Surface Samples), return them home for 100% recovery bonus.
- When: Early game: transmit everything; later, recover when you need max science. Use Communotron 16 for early transmissions.
13. Visit multiple biomes on the Mun and Minmus – Each biome (e.g., Highlands, Midlands, Craters) yields full science points. Use a mobile lab (Science Lab) to process data and generate more science.
- Why: One well-planned mission can net thousands of science points, unlocking the tech tree faster.
14. Plant a flag on every significant location – KSP tracks “landmarks” but not biomes. Flag planting gives a permanent marker and is required for some contracts.
- When: After landing on a new body. Always bring a flag in your cargo.
15. Use the Mun as a stepping stone – It’s easy to reach, has low gravity, and is rich in biomes. Master Mun landings before attempting Duna or Eve.
- Why: Builds confidence and unlocks critical tech (e.g., landing legs, larger engines).
---
Resource Management (Funds, Science, Reputation)
16. Accept contracts that align with your current capabilities – Don’t tackle “Explore Jool” when you’ve just got to orbit. Stack simple “Test part” contracts near the launchpad.
- Why: Easy funds and reputation boost. Failing contracts reduces reputation, limiting future contract offers.
17. Build the Astronaut Complex and upgrade it early – This lets you hire more Kerbals and improve their performance. A level 3 facility gives you 10 kerbals and faster recovery.
- Why: More pilots mean more SAS options; more scientists and engineers help with science and repairs.
18. Recover boosters by adding parachutes – For first-stage boosters, attach radial-mounted parachutes and a small probe core (e.g., HECS) with a battery. Set them to deploy at low altitude (500–1000 m). They’ll fall safely and be recovered for partial refund.
- Why: Saves funds in career mode. Can recover 30-50% of booster cost.
19. Don’t overbuild engines – Use the smallest engine that can lift your payload. Check Delta-V map (available online or via mods) to know required amounts. Bigger engines are heavy and inefficient.
- Why: Overpowered rockets waste fuel and increase cost. The “Tsiolkovsky rocket equation” penalizes extra mass.
20. Sell extra science data at the R&D center – If you have duplicate experiments (e.g., multiple crew reports from the same biome), you can “Run Experiment” again—but you cannot sell it directly. Instead, use the “Recover” action to get funds for recovered vessels with science data.
- Tip: Plan missions to bring back all unique experiments; duplicates are wasted.
---
Advanced Rocketry & Engineering
21. Use asparagus staging for extreme payloads – In this setup, multiple boosters feed fuel to the center engine; spent boosters are dropped asymmetrically. This gives a high thrust-to-weight ratio and fuel efficiency.
- Build: Six side tanks: three pairs, each pair feeds the next pair inward. Requires fuel ducts and crossfeed control.
- When: Heavy lifts (interplanetary ships, giant space stations).
22. Nerv engines (Nuclear Thermal) are not for atmospheric use – They have terrible thrust at sea level but excellent vacuum Isp (800s). Use them for interplanetary transfer stages.
- Why: Atmo Isp is ~85s – useless below 20 km altitude. Always pair with chemical engines for launch.
23. Ion engines are for slow, efficient maneuvers – They have low thrust (2 kN) but extraordinary Isp (4200s). Use them for small probes or station-keeping.
- Requires: Xenon gas tanks and a lot of electricity (deploy solar panels). Never use for landing.
24. Design your landers with low center of mass – Place heavy parts (engines, fuel tanks) low and light parts (science pods, batteries) high. This prevents tipping on slopes.
- Why: Many a lander has tipped over on Mun due to top-heavy design.
25. Use reaction wheels for fine attitude control, RCS for translation – Standard SAS uses reaction wheels. For docking, add RCS thrusters and enable RCS (R key). Place them symmetrically around CoM.
- When: Docking, asteroid redirect missions. RCS allows lateral movement without rotating.
---
Efficient Missions & Timelines
26. Launch to the correct inclination for your target – If going to Minmus (6° inclination), launch when the KSC passes under Minmus’s orbital plane (visible in Map View). This saves hundreds of m/s vs. a mid-course correction.
- Why: Changing inclination costs significant delta-V (up to 10% of burn).
27. Use a “rescue taxi” for stranded Kerbals – Build a cheap, reusable craft with a Mk1 Cmd Pod, parachute, and minimal fuel to rendezvous with a stranded Kerbal and bring them home. Complete rescue contracts for funds and reputation.
- Economy: Rescue contracts pay well and often give you a free Kerbal.
28. Plan interplanetary transfers using transfer windows – Use in-game alarm clock (or a website like “KSP Transfer Window Planner”) to launch when planets align. Wrong windows can multiply travel time and delta-V by 3x.
- Example: Duna launch window occurs every 2 years (game time). Launch at ~45° ahead of Duna.
29. Aerobrake whenever possible – When entering an atmosphere (Kerbin, Duna, Eve), set your periapsis to around 35-45 km for Kerbin. The atmosphere slows you down for free, saving fuel.
- Warning: Test with heat shield; too low can burn up or overshoot.
30. Use a “refueling station” in orbit – Build a station in LKO (100 km) with a large tank, docking ports, and a tug. This allows you to refuel interplanetary ships without bringing all fuel from the ground.
- Why: Cheaper than launching fully fueled ships. Use mining operations on Mun/Minmus to produce fuel.
---
KSP-Specific Pro Tips
31. Use the “Alt+F12” cheat menu wisely – In Sandbox, you can enable infinite fuel, unbreakable joints, etc., for testing. In Career, avoid unless debugging. It can corrupt saves.
- Tip: Use “Set Orbit” to move a craft to a specific orbit for testing landers.
32. Learn to use the “kOS” mod (optional) – It allows scripting automated launches, maneuvers, and landings. For advanced players, it simulates real space programming.
- Before mod: Master manual flying first.
33. Quicksave often (F5) and quickload (F9) – Always before a critical burn or landing. KSP can crash unexpectedly.
- Why: Saves hours of frustration. Also use multiple save files for big missions.
34. Name your ships descriptively – Include purpose and fuel capacity (e.g., “Mun Lander v2 – 2400 m/s”). This helps track missions.
- Organization: When you have 50 ships, a good name saves time.
35. Use action groups for complex crafts – Bind toggles for solar panels, engine gimbals, ladder, etc. (1-9 keys). This avoids fumbling through right-click menus.
- Example: Action group 1: deploy solar panels + extend antenna; group 2: toggle rocket engines.
---
Troubleshooting Common Problems
- Rocket flips? – Add fins at the bottom; reduce thrust during first 1 km; improve control authority with reaction wheels or gimballing engines.
- Can’t reach orbit? – Increase TWR to ~1.5-2.0 at launch; include an upper stage for orbital injection; use a gravity turn (start tilting at 10 km altitude, 45° at 20 km).
- Battery dies on night side? – Add solar panels (deployable or static) and sufficient battery capacity. Use RTGs (Radioisotope Thermoelectric Generators) for deep space.
- Docking is impossible? – Practice in LKO with a simple target. Use Docking Port Alignment Indicator mod (highly recommended). Ensure both ports are same size and facing each other.
---
Conclusion
These tips cover the breadth of KSP’s depth. Start with the beginner building advice, then gradually incorporate orbital mechanics and efficiency strategies. Remember: failure is part of the learning curve—each explosion teaches you something. May your rockets reach the stars!